


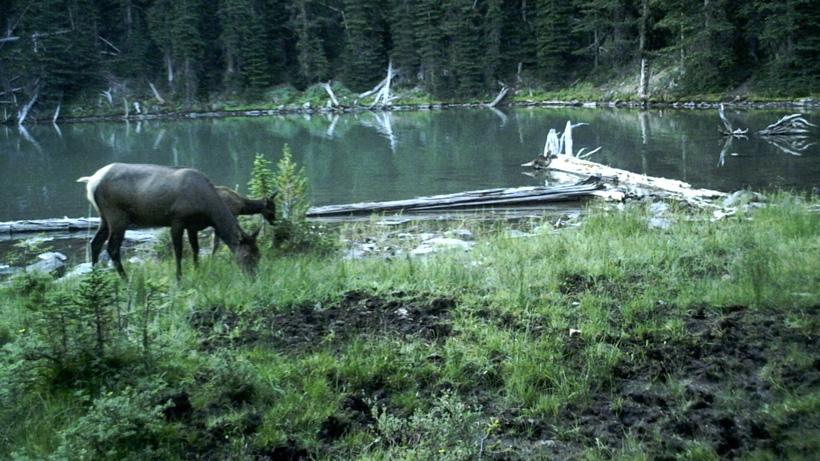
A spot like this is definitely worthy of a trail camera.

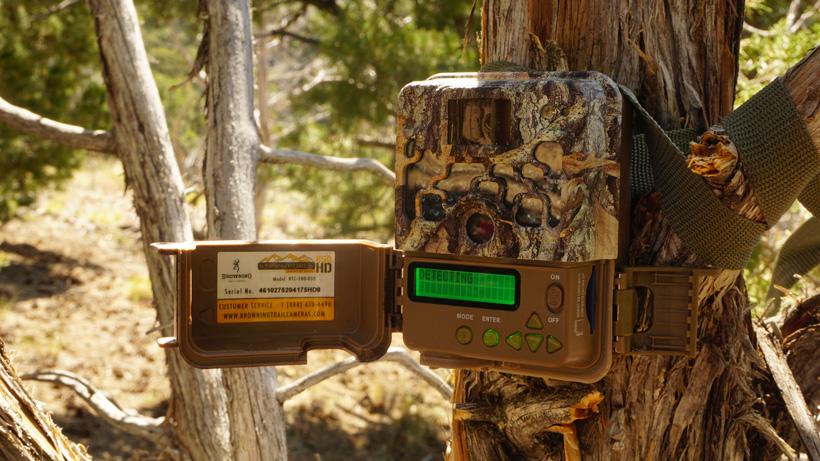
Testing out the range of a Browning trail camera.
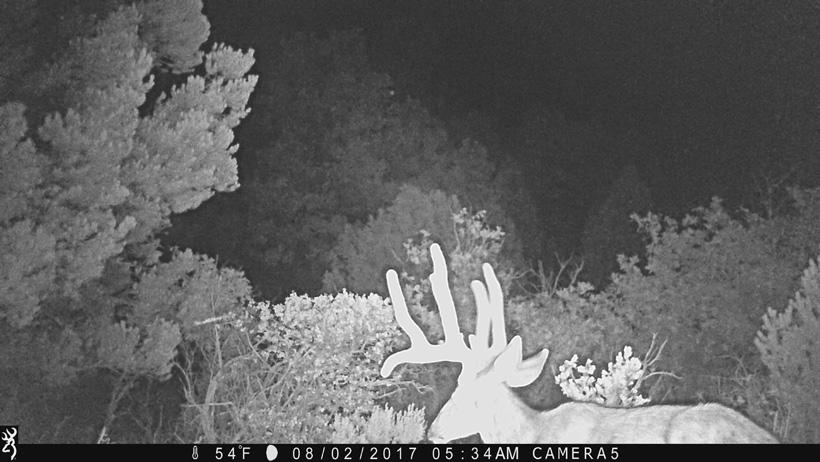
Photo one: the camera was placed too high.
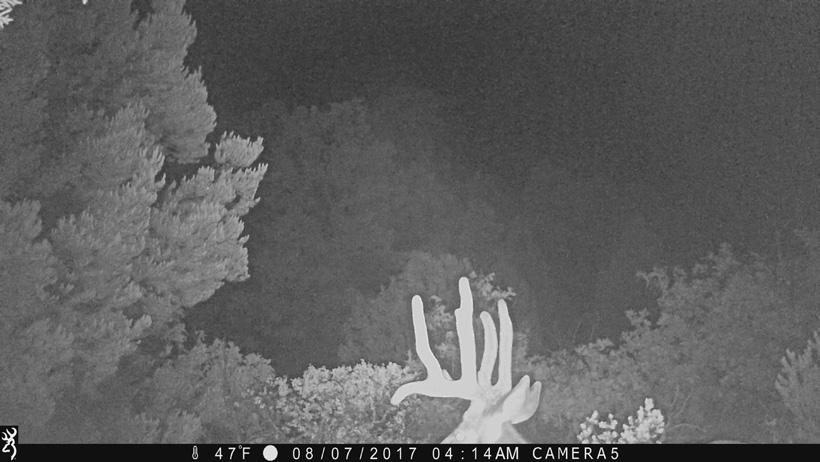
Photo two one week later: Notice the date on this photo, and how to camera was bumped and the deer was almost missed.

A lot of thought should be given on where and how you're going to place your trail cameras. Once you get the general location narrowed down, figuring out the finer details will greatly aid in getting photos of animals and not hundreds of photos of trees.
Before you ever leave your house, you need to spend some time digitally scouting on Google Earth to put yourself in the best position for finding a quality spot for a trail camera. We’ve put out some great articles in the past that should be invaluable to finding where to look for bucks or bulls. You can check out those articles here or if you're mainly concerned with elk, you can jump to these articles by Dave Barnett below:
Put some glass on it.
Glassing is always time well spent. Dedicate a morning to scan for animals and get a feel for activity. You could save yourself weeks or months of disappointing photos or videos.
Try to predict where the animals will bed or feed in the morning and evening. If you are seeing animals regularly on a trail camera, but only at night, it’s time to look elsewhere.
If you want a chance to set up a ground blind, you should be picking spots that will allow you 30 to 40 yards of sight from where the animals will be to where you want to set up. Setting up on a tight path doesn’t do you much good.
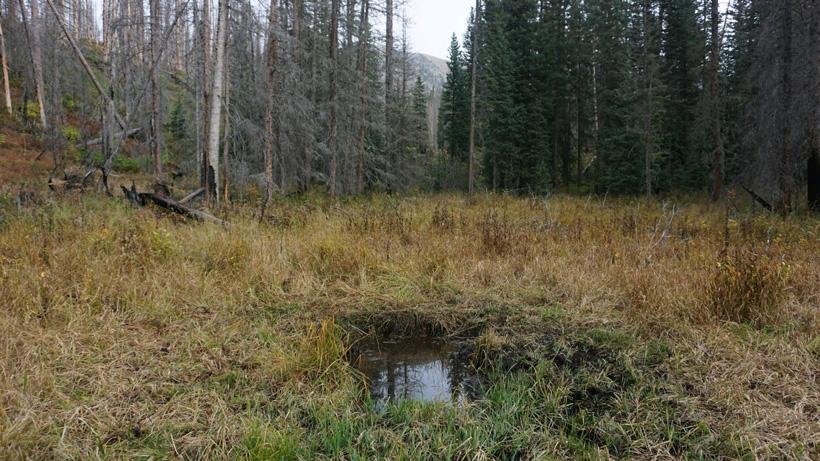
It should go without saying, but setting up on water is always valuable. Some folks even trench from a nearby water source to create their own spot. It’s not necessary, but an interesting strategy.
A spot like this is definitely worthy of a trail camera.
If you’re in a sparse area or have found a spot where there are clear signs of grazing, it may be worth setting up there.
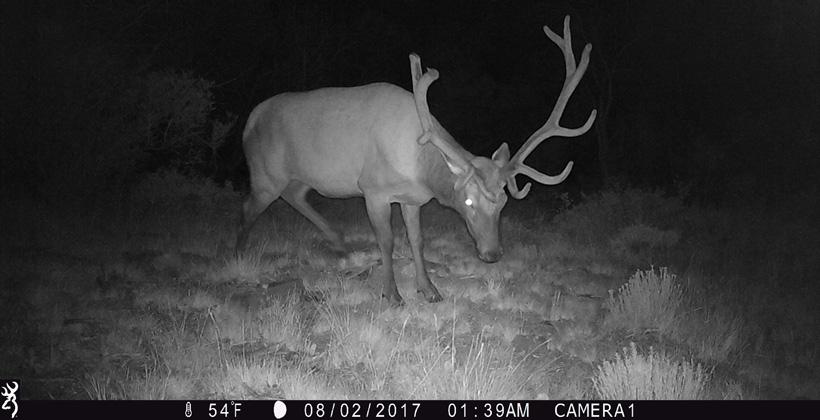
Testing out the range of a Browning trail camera.
GOHUNT’s Head of Research, Brandon Evans wrote a great article outlining five quick tips on scouting with trail cameras. There is a little bit of overlap here but it is well worth a read as well!
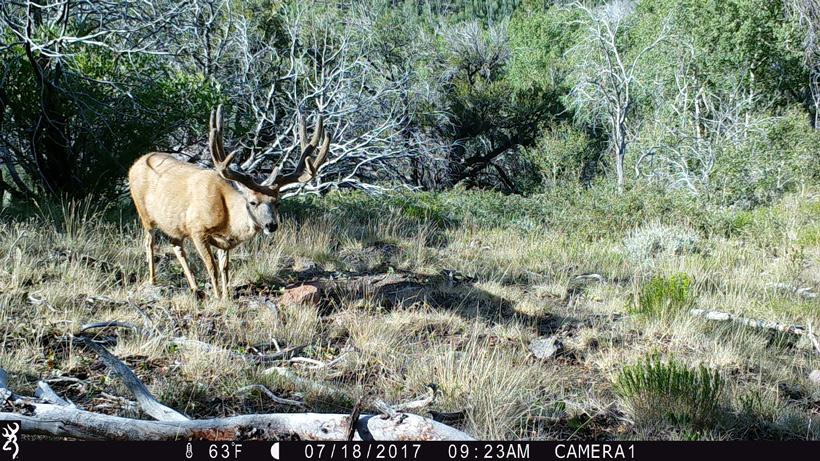
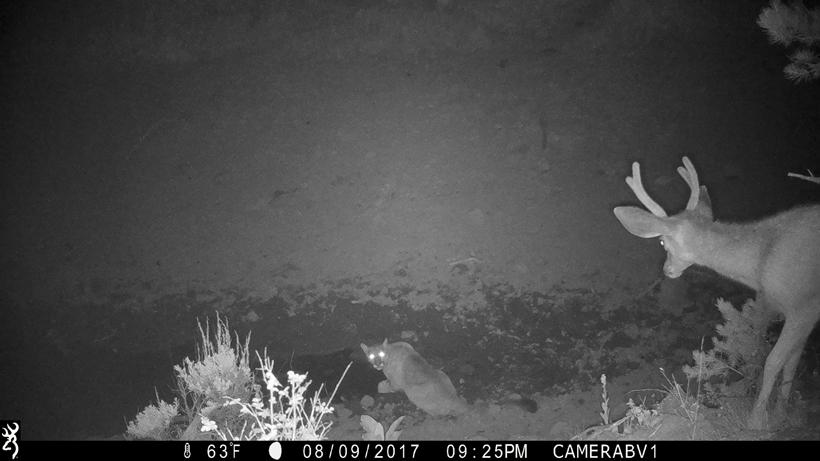
The below scene shows what can happen when you have poor camera angle placement and don't have the camera strapped tight enough. The photos are of the same deer a week apart. But the second photo, the camera got bumped and is now higher.
Photo one: the camera was placed too high.
Photo two one week later: Notice the date on this photo, and how to camera was bumped and the deer was almost missed.
You should always place your trail cameras as early as possible. Here’s why. You risk missing an early glimpse of bucks or bulls because you might be setting up your cameras in the wrong spot. This allows plenty of chance to correct your camera placements in time for the season opener.
Move your cameras. You don’t need me to tell you this.
When you’re trying to hunt out of a blind or are trying to pinpoint where animals are during huntable hours, it doesn’t do you much good to know where they are at night.
If their path/pattern is clear from what your camera is capturing, then you can just pick up and move. But if it isn’t obvious, take another look at the area and set a few cameras around the one firing at night. Once you know the direction they’re coming to/from, move your cameras and try to nail down where they’re spending their daylight hours.
Hopefully, you find this information useful! I've had a heck of a time running trail cameras.
Test your equipment at home. Set everything up before you hit the field: batteries, memory card, settings and test shots.
Check your gear before leaving. Make a list, check it twice. Yelling obscenities in the woods is just going to chase away the deer.
Avoid obstructions. A branch in front of your camera will set it off in the wind, block the flash at night, and otherwise block great photos of wildlife.
Don’t aim at the sun. Aim your camera north or south. If you point it east or west, you’re going to get blasted by the sun at primetime and will miss out on recognizable animals.
Pick an optimal distance. This one isn’t a hard and fast rule, but, generally, your camera should be about 10 yards from where you expect the animals to be.
Check your camera angle. Take some test shots with yourself in the frame. Stand where you expect the animals to be. Your knees should be at the bottom of the frame and you should be able to see a few feet above your head. Few things are more disappointing than seeing an animal, but never getting a chance to spot its antlers.
Tighten up. A curious elk or wandering cow will bump your camera and ruin your angle. Strap it as tight as possible to avoid hundreds of tree photos.
Double-check your camera. Before you walk away, make 100% sure that your SD card is loaded, your camera is on, and you aren’t in a menu setting.