


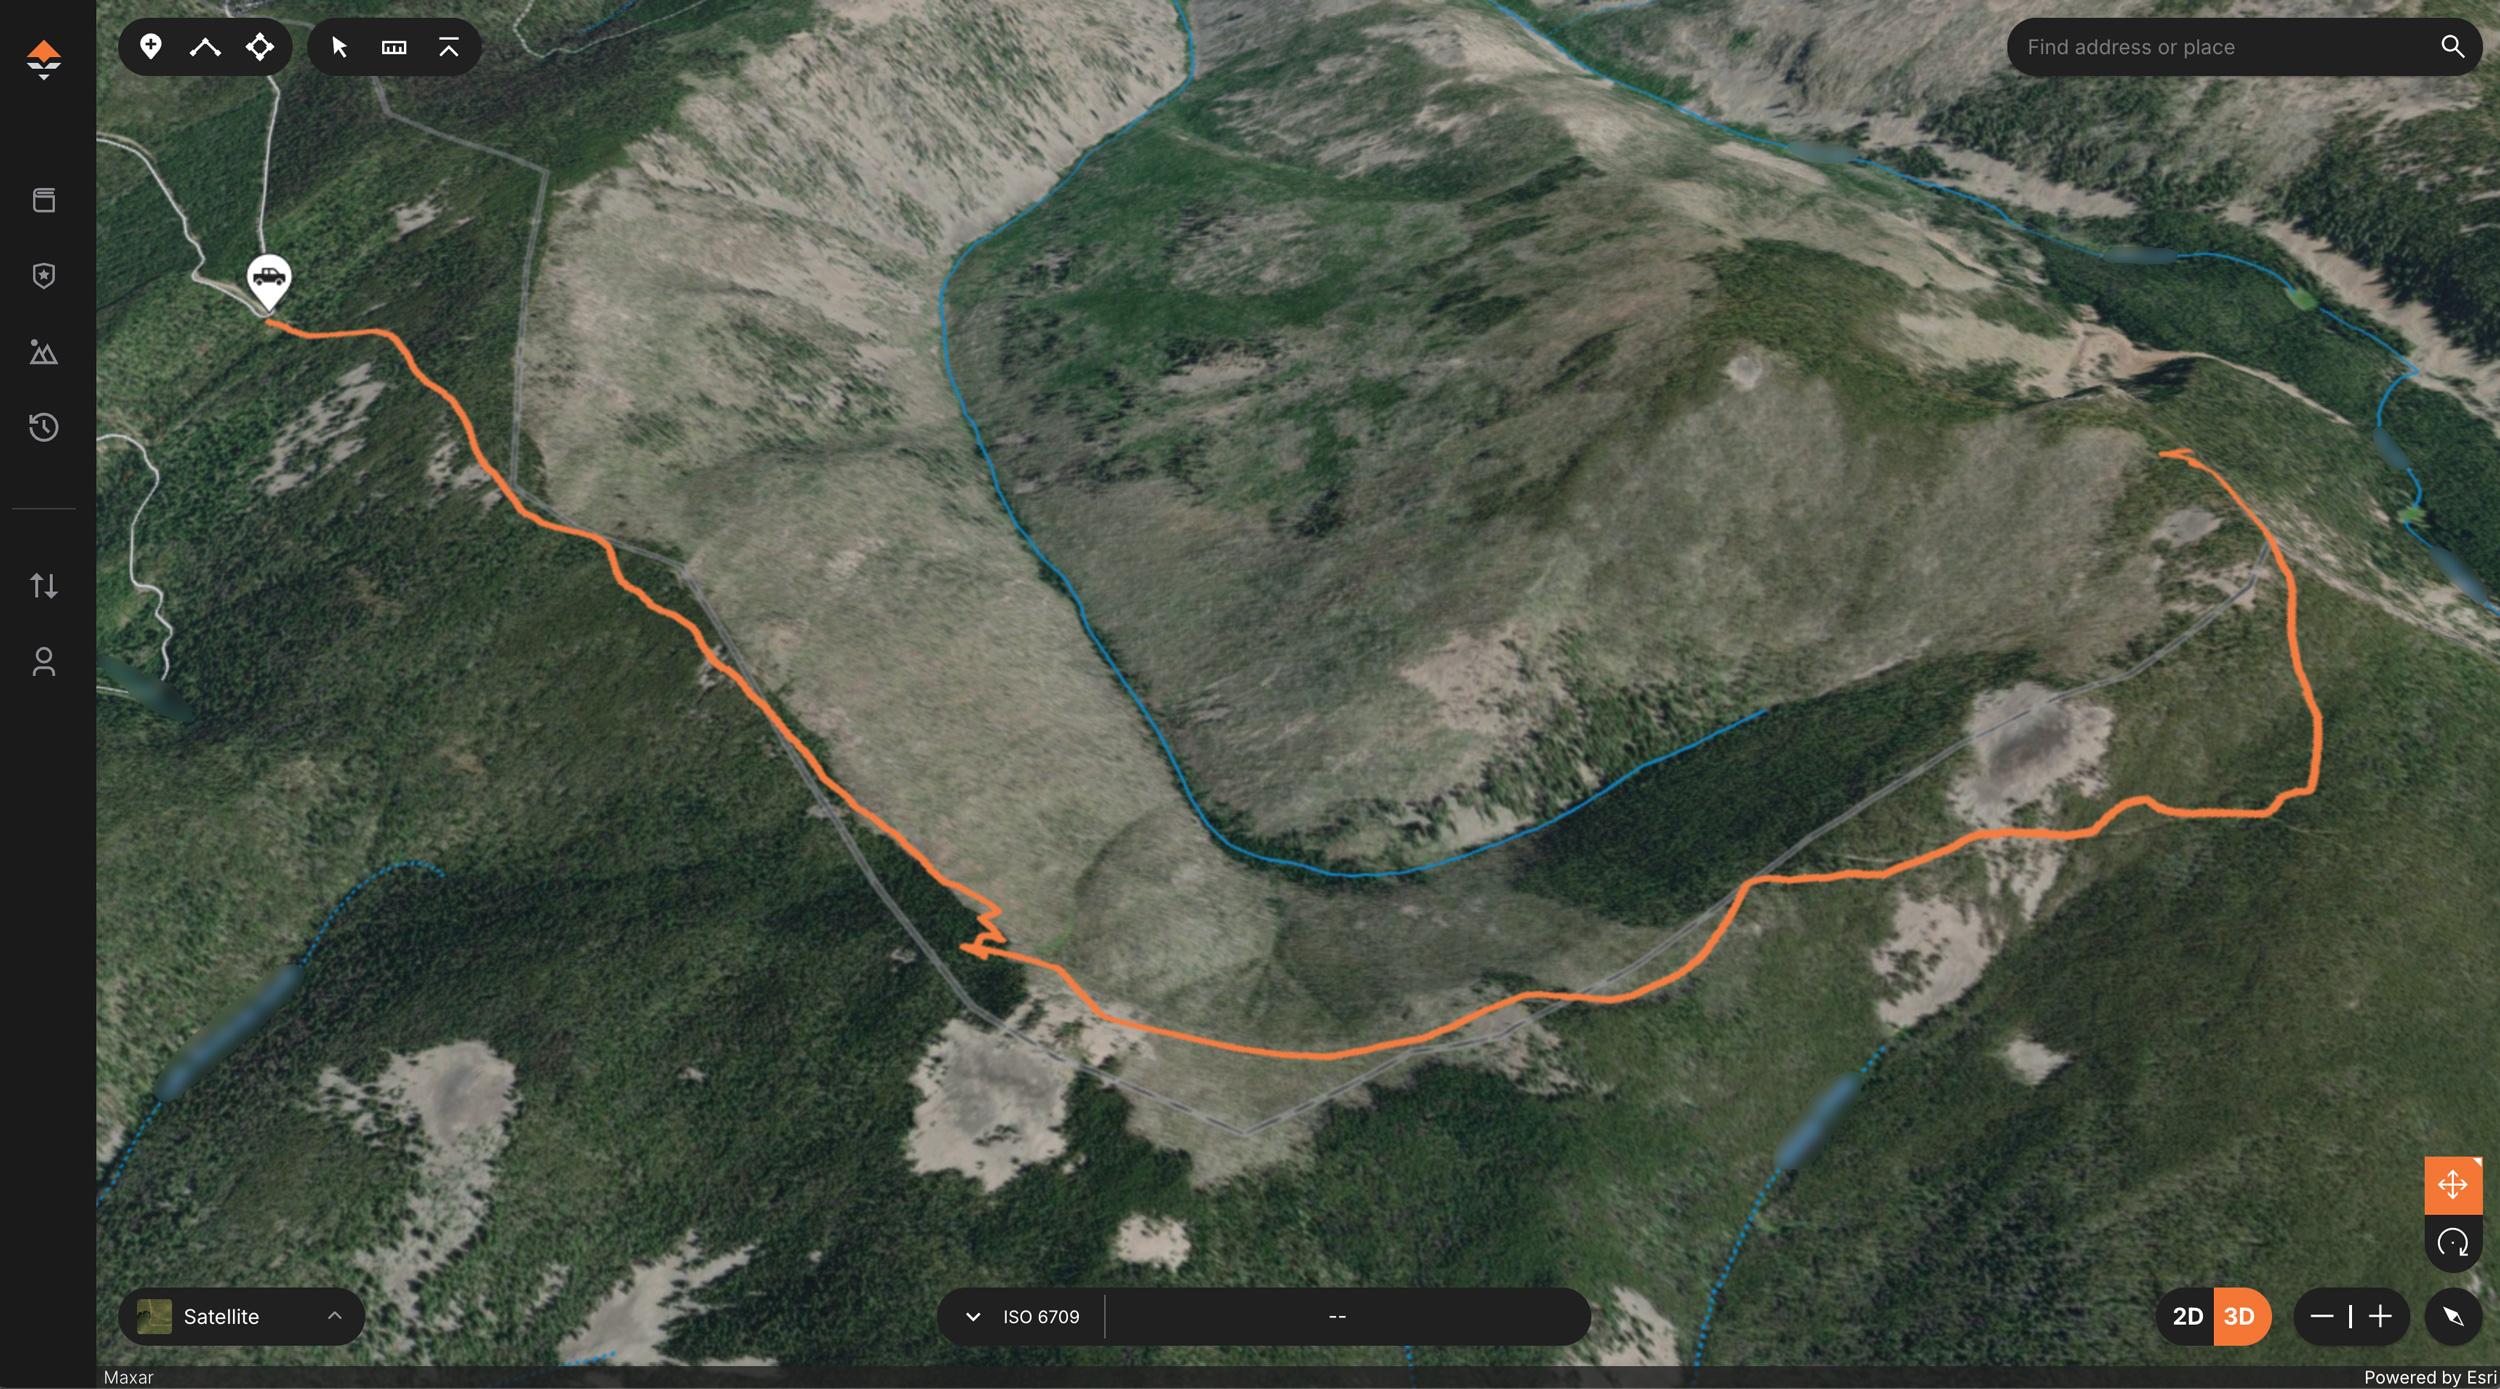
Initial planned hiking route into elk hunting area for scouting.
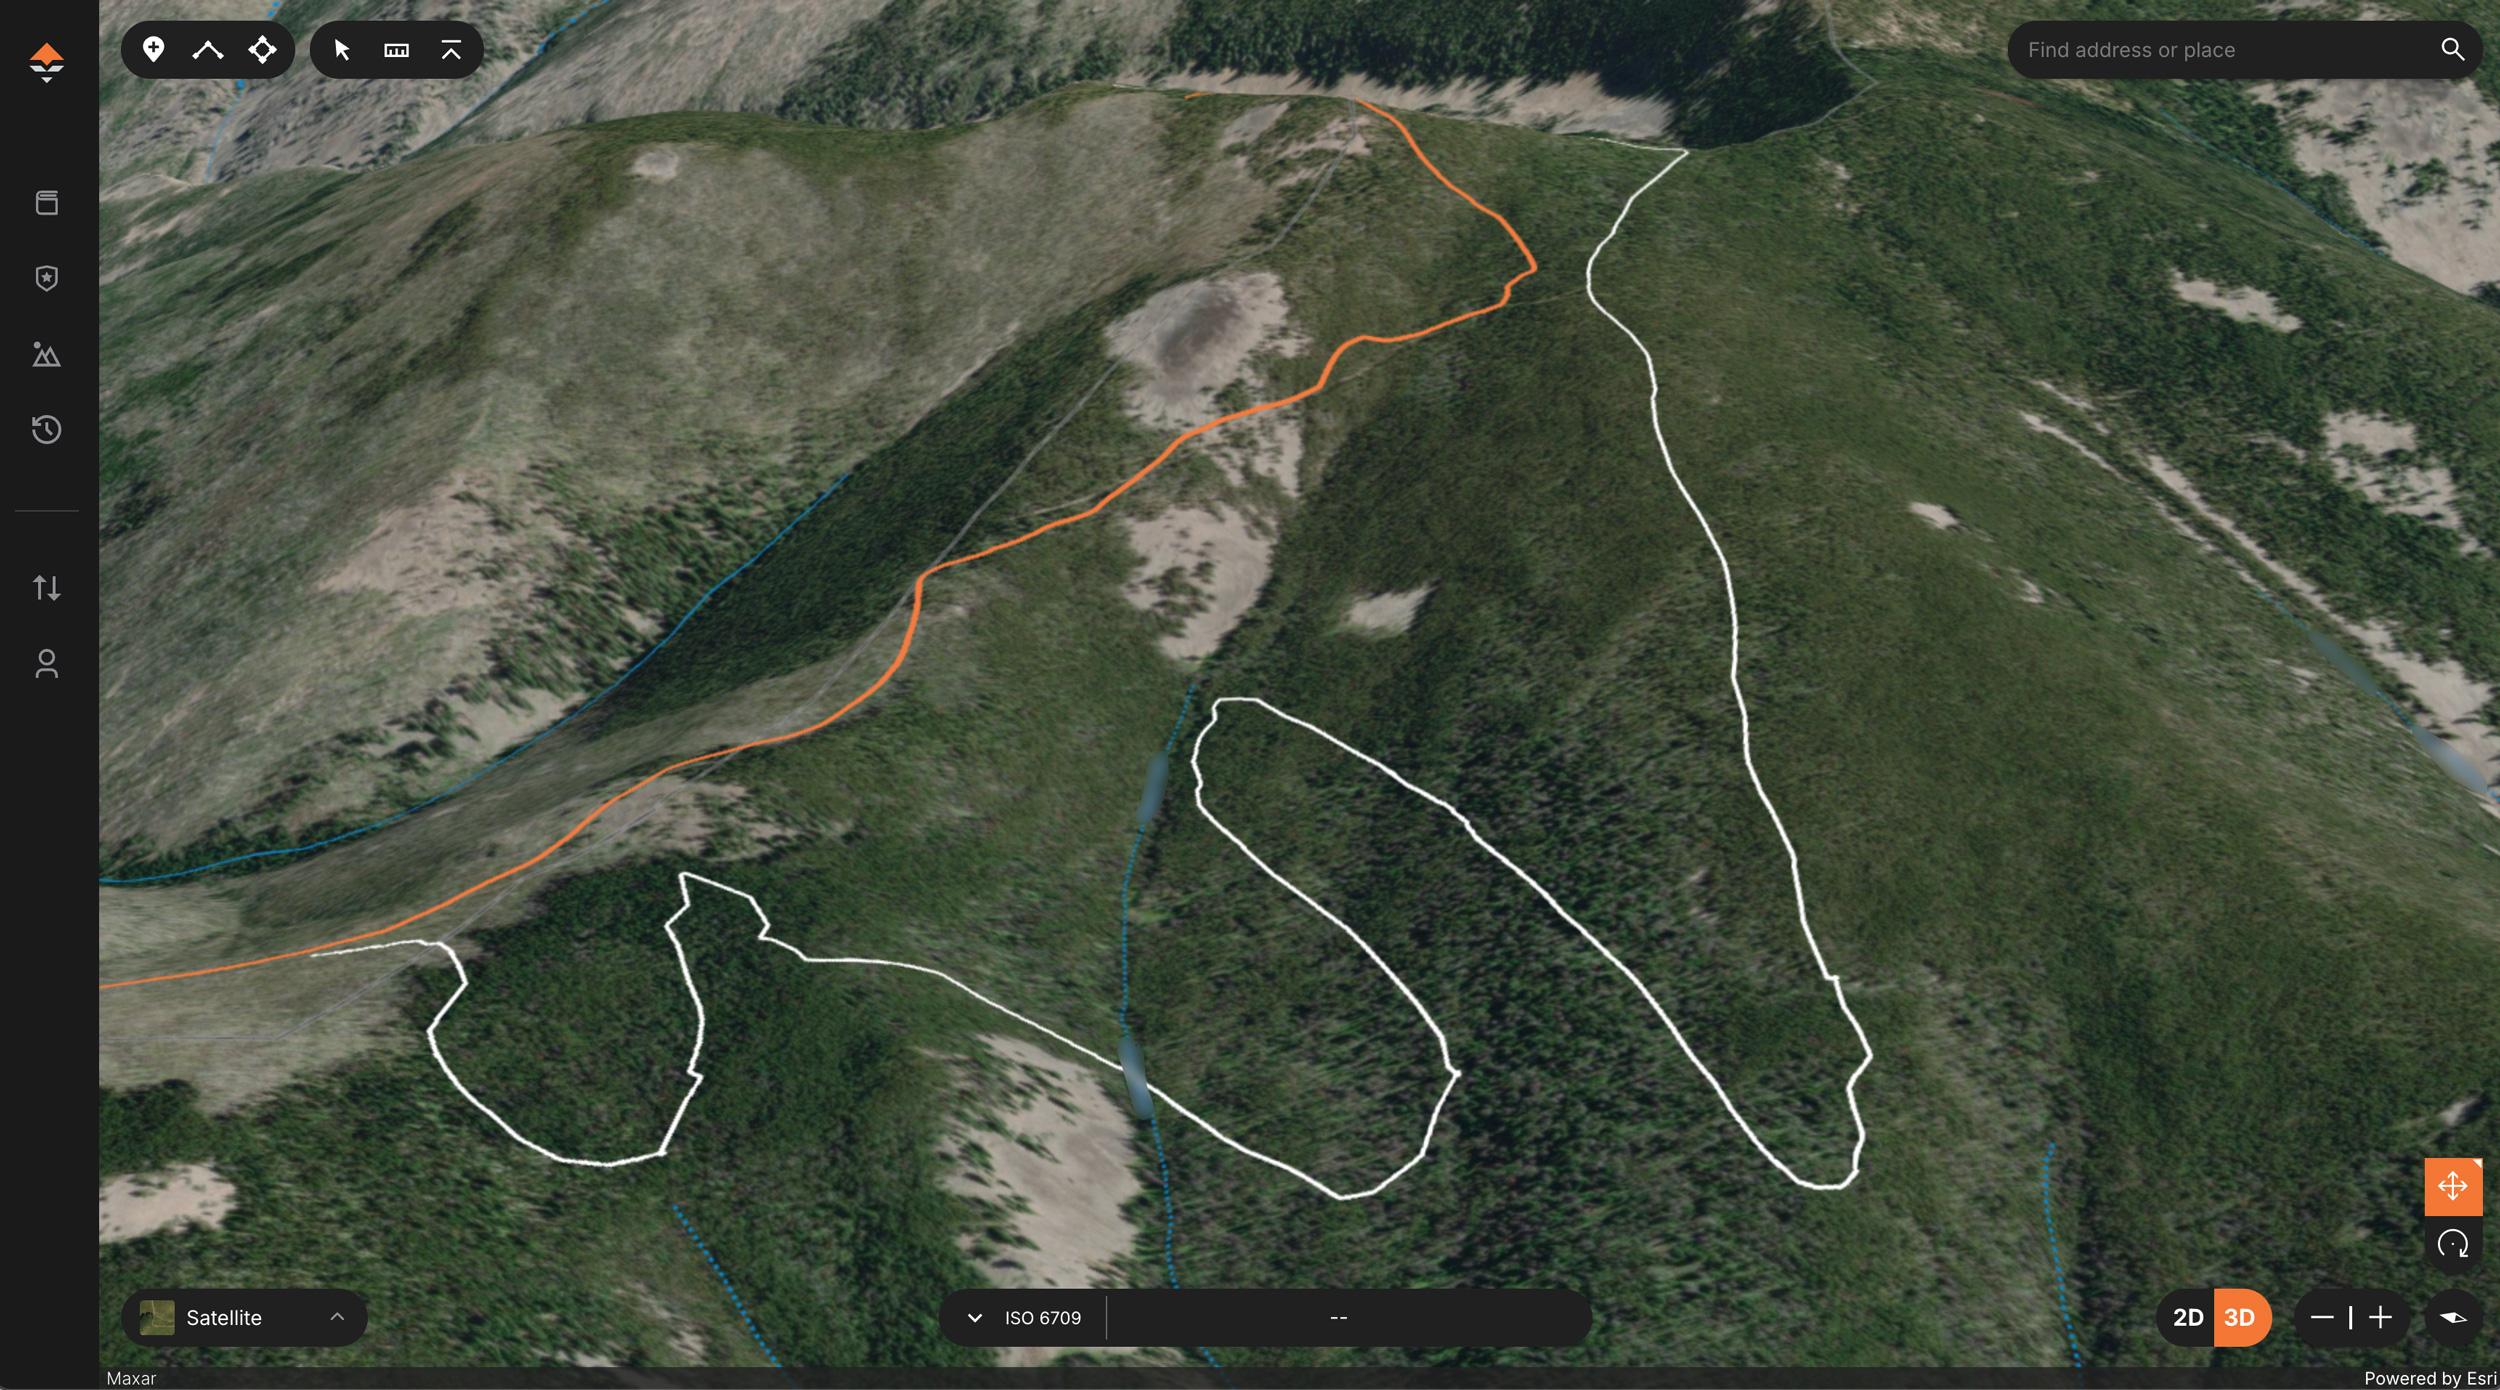
The secondary planned route to locate elk sign in timber is in white.
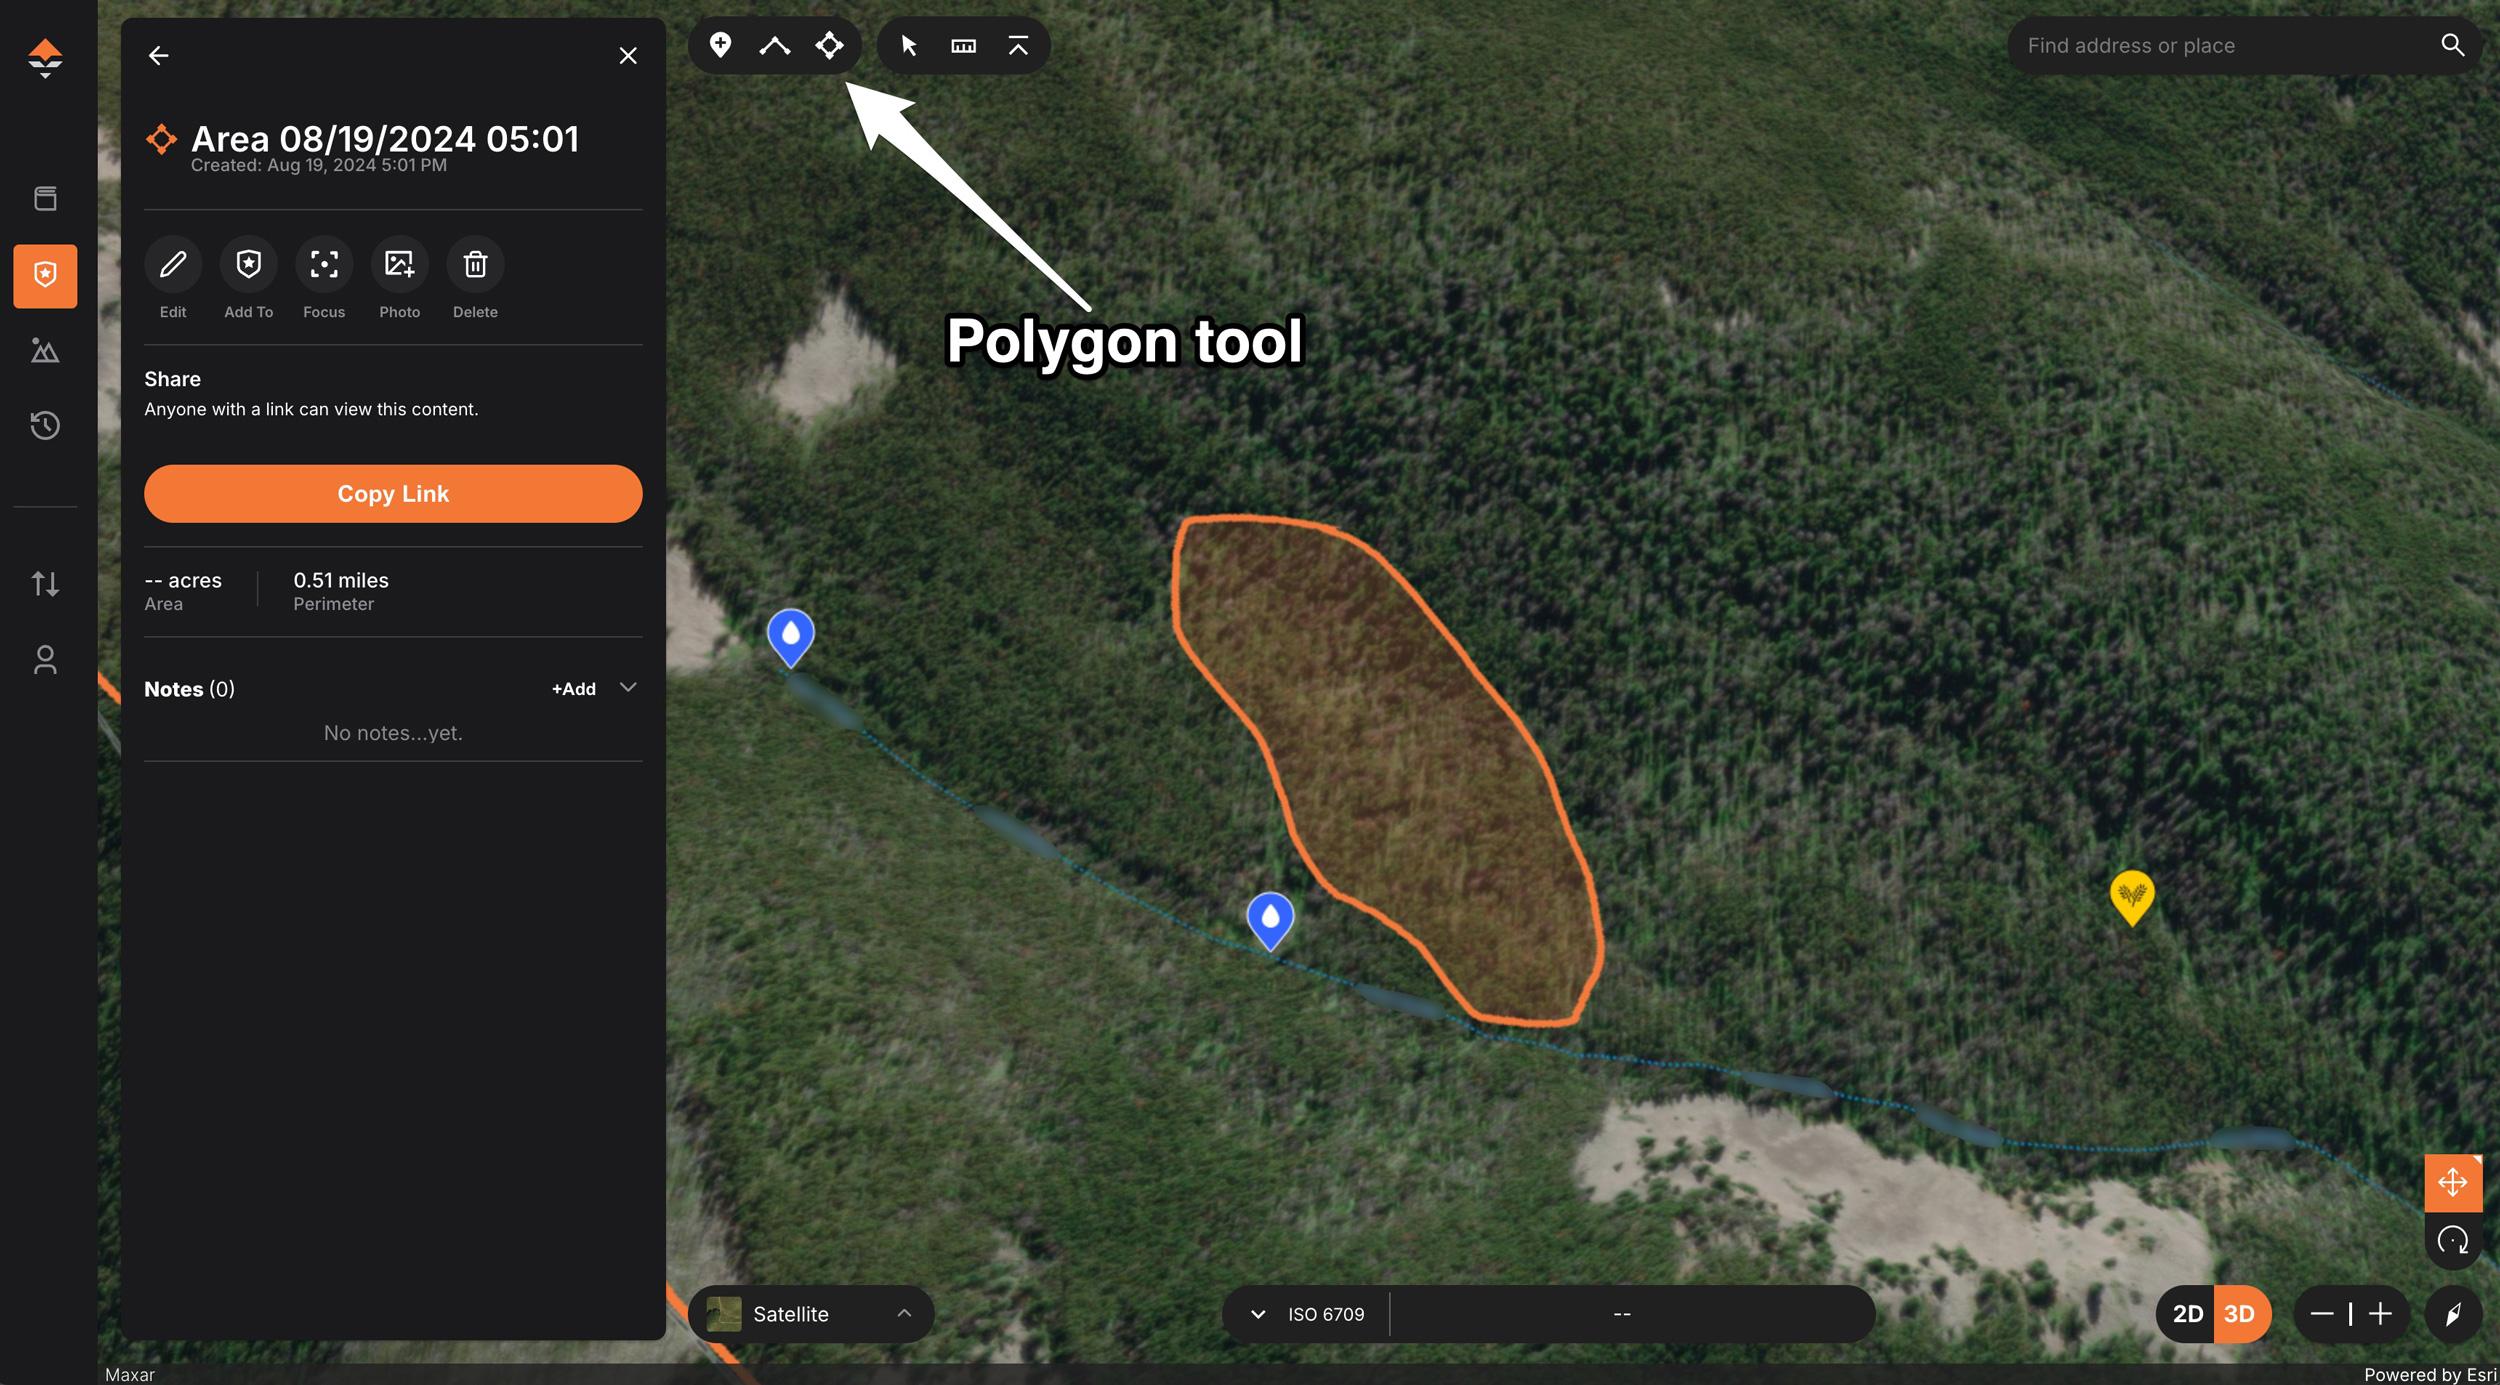
Using the Polygon tool on GOHUNT Maps to mark elk areas.
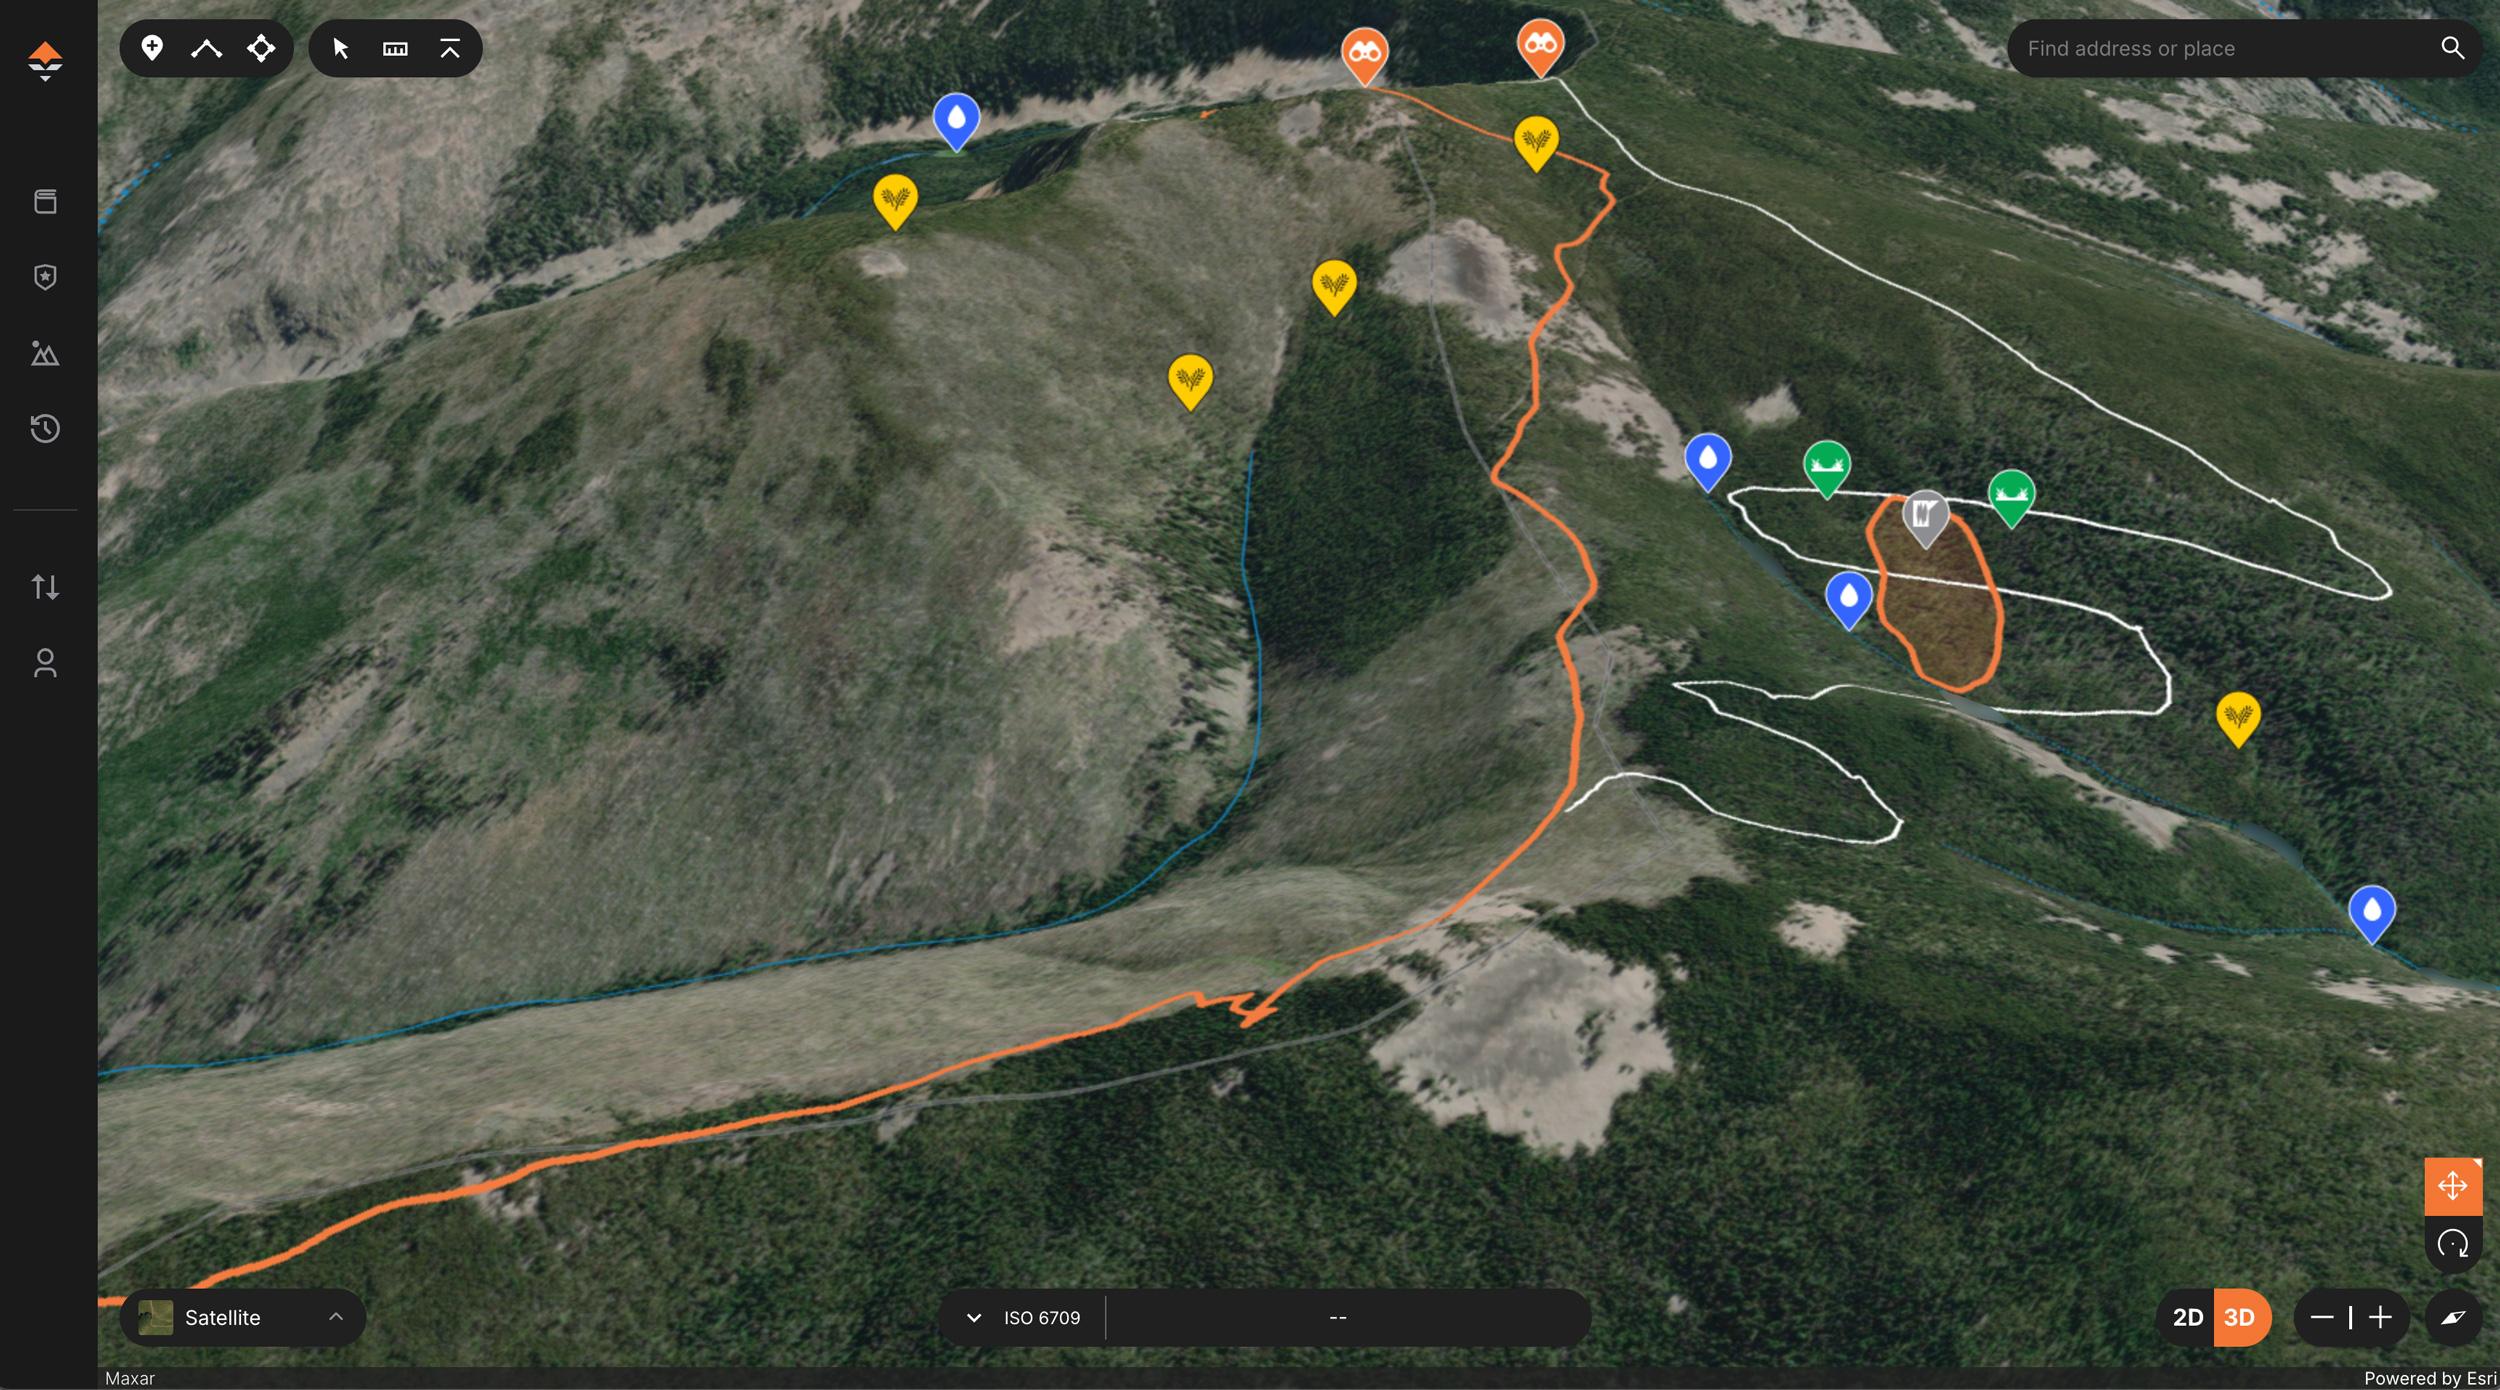
Elk scouting plan is starting to come together.
After reading the last segment on using GOHUNT Maps to e-scout and plan for your new elk hunting area you should be about ready for some boots-on-the ground scouting. Techniques and strategies for scouting your area will vary based on topography, ground cover, and available time, which is why I will cover ways to maximize your time in the field.
The first thing I like to do when preparing to scout a new area is formulate a plan of attack in an effort to maximize my yielded results based on my time available. By doing this, even short day hikes can show an area's true potential. When all of the stars have aligned, and I have several days, consecutive or not, to scout an area, I can be much more comprehensive and thorough with my efforts. With a constantly changing schedule, things can happen, and my time in the field can become less and less. Unfortunately, summer life has been a fast-moving blur of weddings, work, and taking care of our kids. I had one day to scout and, with a well planned route, I was able to find exactly what I was after.
To begin building a detailed plan, I like to first look at the terrain of the area I’ve selected and previously e-scouted in Part Two of this article series. My particular area has a very prominent ridgeline that runs the course for most of the area I plan to hunt, with west-facing drainages that feed off of this ridge.
An obvious path to cover the most ground will entail walking this ridge in its entirety, which will do two things:
Secondly, because this is only a day trip, I won’t have the time to hit every area I’ve marked, so I need to establish the one area that I feel will hold the most elk. I know for sure that I want to look at the back bowl, but due to its smaller size and extremely difficult access, I can pander this down to an area that I can effectively glass and gauge its probability to hold elk from a vantage point. After that, I will head back towards the west and follow a large finger ridge down and then sidehill it back to the main ridge. This is the furthest draw from the truck as well as the highest, which will lead to much less competition and generally unpressured elk.
This path should lead me through what I feel is the most likely elk habitat and should give me a good idea of what to expect for the area. After getting comfortable with my plan, I realized it was time to load up the pack and hit the road.
When planning your scouting trip, don’t overthink the process; think like you are an elk. Where would you go if you wanted to be largely undisturbed? Would you look for an area where you had to drop 1,000’ to find water every day? Elk will always take the path of least resistance and can be fairly predictable in their movements from bedding to food to water.
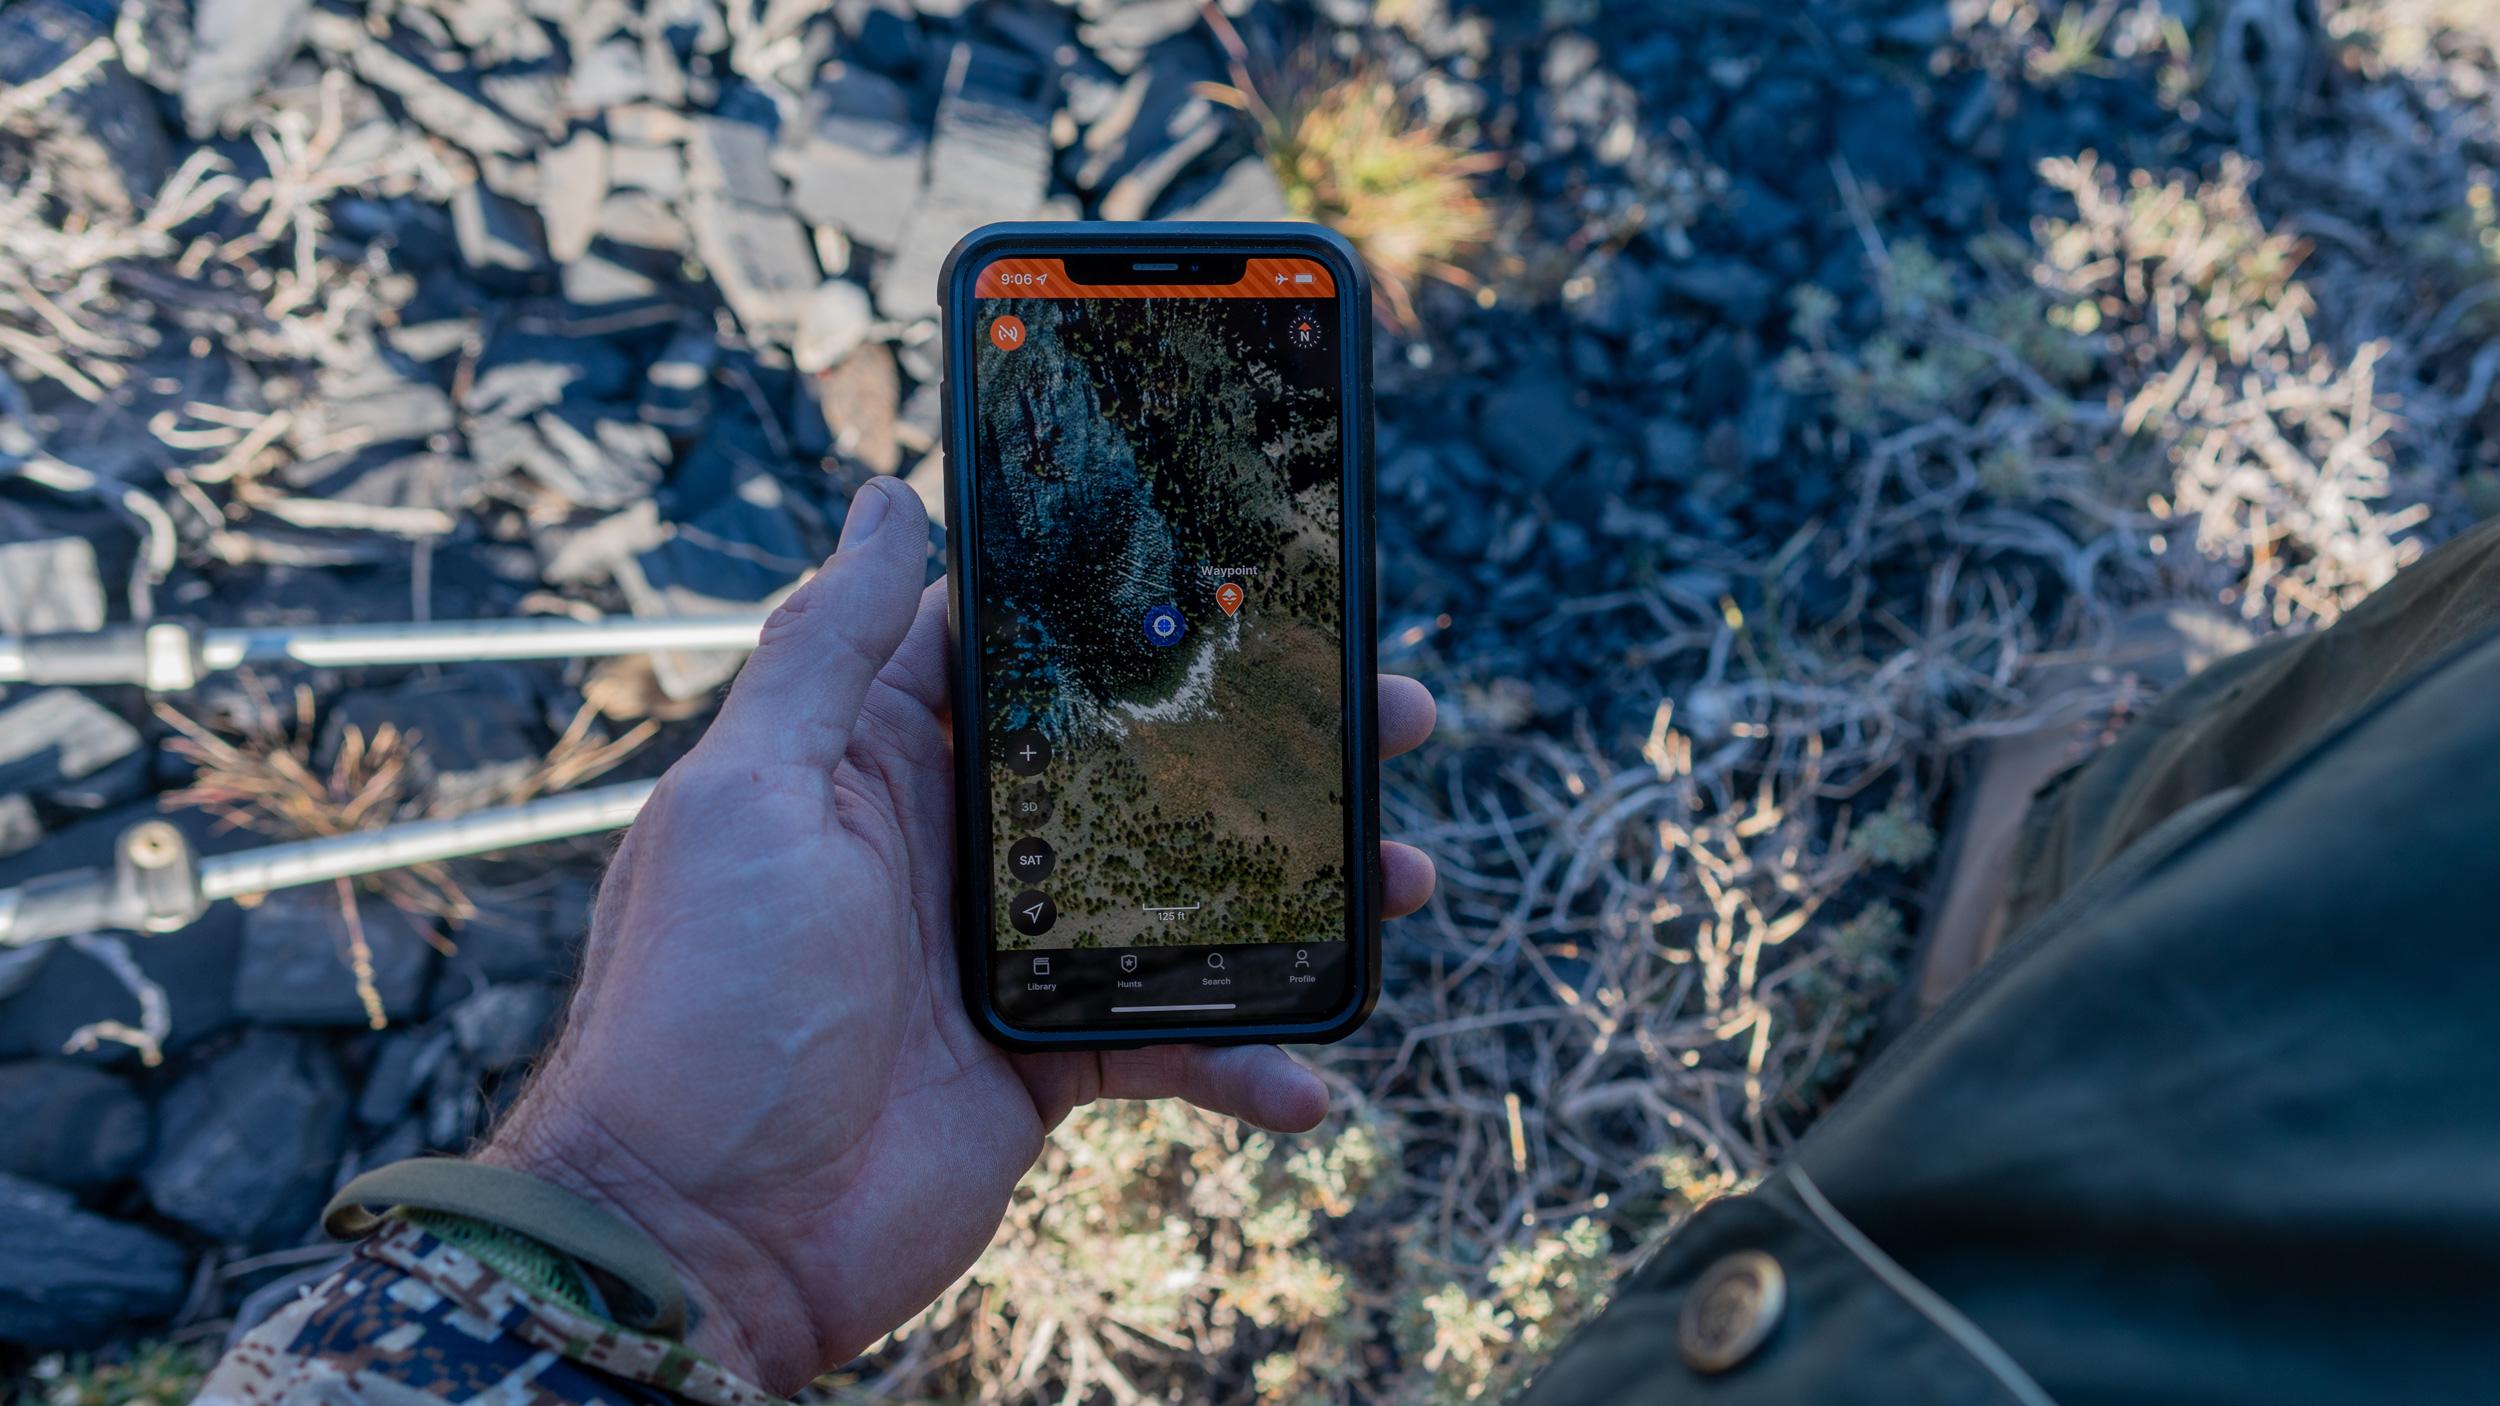
As I am following my route, I will mark waypoints at any areas of interest on GOHUNT's mobile app, such as high points that can be good bugling and glassing points as well as obvious signs of elk such as tracks or scat.
If the terrain allows it, I will also try to glass into areas that I had previously marked on GOHUNT Maps as an area of interest in an effort to establish if they require further investigation or not. Another good tactic that I have begun doing is timing myself from the truck to newly marked observation points. This will give me a good grasp of how long before daylight I will need to leave the truck when it comes time for my actual elk hunt.
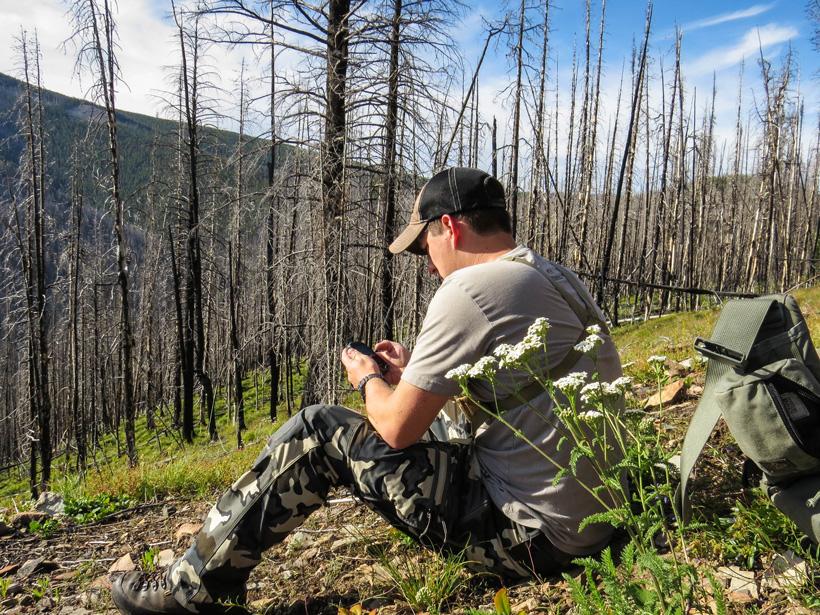
The big ridge running through the burn showed some great promise for feed and will likely be an area I will want to still hunt as the first rays of light bring life to the mountain. I marked a good spot to listen for bugles on the GOHUNT mobile app, but due to the sheer amount of standing timber remaining from the fire, glassing opportunities were fairly slim.
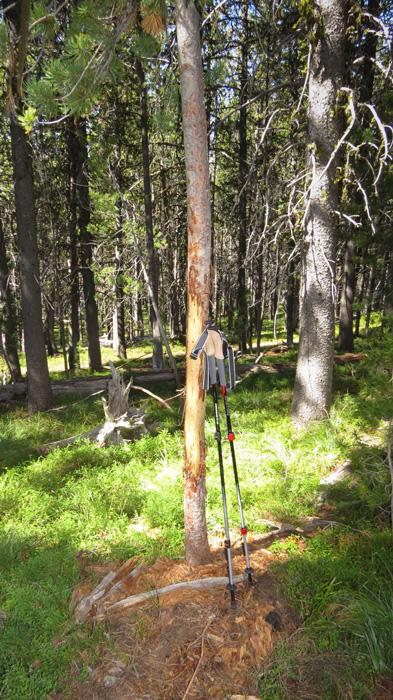
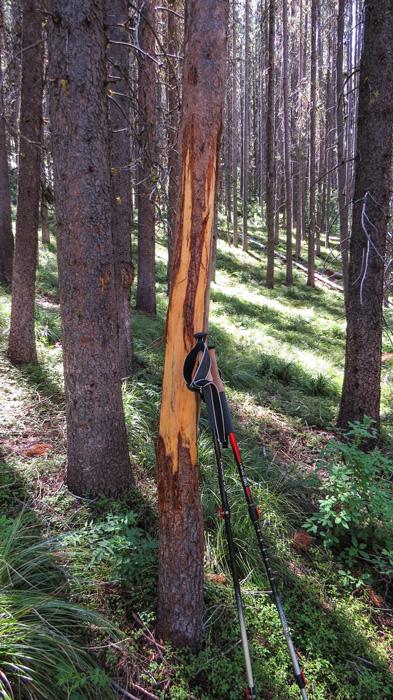
Whenever I come across a rub, I really slow down and scan the area for additional signs of rutting activity. Elk rub a lot during the rut. If I can find an area with multiple rubs from multiple years, I’ll quickly begin to paint a picture of elk movements during September. Because I’m not necessarily interested in returning exactly to one particular rub, I generally just make a mental note of the area (or mark one waypoint) instead of marking a bunch of waypoints and utilize this information at home on GOHUNT Maps web version later.
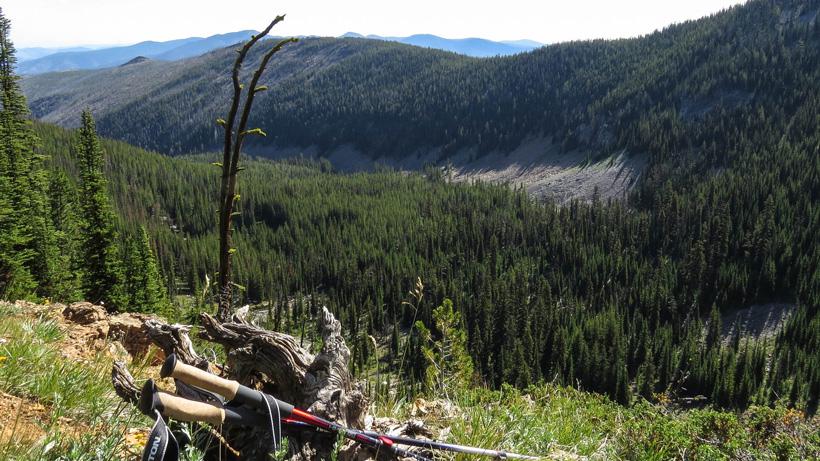
The top bowl has shown some serious potential as an elk playground. The area is secluded enough that very few hunters, if any, will see it on a consistent basis, and it contains everything elk need: food, water, and cover. From my vantage point I was able to establish all of these necessities and was able to find a location that would allow me to bugle into the entire valley effectively. This is an area I’ll definitely expect to find elk come September.
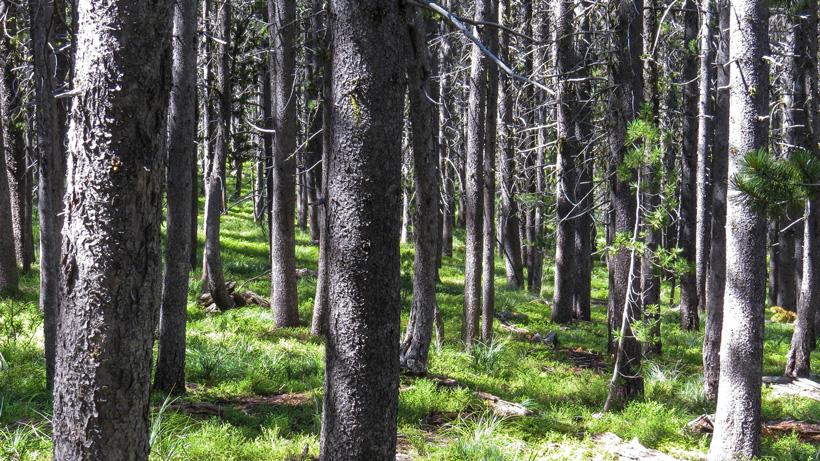
I knew elk would more than likely bed in this top bowl, but I also knew that there had to be more areas so I descended down a large finger ridge to the west, where I had encountered a cluster of rubs near its highest point on my way in. A worn trail led its way down a lodgepole-choked ridge where I encountered more rubs and several smaller trails bailing off to the northern face of the drainage. While scouting, I’m always trying to be conscientious of well-used trails as these will often lead to prime elk spots and provide some excellent areas for ambush or cold-calling points.
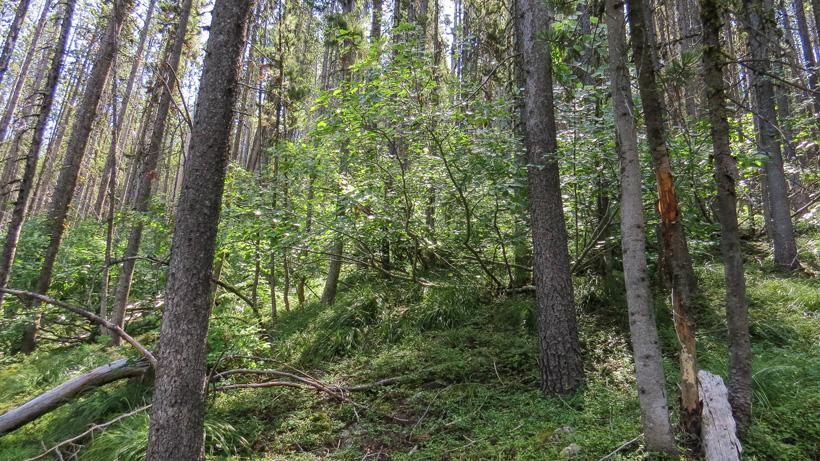
After following the ridge for half of a mile or so, my trail took a definitive turn to the north and began descending towards the bottom of the drainage where I had previously marked some areas of interest as possessing water. Halfway down the slope, the vegetation began to increase in density as large clusters of mountain maple sprang up, undoubtedly signaling nearby water and good cover for bedding. To establish what I feel is a good bedding area, I will often look for small benches, heavy cover, and easy exit routes for the elk to take.
After encountering the likely bedding area, I continued to drop into the bottom of the drainage in search of a water source. At the bottom, I encountered several small water runs, lots of elk rubs, and heavy used elk trails. This area shows some extreme promise due to the close reciprocity of elk signs, which led me to believe that this area will undoubtedly hold elk during the rut. I followed another heavily worn trail out through another bedding area and, eventually, back to the main ridgeline that led back to the truck. While I did not have a ton of time to scout this area, I was able to locate some incredible elk sign by focusing on the most probable areas and will be able to formulate a very effective game plan for opening weekend.
Once you’ve returned home, it is time to filter through the data and begin painting a picture with a broader brush. All of your newly marked waypoints will automatically transfer over to the web version of GOHUNT Maps, and now we must apply our newfound knowledge to better map out the elk hunting area.
I like to color code my "e-scouting" waypoints a little differently than my "boots-on-the-ground scouting" waypoints. This ensures that my new waypoints are represented by a different color pin as this will ultimately lead to an easier-to-read map.
Be sure to check out Brady Miller's method for organizing and color coding waypoint article below:
For my final mapping task, I like to use the Polygon tool to draw out the rough areas where rubs were encountered. I like to change my polygons to an easy-to-see color with the opacity set to about 25% so I can still see the ground cover. This will allow me to see a bigger picture of elk rutting activity in the area, and obvious travel routes should start becoming more and more apparent.
As you can now see on my map, travel routes and areas to concentrate on have become fairly visible, and I should have no problem finding elk here once the rut starts.
By following the steps I’ve outlined in this three-part series, you should now have a fairly good grasp on your new area and will be able to formulate a strong game plan for the first hunt.
If you haven't read parts one and two yet, a short description and links to the articles can be found below.
This first article covers how to narrow down prospective over-the-counter units to hunt elk using the research tools found on GOHUNT Insider. You can read the article here
This article dives deep into tips to help you scout for elk on GOHUNT's mapping tools. You can read the article here.
Don't be discouraged if your new honey hole does not produce the obvious signs of elk you were hoping for while scouting. Personally, I probably cross off twice as many spots as I add on a yearly basis.
E-scouting will become increasingly easier the more you do it, and soon you will be able to pick out likely elk spots with greater ease. This level of technology involvement will not be for everyone, but for me, it helps create a crystal clear map of my new prospective areas and allows for a much more efficient use of my time come fall.
This article was originally published on August 2, 2016, and has been updated with more information.
Provide me with an accurate gauge of the overall hike.
Allow me to get a good grasp of the terrain I can expect.