


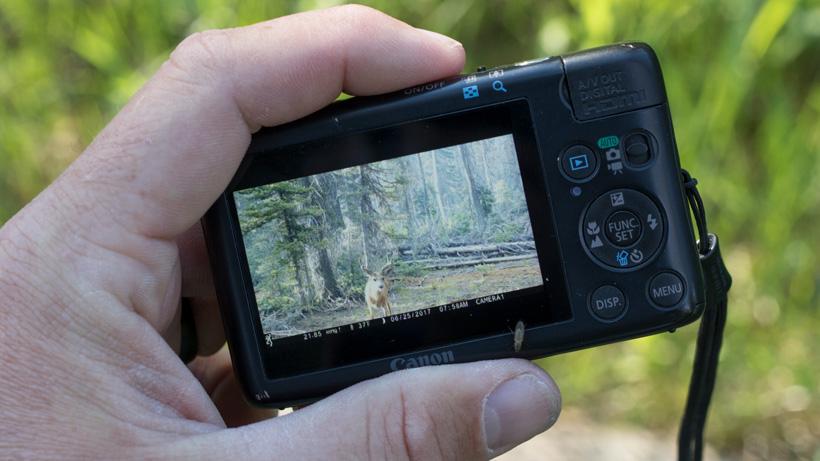

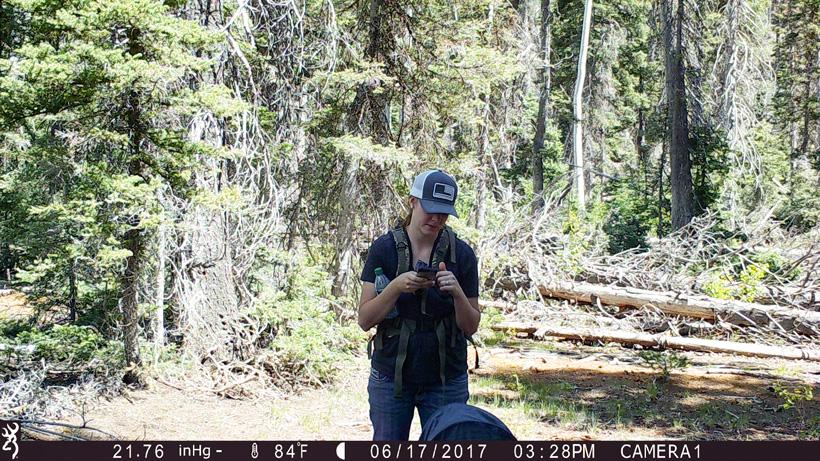
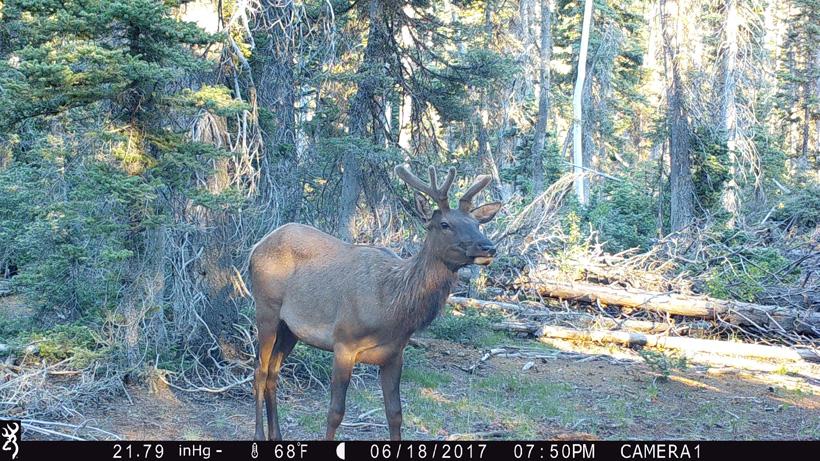

Trail cameras are great scouting tool that are increasing in popularity every year. I’m not going to lie: running trail cams can get addicting. The anticipation of checking to see what’s hitting your camera is similar to that feeling you have on opening morning of hunting season. Then, as the images load, the rollercoaster of emotions begins when you discover a couple of pictures of a great buck or bull on camera. The anxiety of keeping track of that animal over the entire summer, the worry that he’ll leave or he won’t show up in daylight and the constant worry that someone will find your camera will plague you.
Yet, on the flip side, when you do get a great buck that starts hitting your camera on a regular basis, it’s incredible to watch them grow and, over the course of a few short weeks, you almost get to know them. This is when my wife will start naming some of the deer that we find. We’ve had an Alfonzo and a Walter along with other off-the-wall names that help us keep tabs on them.
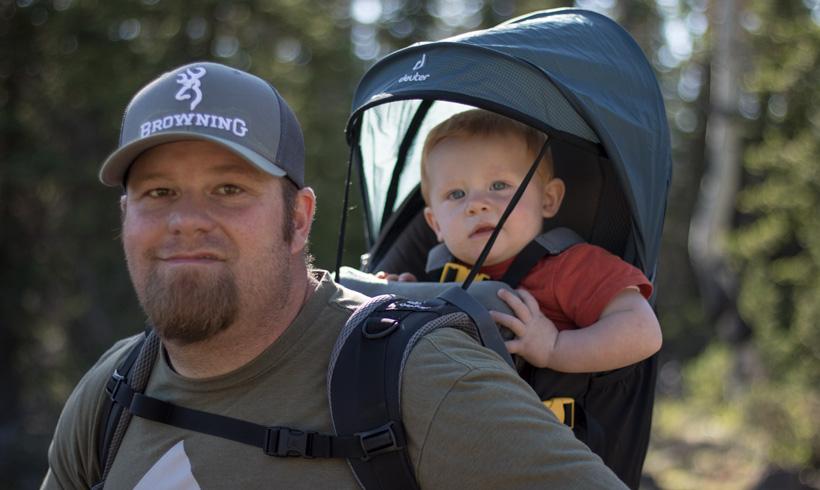
Another great aspect of running cameras throughout the summer is that the whole family can be involved. My wife and I will load our little nine-month-old up in a backpack and hit the hills. It seems that the busier life gets, the more excuses we need to get outside and this family activity can pay dividends in the fall.
For those that might be new to trail cameras or just have some questions about setting them up or using them, in this article I’d like to share a few quick tips that I have learned over the years.
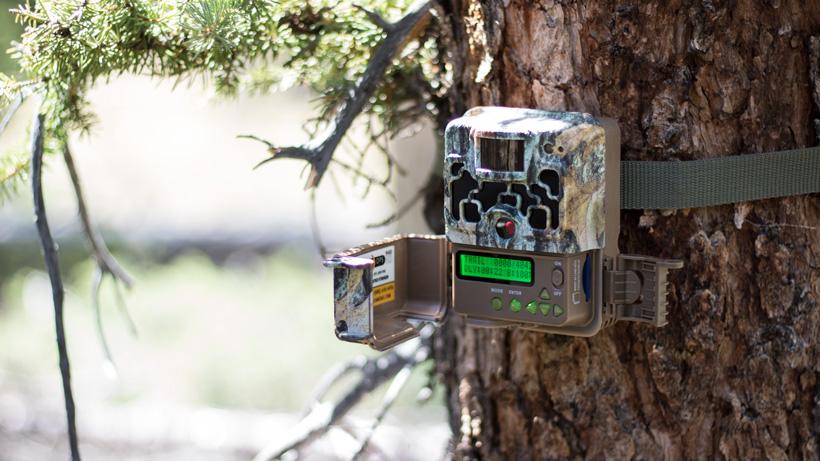
That doesn’t always mean the most expensive. I really like Browning Trail Cameras. They take a great picture, have a quick trigger speed, are small and easy to carry and it doesn’t take a master’s degree to set them up.
I try to make my time at my camera location as quick as possible. Putting in batteries, setting the date, setting the function on the camera and placing it on the tree all take time. It's best to do a test run of the camera at home to ensure everything is working.
Branches in front of the camera will fill the picture and set off the motion sensor when the wind blows. There’s nothing more frustrating than 1,500 pictures of a branch waving in front of your camera.
Well, there might be one thing more frustrating that the branch: having what seems to be an animal in a picture, but, because of the sun's glare, you can’t tell. Try not to place your cameras facing east or west. That puts the sun glaring right at your camera first thing in the morning or at last light. These are some of the best times for getting pictures.
There is nothing more disappointing that walking up to your camera after a few weeks, full of those emotions that we talked about earlier, only to find nothing. You’ll only ever forget it once, trust me.
Great luck in your scouting endeavors this year! If you’re running cameras keep an eye out for more articles where we’ll dive into camera settings, changes to strategy as it gets closer to the fall and other great tips!
Do you have a trail camera tip? Leave it in the comments.