



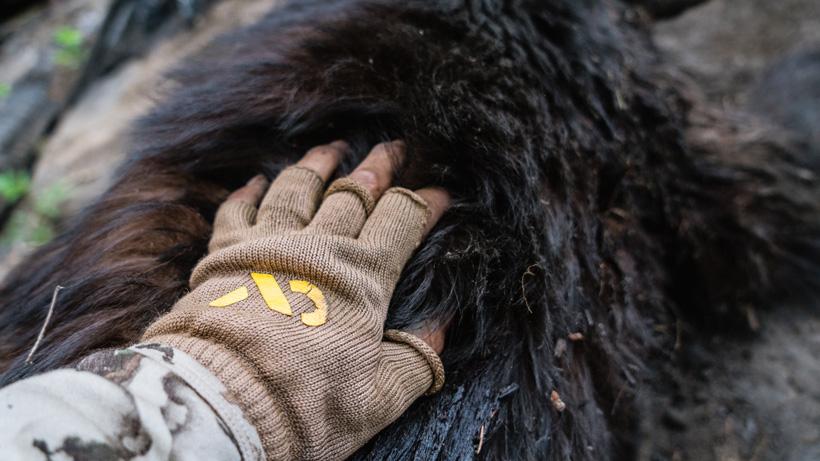

Already, another year has flown by. Many of us are in the planning stages of our upcoming year right now. It seems like there are so many opportunities and too little time. Are we going to hunt out of state this year? What animals are we trying to get after? Of course, hunting at home is always a priority—at least it is for me. I love hunting my home state of Arizona and look forward to every single season that lay ahead of me here. The past couple of months is the time of year when I get out and start setting up some trail cameras. I do this not only to find out what critters made it through hunting season, but I just love seeing what is walking around the areas I call home. Pulling a trail camera card for me is sort of like Christmas morning. I just never know what picture is going to pop up next and I love it. In light of that, here are some tips that I have learned over the years for setting trail cameras.
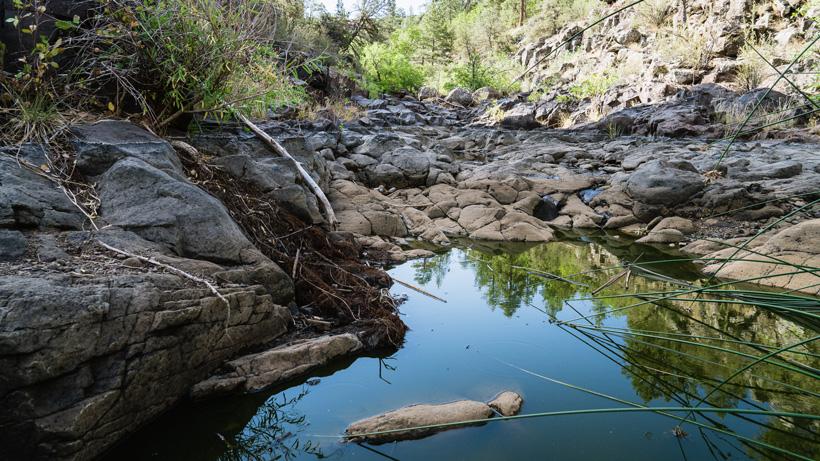
This way of thinking has really taken over my whole outlook on hunting. I am always trying to find ways to get off the beaten path and away from the roads. That thought process doesn’t end with trail cameras. For that reason, I won’t even consider setting a trail camera near a heavy traffic area for humans. I like to get down in the bottoms of rugged canyons, secluded and dense benches or into areas that require at least a mile hike from the truck. Basically, spots where other folks just don’t want to go. This works out great because not only does this keep most people away from your camera, but these are usually the areas that hold the most critters. That means more pictures and more intel in your hunting area. It’s a win-win if you ask me.
Another angle you can take from “off the beaten path” is taking it literally. I know and have seen quite a few folks that will actually put their trail cameras up in trees, looking down, completely out of view from both humans and animals. In general, animals don’t walk around looking up and neither do humans. Doing this should help out with either species messing with your camera, which we will discuss farther down in this article.
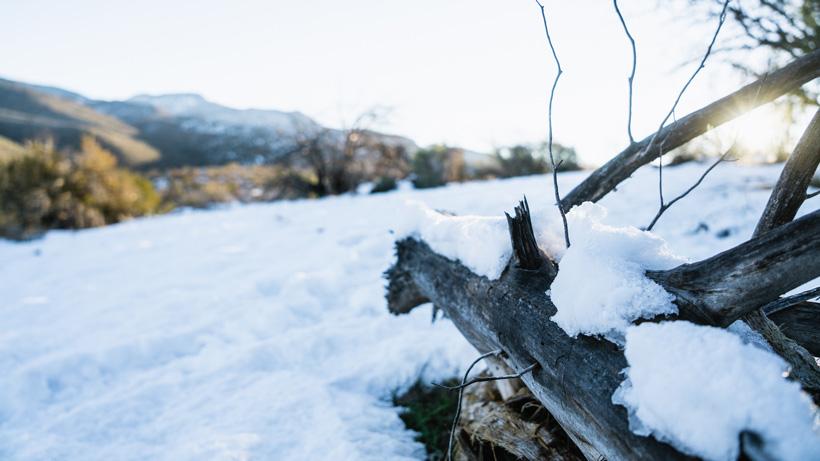
Something that you might want to keep in mind when setting up that trail camera is the sun. Mainly, you need to know which way the sun is facing. South facing exposures get the most sunlight while north-facing exposures get the least. This is going to affect which way to face your camera if you want quality pictures. You see, if you face your trail camera to the south without a dense canopy to shield it from the sun, there are going to be times of day when your pictures are going to be less than satisfactory and just blown out by the sun. For this reason, I like to try and face my cameras to the north. This will ensure that my pictures won’t be compromised by the big burning ball above. I’d hate to finally get that dream bear or buck walking in front of my camera only for the picture to be ruined by the sun.
While you’re at it—make sure that you don’t have any vegetation right in front of your camera lens. I like to try and clear the area by my trail camera so that these branches or other things don’t set off my camera every time the wind blows. I’ve been there. Trust me. “Yes! I’ve got 5,400 photos on my card!” And then I find out that 5,000 of them are from that pesky little branch I didn’t move.
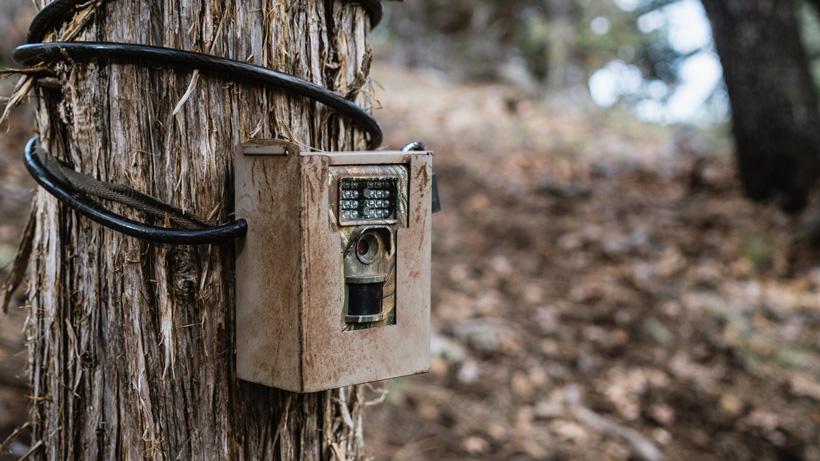
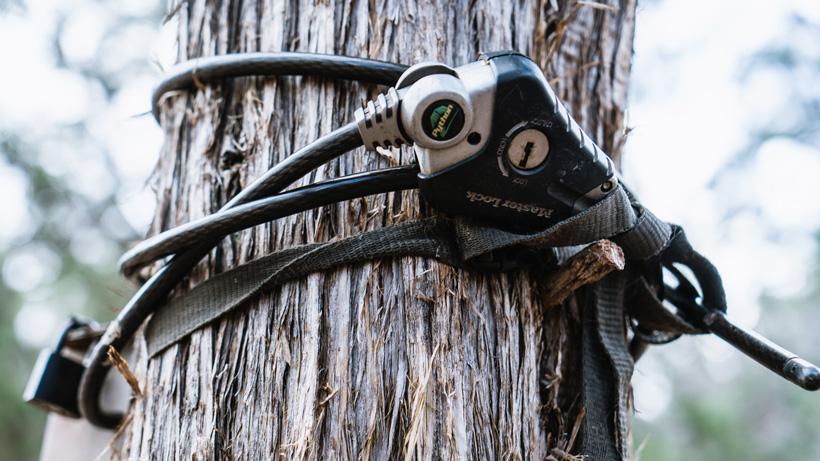
Let’s face it. These little gadgets can be expensive and, sadly, trail camera theft is more and more prominent each year that goes by. I hate thinking like this, but you hear stories every single season about trail cameras being stolen. Often, they are being stolen by other hunters, which completely boggles my mind. Why one hunter would try and sabotage another leaves me floored. Nevertheless, I think it is a great idea to plan on locking up your camera in a lockbox and then locking it to the tree as well. Of course, if someone wants it that badly, they are going to get it, but this is a great way to deter someone by not leaving low hanging fruit for them.
Another plus to keeping your camera in a lockbox is the animals themselves! Bears particularly like to mess with trail cameras. They bite them, claw at them and are just curious all the way around about them. I’ve also had quite a few elk that like to knock around my camera from time to time. Rubbing their antlers on it, breathing on the lens, licking it, etc. It is my understanding that they are actually attracted to the red motion light on the cameras. I don’t know how much validity that holds, but they sure are curious about them for whatever reason.
Setting out spring and early summer trail cameras is just plain fun and they have really become more of an entertainment tool rather than a hunting tool for me. Becoming familiar with certain animals in an area and watching them grow fascinates me: bears that I have a history with, bucks that I have missed and elk that have eluded me. These are also great gadgets to learn from as well in terms of animal behavior. Seeing what times of year you get the most traffic or when antlers start dropping are all cool things to know about where you are hunting. Fall hunting seasons are right around the corner and this whole thing is about to start all over once again. It’s a new year filled with new opportunities and I cannot wait to see what it holds as well as what my SD cards hold from my trail cameras come later this year! For even more information, check out this great trail camera placement tip article here.