

If you haven’t run trail cameras before, getting into it for the first time can be intimidating. There is a lot of investment: money, time, learning. A few years ago, I had a pretty good idea that I’d be drawing a certain unit and wanted to add to my scouting efforts through the use of trail cameras.
This was my first season running trail cameras and I had no idea where to start. After a lot of questions and even more mistakes, I finally got my cameras out there and successfully grabbed a lot of great images and scouting intel from several areas of the unit. What follows is a list of things that helped me, that I wish I knew sooner.
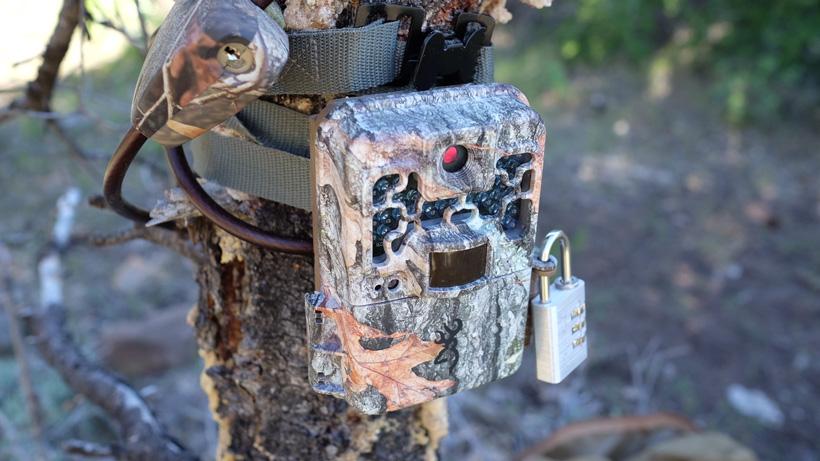
I’ve run a number of trail cams and many of them work great. I’m not a fan of the ones with view screens. From my experience, you end up paying a premium for poor battery life. An SD card reader that is compatible with your phone works just as well. My favorite camera to date is the Browning Strike Force, but there are plenty of other good options out there, too.
I’m listing this early because it’s incredibly convenient. I absolutely love having one of these. For between $15 and $40, you can check your photos on your phone right away instead of having to bring a digital camera or laptop. To me, this is a must-have. You can get them for iPhone, Android, or both.
First, avoid MicroSD cards. Due to their small nature, they’re easier to lose and since they need an adapter it’s just one more thing that can break.
This is easy. Just order the cheapest AAs and SD cards you can find. If you want to spend more money, then look at lithium batteries. Card speed isn’t important for photos. I like 32GB cards just to be on the safe side, but there is nothing wrong with 16GB or smaller if you can check cameras frequently or don’t mind lower resolution photos.
Nothing chews through batteries quicker than video. I’ve had standard AAs drain in less than a week. If you’re on a high-traffic spot, you might want to invest in lithium-ion AAs or see if a battery pack is available for your camera. If there’s little to medium level of activity in your camera spot or if you can check cameras often, you can get away with standard AAs. To record 720p video, your SD card should be at least Class 4 speed. For 1080p, your SD card should be Class 10 (and you don’t gain anything by paying extra for faster transfer speed). I always get Class 10 SD cards for video and haven’t needed more than 128GB yet—even at four weeks with high traffic. If you’re running standard AAs, there’s no point in going bigger than 64GB since you’ll rarely fill the card before losing power.
You just need something to keep your cards organized and dry. There are plenty of options out there.
Hopefully, you find this useful! I had a hell of a great time running trail cameras in the past to gain hidden gems of animal movement. And with these steps listed above, you’ll be way ahead of the curve.
Ultra cheap: Ziplock bag.
Cheap: Get a neoprene sleeve for $5 and just throw it in a ziplock bag if it’s wet out.
Pricier: $10 to $20 for a weather-sealed hard case. I love my Pelican case, but, honestly, a BoneView or other would be fine.
Most expensive: Forget the card case. Instead of swapping out SD cards, just swap out entire cameras! (Don’t do this.)
GOHUNT’s Head of Research, Brandon Evans wrote a great article earlier this summer with five quick tips. There is a little bit of overlap here but it is well worth a read as well!
Test your equipment at home. Set everything up before you hit the field: batteries, card, settings and test shots.
Check your gear before leaving. Make a list, check it twice. Yelling obscenities in the woods is just going to chase away the deer.
Avoid obstructions. A branch in front of your camera will set it off in the wind, block the flash at night, and otherwise block great photos of wildlife.
Don’t aim at the sun. Aim your camera north or south. If you point it east or west, you’re going to get blasted by the sun at primetime and will miss out on recognizable animals.
Pick an optimal distance. This one isn’t a hard and fast rule, but, generally, your camera should be about 10 yards from where you expect the animals to be.
Check your camera angle. Take some test shots with yourself in the frame. Stand where you expect the animals to be. Your knees should be at the bottom of the frame and you should be able to see a few feet above your head. Few things are more disappointing than seeing an animal, but never getting a chance to spot its antlers.
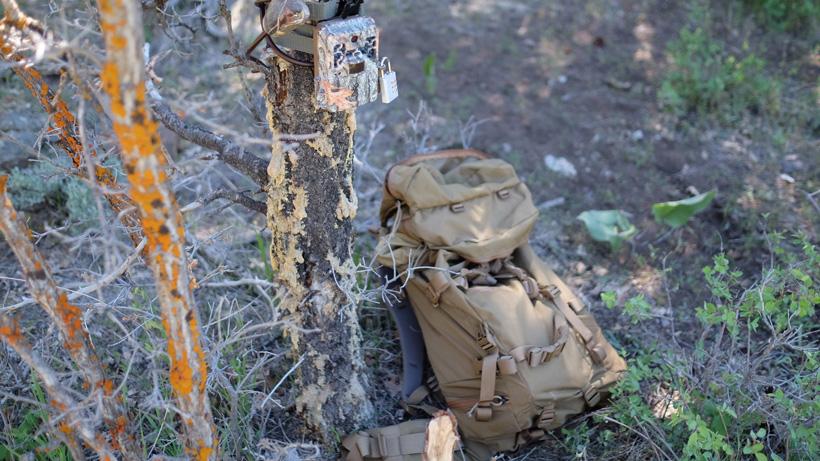
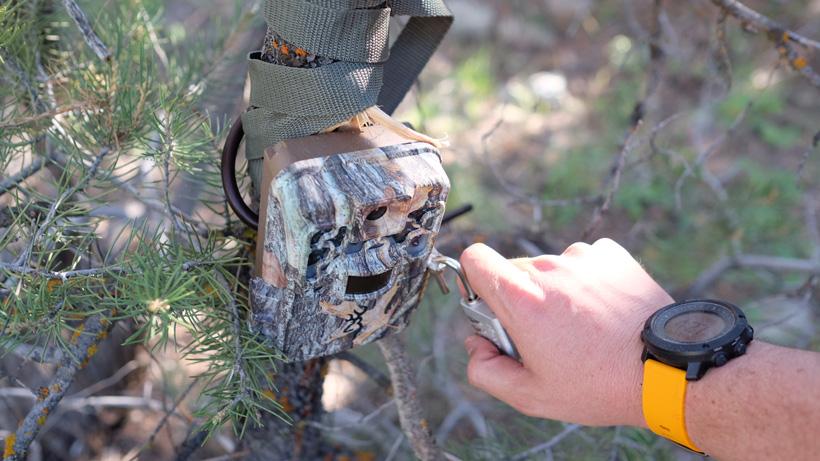
Tighten up. A curious elk or wandering cow will bump your camera and ruin your angle. Strap it as tight as possible to avoid hundreds of tree photos.
Double-check your camera. Before you walk away, make 100% sure that your SD card is loaded, your camera is on, and you aren’t on a menu.