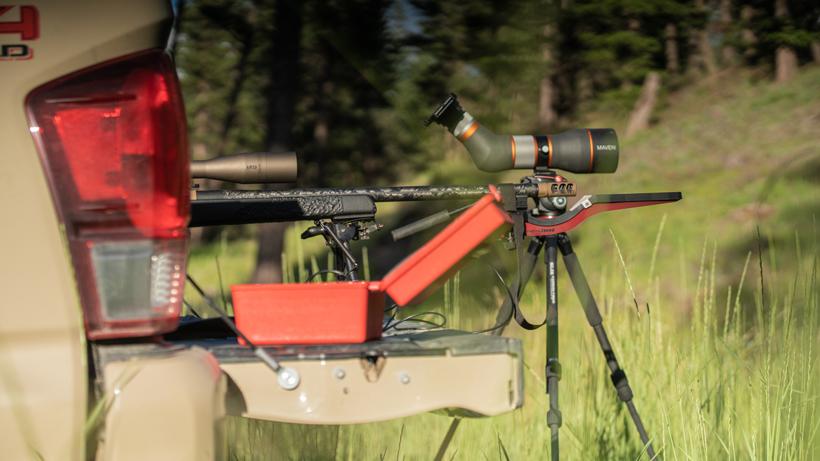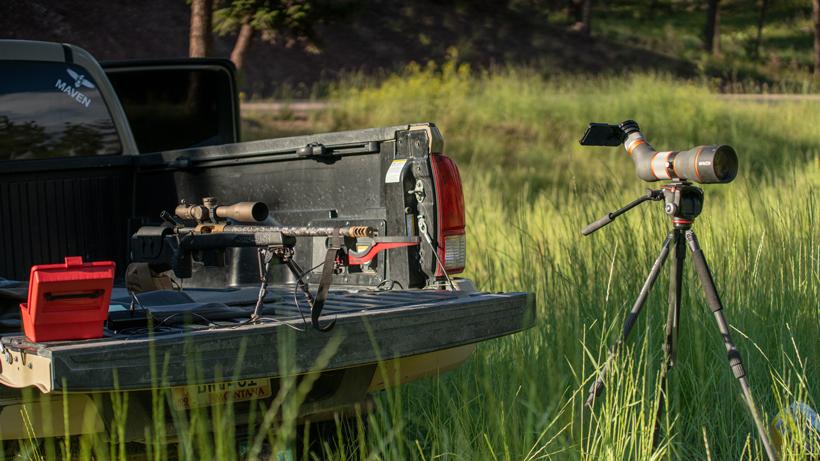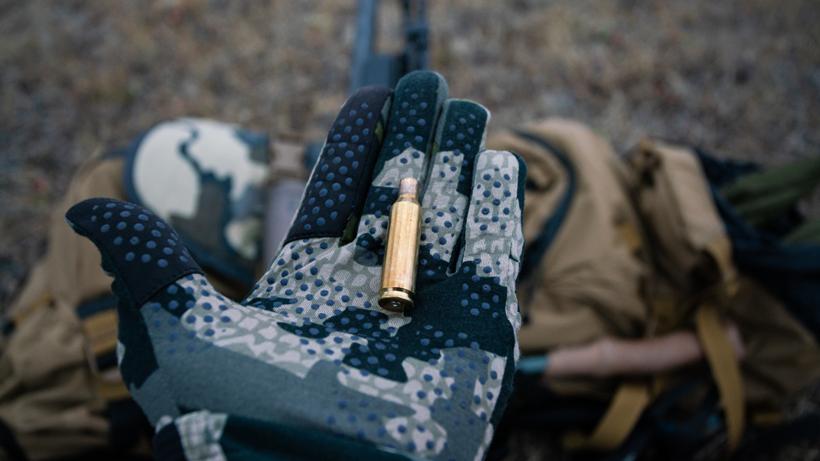


Long-range hunting is a widely used term in today's forums, articles, and marketing, but what does it really mean? I recently did a post on my Instagram that asked people what they considered to be a “long-range” shot on a game. The responses were just as I figured. Long-range isn’t an exact number. For some, it maybe 200 to 300 yards and, for others, it may be as far as 800 yards. Taking those types of shots—especially at a game animal—is dependent on how comfortable you are behind your weapon along with how often you practice different hunting and shooting positions in less than ideal environmental conditions. Taking longer shots isn't anything to approach lightly; it is your responsibility to be as accurate as you can when placing the reticle on game. You could have the most accurate rifle in the gun shop, but if you don’t know how to use it to its full potential then what good is it? Let's go over some fundamental pieces of a kit, that I would highly recommend, if you are beginning to venture into the highly popular realm of long-range hunting.
I mentioned this tip in one of my previous articles. Although it's not an actual piece of tangible gear, it is a tangible fundamental. Just like any other thing you do in life well: you have to practice in order to build that muscle memory. With good practice comes confidence; with confidence comes accuracy. In my opinion, longer-range shots always require being in the prone position off a bipod, so practice everything from deploying your bipod, trigger control, bolt manipulation and keeping your rifle on the target while reloading. These practice techniques can actually be done in-home in your living room with zero ammo required or with Snap Cap dummy rounds. You would be surprised how much you and the rifle move when performing these tasks even if they may seem simple. Dry firing centerfire rifles does not harm the firing assembly, so dry fire away! Once you’ve nailed down the in-home portions, move to the range and stick to the same process you practiced in the living room. Also, be sure to mix in some shorter shots from unimproved positions (off a backpack, angled shots, seated, etc.).
To me, this is a must-have for distance shooting and is well worth the weight it adds to your rifle setup. With plenty of brands on the market, I highly suggest paying for a respectable brand rather than the knock-offs or cheaper options in retail stores. Be sure to find a bipod that works best for your needs and has some solid adjustability, I personally have been using a Harris 6-9 with spiked feet and a Pod-Lok for ease of adjusting cant tension. Although I've used the Harris for over a decade, I recently had the opportunity to use the Atlas bipod on a successful spring bear hunt and they are both awesome options.
Once you have the front of the rifle supported and stable, it's time to secure the rear end. You can do this in a couple of different ways. First, you can carry a dedicated lightweight poly bead-filled bag, which will rest between the butt of your rifle and the ground and provide an exceptional amount of stability. Second, you can use an apparatus like the Rugged Ridge Outdoor Gear Rear Support. The Rugged Ridge support locks in a V-shape that stabilizes your buttstock. It only weighs 4.4 oz, making it a light addition to your pack! Lastly, you can use a jacket, extra layers or whatever you can find to help fill the void between the ground and rifle if that’s your only option.
I won't sugar coat it—the long-range game isn't cheap! Without diving into a deep dark rabbit hole, I will simply say find a rifle that is accurate and comes from a reputable manufacturer. You get what you pay for when it comes to choosing your rifle, so don’t skimp out on a cheap one and expect it to be phenomenal. Be sure to use premium ammunition as well. You wouldn’t put regular gas in a race car, right? So feed your rifle the good stuff. Caliber can also play a factor. It's well-known that some of the best hunting bullets based on efficiency are in the .264 (6.5) and .30 caliber classes. Make sure you choose the right caliber to get the job done. Also, a muzzle brake is a great add-on so you can keep the rifle on target for seeing impact or if need be, a follow-up shot.
Having a high quality, repeatable optic with exposed/adjustable turrets to top off your rifle is highly recommended. This enables you to “dial” your scope to the exact required value needed to hit your target without using a hold-over. As far as electronics go, I would get a gadget like a Kestrel wind meter so you know what direction the wind is coming from as well as the value of wind in MPH. This way, you can add that variable into your ballistic calculator to be as accurate as you can. Another key electronic would be your rangefinder. Rangefinders come in a variety of prices, so it’s important to check out the ones with positive reviews. I've used the Sig Kilo 2200 for the past three years, which has been great, but may upgrade to something with a ballistic calculator built-in to be more efficient like the Sig Kilo 2400ABS.
Taking the time to chronograph, verify and use a ballistic calculator is another must-have. You need to be sure you know where your bullet is going to impact at specific distances. Luckily, in today's world of technology, you don’t have to be a rocket scientist. Do a little research on different ways to make a drop chart. Some can be complicated, but, with a little research, you'll start to understand. If you'd like to see how Brady or I built a drop chart throw a comment below!
Like I mentioned, this long-range world can be a dark hole with information. I hope that I have shone a little light on the subject to give you an idea of what to do if you’re just getting started. This isn’t a guide to make you an expert marksman, but to guide you in the right direction. I can't stress the importance of practicing enough. It’s the most critical aspect when it comes to hunting at longer ranges. Be sure to add what gear you like to use in the comments section!