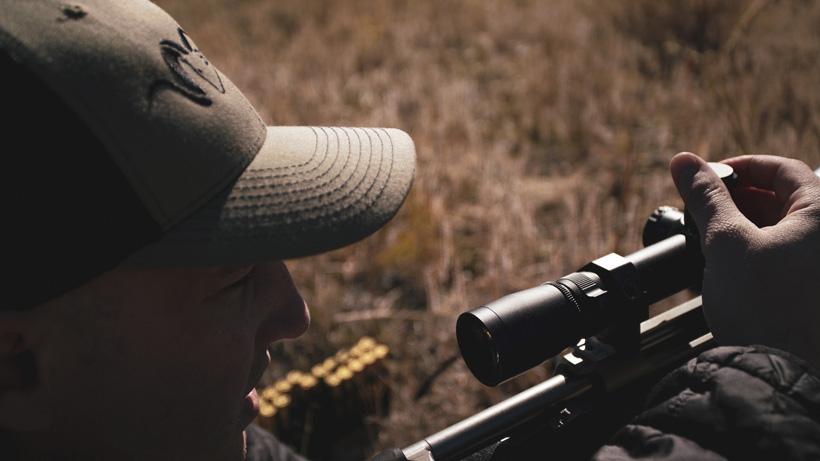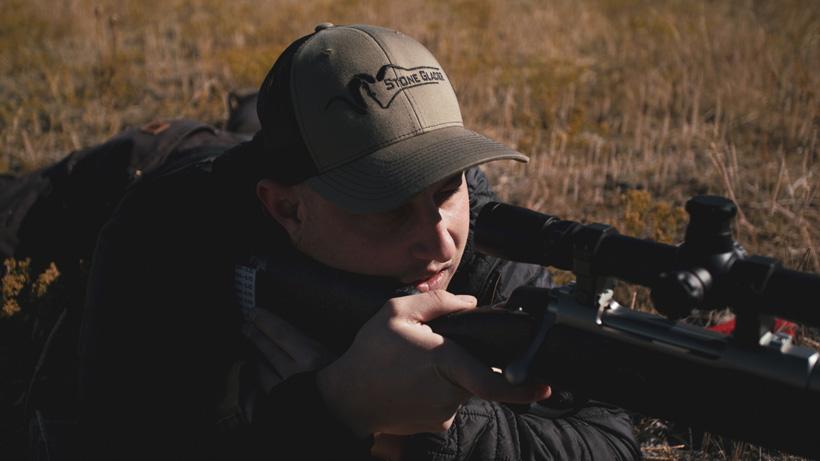


All photo credits: Anthony Wright
Let's be honest, we've all been there a time or two with a shot at a shooter buck or bull. You have the wind perfect, the animal is broadside, but just out of range. One of the key instincts of mature western big game animals is their keen ability to evade hunters and that’s a common occurrence in the hills. But what if I said you had the ability to change some of these occurrences for the better? Would you give them a try?
Most people that I have helped get dialed in for rifle season do the same thing when they park at the range. They take a seat at the bench with sandbags/bipod, sight in at 100 or 200 yards and then shoot a couple of rounds at acceptable hunting shot distances. Then, they proceed to put the rifle back in its case and call it “good to go” until they go hunting, but are you really?
Follow along with these five pre-season tips and, hopefully, they will help you increase the odds in your favor next time you're in the field.
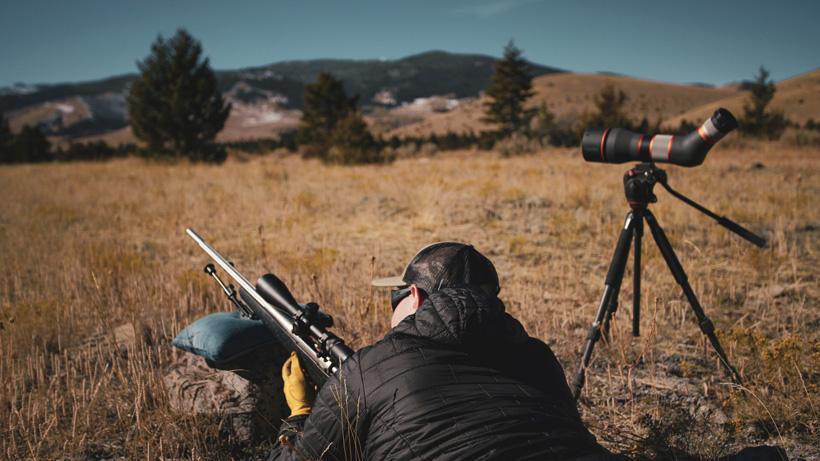
You don’t always need a bipod when going for a hunt although they make prone shooting more comfortable. Plus, you can save some weight on your overall rifle setup. Give shooting off your backpack a try. Most of the time it's always on your back and can easily be deployed when prone. Heck, when shooting from a knee or your hindquarter, it's pretty close to the same as a bipod. When shooting prone you can lay the rifle across the pack either on its back for a little increase in height or, if you need more height, roll it on its side and shoot off the side giving you an incredibly stable platform if your bag has a frame. When seated, you can sit with your legs crossed and place the bag inside your legs. Using slight leaning, forward and back, you can quickly find the sweet spot to make the shot. I practice these techniques when in the offseason so, that way, when a shot presents itself, I'm not fumbling around trying to figure out what will work. This is honestly my go-to setup for shooting either during hunting season or at steel targets at distances over 1,000 yards.
We all have our own comfort level when it comes to taking an animal with the caliber we chose to hunt with. For some, it’s 200 yards; for others, it’s 500. To each their own. I respect all hunters who have a cutoff distance for their opinion of an ethical shot. What if you could increase your effective range by 50 to upwards of 200 yards? There's no secret that practice makes perfect; however, focused repetition is the main key to this tip. Here in the West, we have an infestation of rocks that need to be shot to keep the population down; to our benefit, these make great targets when they have a proper backstop. When out shooting on public land or at the range, take a couple shots that exceed your comfort range when hunting. Don’t just take a shot and call it good, pay close attention to detail. Take note of your sequence, weather conditions and distances you shot. Continue to practice these shots to build confidence in yourself so when you have that shot, which may have been out of range last season, you are prepared to make it count. The only negative to this tip is that ammunition can be expensive, but it can pay for itself in the future with the chance of a lifetime animal!
The old adage, “I'm zeroed in at 100 so I'll just aim high at 200,” is old news and leads to poor shots. With current technology, making a bullet drop chart is fairly simple. The easiest way to do it without getting too scientific would be to:
(Bonus tip: Make sure you are using your hunting ammunition with the same lot number if using box ammo while performing this. This will assure that your data is as accurate as possible with minimal error.)
A very good practice that I've done, which greatly increased my confidence at distance, was to simulate positions that I may have to shoot from to see what gear I have that can give me an advantage, such as my pack, trekking pole, bipod, extra clothing layers or maybe a combination of each. This gives you that real-world simulation that makes you more efficient when trying to get on target while approaching a shot opportunity. Try to mix in some angled shots both up, down, off a tree, resting on a rock, etc., as well as the really enjoyable sidehill shot. You'll thank me later.
We may all be able to shoot sub 1” groups at 100 yards when we are calm and not under pressure, but how good are you when you’ve just hiked a steep climb or had to run to your shooting position and had to stop yourself from shooting because you couldn’t settle the crosshairs? This is a good opportunity to not only get a quick workout in, but you can somewhat replicate the respiratory movements you’ll have when huffing and puffing behind the scope. Don’t be fooled when you do 100 jumping jacks, sprint, pushups or do burpees that you see that your group sizes increase substantially. In this tip, be sure to focus on your buttstock in your shooting pocket as well as trigger control. Although some may look at you funny at the range, just keep the main goal in mind: to give the animal the most ethical shot that you can provide.
All in all, I hope you give some of these techniques a try and let us know what you think or comment on what you do to practice becoming more accurate at distance.
Zero your rifle at your preferred distance, then take a vertical target (I prefer freezer paper) and place it at your zero distance with a 2” to 3" black dot towards the top and the rest of the paper blank.
Then, without adjusting your zeroed rifle, put the target 50 or 100 yards past your zero distance. Aim at the black dot and fire three good shots. Then, walk up to the target with a measuring tape and measure the drop. Continue to back up to whatever distance you want your chart to represent. (Be sure to annotate the distances shot with the applicable drop. Also, mark off the previous shots with a marker to not confuse them with the shots you’re about to fire.) Once finished with that, simply type up a chart in a Word document and make it small enough to either carry in your bino harness or do what most do and tape it to the rifle. I highly recommend either taping it or laminating it to protect it from the weather.
That’s the simplest version that you can make with what most people have in their garages. Other than that, you can download apps with calculators that require a decent amount of data for specific variables, which, in turn, gives you a much more accurate table. Just make sure to validate the data the app gives you at the range—don’t always rely on technology. If you have a long-range rifle scope, such as the Vortex Viper PST Gen ii 5-25 FFP, that has exposed turrets, I would highly recommend taking the time to do the app or computer calculators to take advantage of the turrets. They can be very fast and accurate to adjust with practice.