


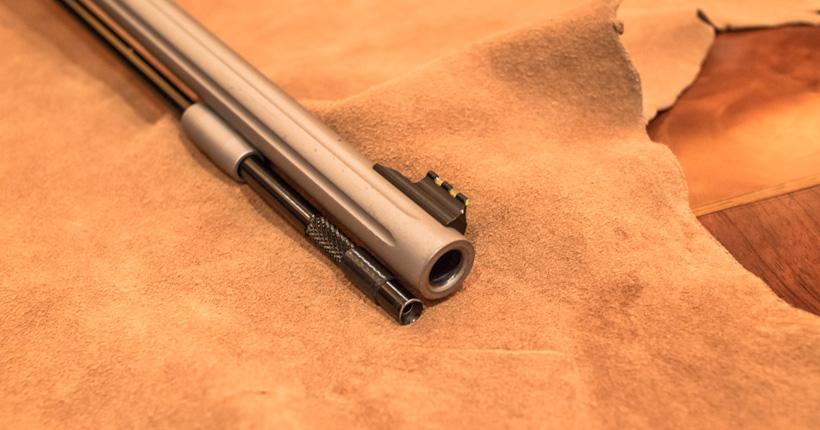
Stock front sight on a muzzleloader
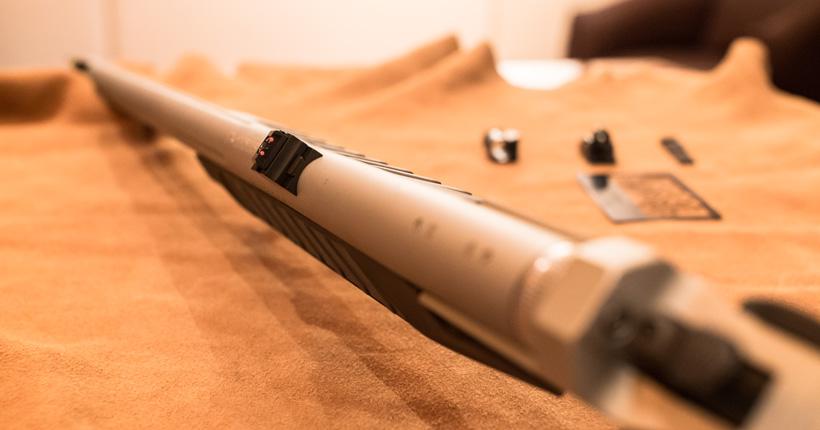
Stock rear sight on a muzzleloader
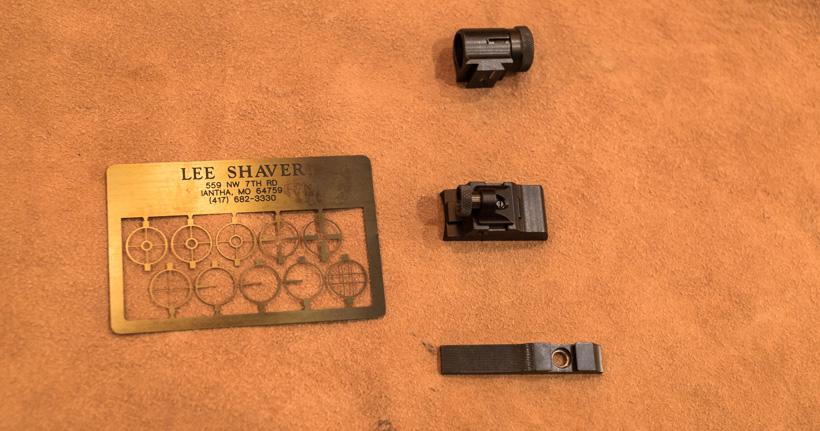
Open peep sight setup to customize your muzzleloader and increase the accuracy
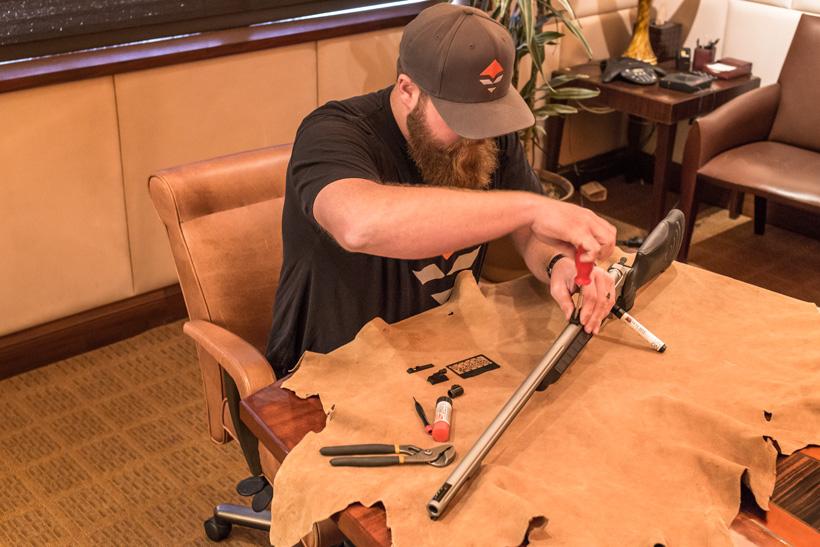
Brandon Evans removing old muzzleloader sights.
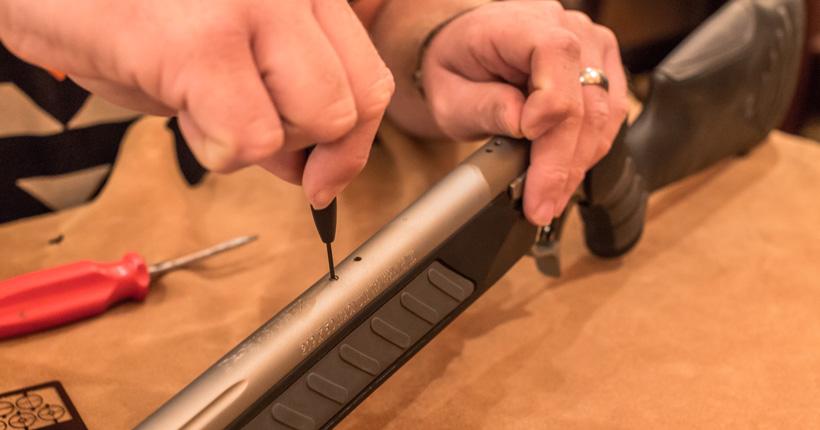
Removing plugs to get access to muzzleloader sight threads.
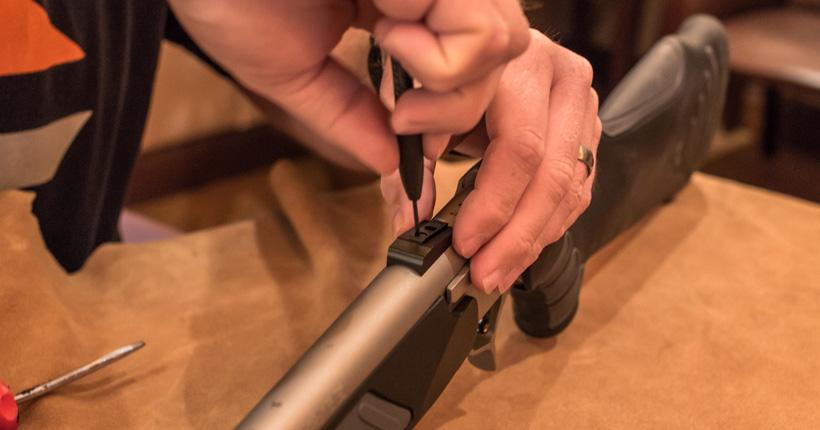
Adding rear sight base to muzzleloader barrel.
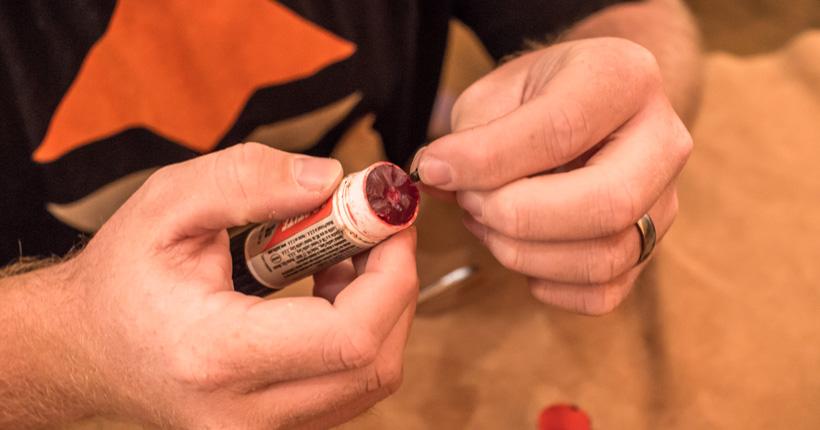
Applying Loctite to sight screws.
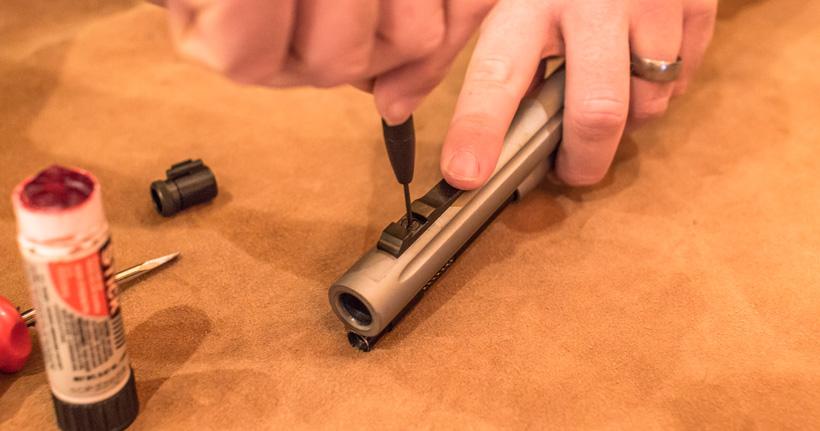
Adding the front dovetail base for the muzzleloader sight.
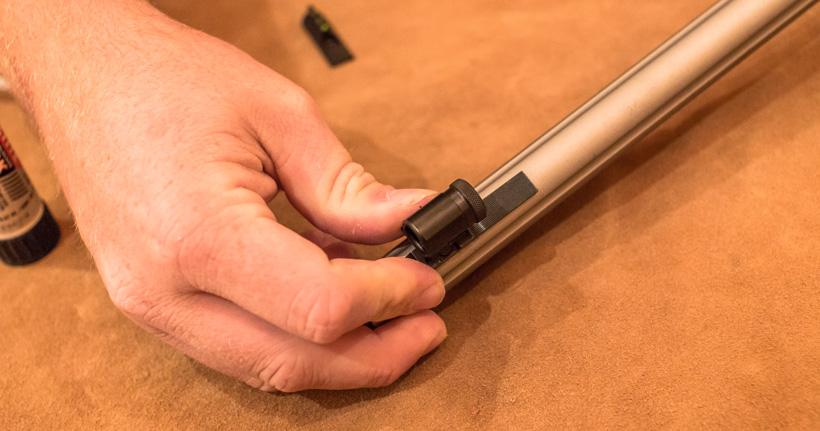
Adding front globe sight to the muzzleloader.
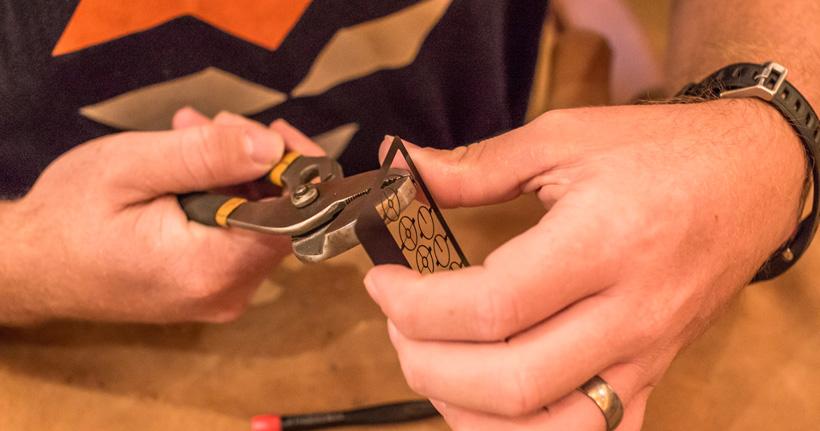
Selecting what sight to put in the globe sight housing.
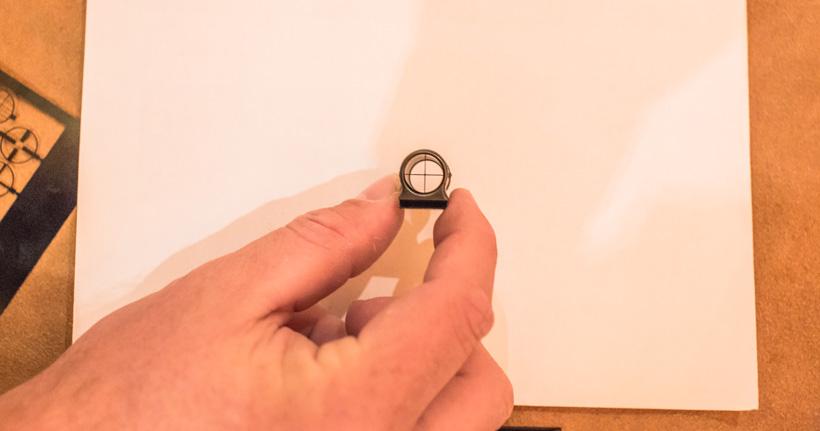
New front muzzleloader crosshair insert from Lee Shaver.
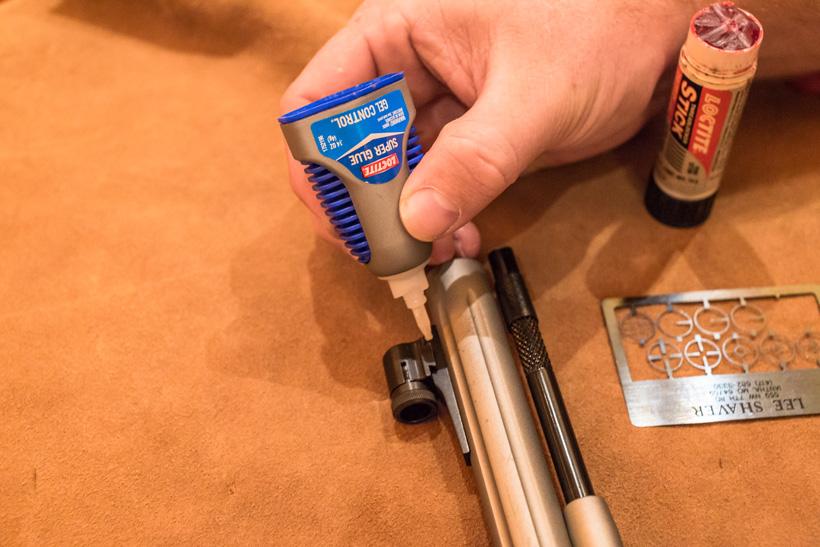
Supergluing the front globe sight assembly in place.
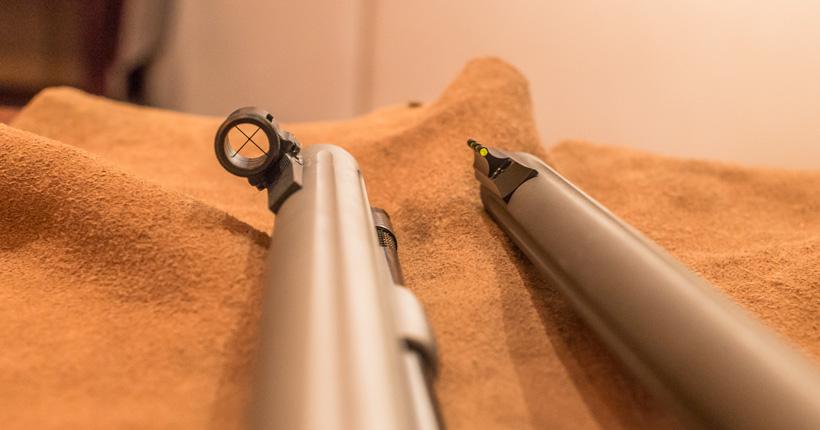
A comparison of the new front custom muzzleloader open sight setup to the old sight system.
When it comes to muzzleloaders or other primitive weapons, a lot of people get intimidated. Because of this, permits reserved for those weapons are typically easier to draw or require less points than rifle hunts in the same area.
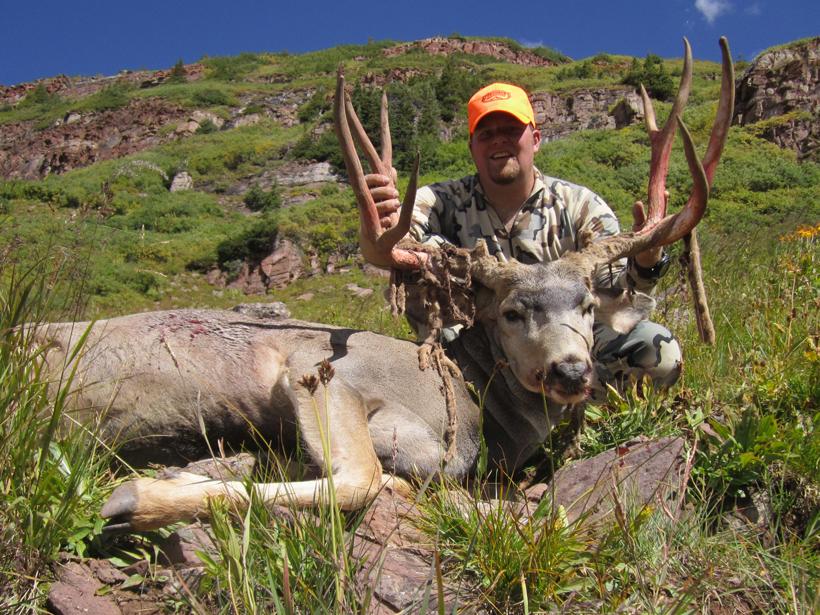
Last year, when I had to resort to a last-minute muzzleloader landowner tag after not drawing anything in the state draws, I was one of those people. Being primarily a bowhunter, it was not so much being intimidated as it was being completely unfamiliar with muzzleloaders. After talking with a few people and my good friend here at GOHUNT, Dave Loescher, I felt that I was ready to tackle the smokepole hunt. My equipment did not let me down, I took a great buck after a hard hunt. You can read the hunt story here.
Here are a few things that I learned to help shoot my muzzleloader with more accuracy. Please note that I was hunting in Colorado where it is required that you to use “open” or “iron” sights. Magnification, scopes or red dots are not allowed. Remember that muzzleloader laws vary by state. Check out this article here for a complete breakdown of muzzleloader laws in every state.
Here's how to improve your muzzleloader sights and still stay legal in the West.
The original sights that came on the rifle are decent and include fiber optics, but are made of a mix of metal and plastic, which is a relatively tough setup to shoot with. My main complaint is that at 100 yards, lining up the front and rear sights only allow you to see half of your target and allowed for a bright sight picture good for 50 to 100 yards.
If you move it back a few yards where you would need to hold it on the top of the back of an animal, everything disappears behind the sights. I wasn’t comfortable with this setup.
After talking with Dave, he introduced me to a sight system that muzzleloader target shooters have been using for years. This is a rear peep and front globe sight system. A lot of muzzleloader guys will switch the rear sight out for a peep, but still leave the big front sight on. In my opinion, the front globe is where the magic is found in this sight system. It allows the use of a ultra fine crosshair and allows the shooter a full view of the target. Below I will walk you through each step I took in changing over a modern muzzleloader to an accurate “open sight” shooter.
The first step is finding the right components for your gun. I get most of my shooting supplies directly from Brownell's or Midway USA — they always have everything I need.
Once you have all of the parts, it is relatively simple to assemble. The trick to an accurate open sight system is to get the front and rear sights as far apart as you can.
I started by taking off all of the old sights.
I pulled out the plugs that are in the barrel on the breech end and I put them back in where I removed the original rear sight. I like to keep the clean look and it helps keep moisture and debris out of the unused mounting holes.
Install the rear peep with the supplied screws.
I also like to add a little Loctite for security.
Next, install the front ramp with the supplied or the original screw. Make sure that it seats flush so that the dovetail can slide in. Remove screw and add a little loctite and reinstall.
The dovetail on the globe will slide into the groove on top of the ramp. They typically are a pretty tight fit and some will only go in from one side, getting tighter the further you slide them in. Install the globe as close to the center of the barrel are you can.
With it all assembled, you can interchange the inserts in the globe to the desired one. Break it out, taking care not to damage it. Remember that these can have sharp edges and corners; be careful not to cut yourself.
I personally like the fine crosshair that is included on the Lee Shaver card.
After everything is installed, I like to hit all non-adjusting parts with some super glue or JB Weld to keep it from coming loose.
There you have it, for a little over $100 you can have a more accurate shooting open sight muzzleloader. For me, this helped give me confidence that I could hold more accurately on target, see the entire target and not cover anything up. Remember that this is only part of getting a muzzleloader to shoot good. You will still need to find a primer, bullet and powder combination that works good in your gun. Diving in and becoming efficient with these primitive weapons opens up new hunting opportunities throughout the West. Good luck with your muzzleloader adventures and let us know if you have any questions!
For a different approach, you can check out Part 2 of muzzleloader customization here.
Item number one is the rear sight. For the Thompson/Center FX that I set up, I ordered the Williams Gun Sight, part #63304.
For the front, I needed a couple different pieces to make it work. With whatever gun you have, try and get the lowest or shortest option out there. I needed a front ramp, a Marble dovetail, part #072312. For the globe sight, I ordered the Lyman Target Globe, part #3171076. To get the ultra fine crosshair, the Lee Shaver Globe Sight Insert part #LS001, is the best I have found.
Part | |
|---|---|
Cost | $35.99 |
Part | |
Cost | $11.99 |
Part | |
Cost | $39.99 |
Part | |
Cost | $21.95 |
Part | Total price |
Cost | $109.92 |
Part | Cost |
|---|---|
$35.99 | |
$11.99 | |
$39.99 | |
$21.95 | |
Total price | $109.92 |