
With proper cooler care, these situations will be much less stressful.
There are a plethora of tips and tricks that a hunter uses to take an animal each year… but just as important as the tactics used to punch your tag, there are also some tricks that will greatly help to keep your meat cool once you get to your truck. Today we are very fortunate to have a wide array of cooler choices. Just like you’d spend good money on a quality rifle, the same thought should be taken on your cooler. This is very paramount if you’re hunting the early archery seasons or even hunts that span into October.
I didn’t give ice retention much of a thought back in the day. I’d just throw some ice in my cooler and after a weekend of hunting, my ice was gone when I returned to my truck with a backpack full of precious meat and instantly I had to rush to find the closest town to get more ice.
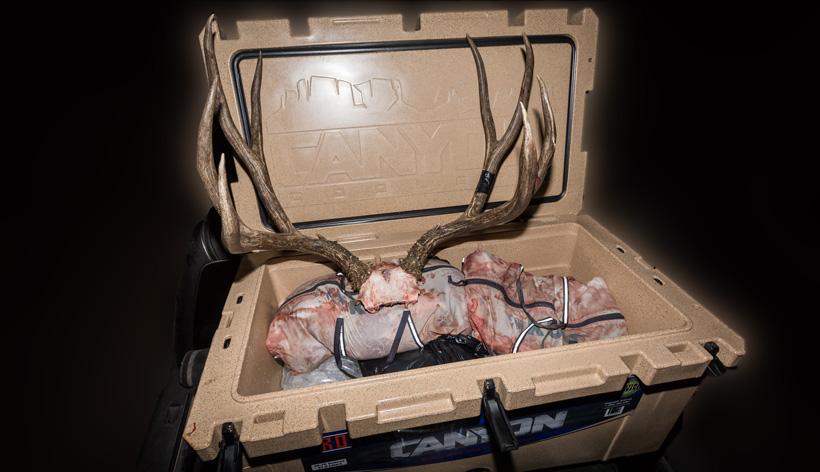
It wasn’t until I started hunting some desert units where things started to click. I needed to do something different, especially since I didn’t want to lose any of that hard earned meat. I also needed to prepare my cooler better to keep ice longer. I've been amazed at how well a quality cooler can actually hold ice on hunting trips. I'm currently using the Prospector 103 made by Canyon Coolers and it is a dream to have in my truck! I prefer to use a large cooler in the 65 to 100 quart size for all the boned out meat and cape of an animal. Using a cooler of that size means that I need to pay more attention to my cooler preparation before I go hunting. When I used to live in Montana I bowhunted for antelope in the middle of August every year. This is where my love for large coolers started. Each season after taking an archery buck I'd have a large cooler in the truck to place the quartered up buck in. A large cooler easily fit a quartered antelope, the horns and cape and really made for better tasting meat being able to cool the animal off right away.
What follows are some general tips for someone headed out for a two to four day hunt. This can be a backpack hunt where you leave your cooler in your truck, a hotel type hunt, or wall tent base camp where you can get your vehicle to. These guidelines are mainly for a dedicated meat cooler, but similar steps can be followed if you’re going to use the cooler for food first, and then game meat after you make a kill.
You'll want to pre-cool your cooler before you leave for a hunt. For some this might seem a bit odd, but the more you think about it, the more it makes sense. It’s just like keeping your coffee hot all day when it’s in a thermos. If you just take a thermos and dump coffee into it, then you will have hot coffee for a few hours. But if you pre-heat that thermos with some hot water for 10-15 minutes before you pour your coffee… you’ll have plenty of hot coffee to drink all day.
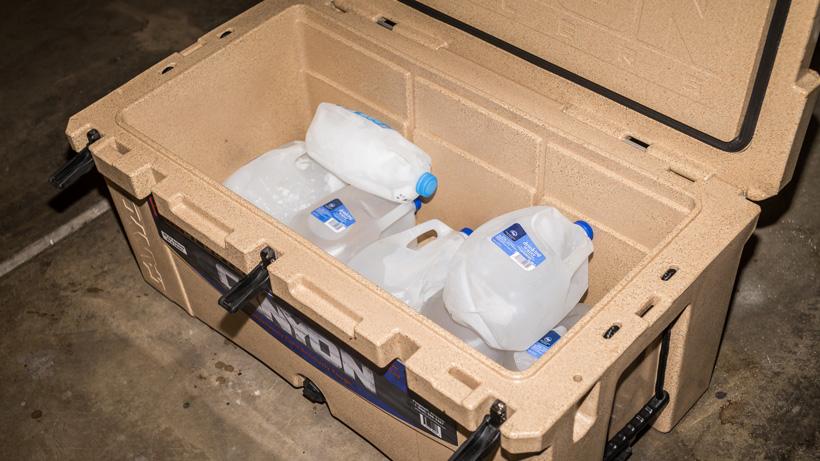
Back to coolers. You may notice that when you put cubed ice in a cooler for the first time, a bunch of that ice will melt fairly quickly. That's because the ice is trying to cool the side walls of the cooler down. The method I like to use is to pre-cool my cooler with six to seven frozen jugs of water. There's probably some expensive commercial made ice packs you can by, but a simple setup of water in milk/water jugs that have been frozen will work wonders here, plus they’re reusable. You’ll want to pre-cool your cooler for a few hours depending on the size of your cooler. If you’re in a pinch, you can use bags of ice, but this is a more expensive method.
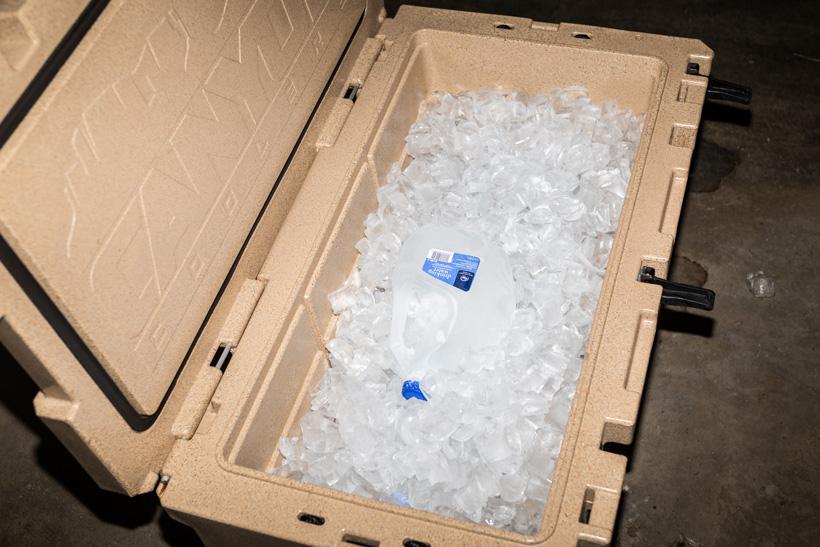
Once your cooler is pre-cooled. You'll then replace the frozen water jugs with new ones (re-freezing the old ones at this time too). Once again, place the frozen water jugs at the bottom of the cooler to take up some of the space. Remember: Solid blocks of ice melt more slowly than ice cubes. Which is why I prefer to fill up at least half of the cooler with frozen water jugs.
Now is when you should load the cooler up with cubed ice. This is the best way to remove those air pockets. The more ice you place in the cooler, the longer ice retention you will have. You want to get rid of air in your cooler.
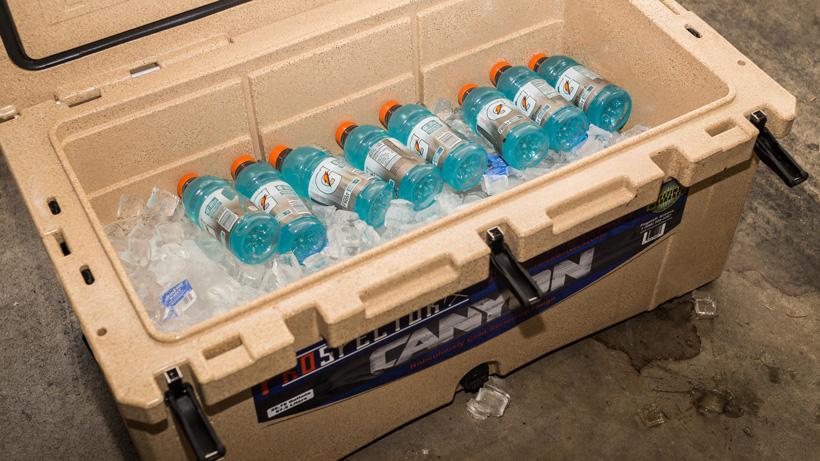
Even before I add all the ice, I’ll place some really cold to slightly frozen Gatorade bottles in the middle of the cooler. They not only aid in keeping the cooler cold, but they're great to have once you get back to your truck from a long hunt.
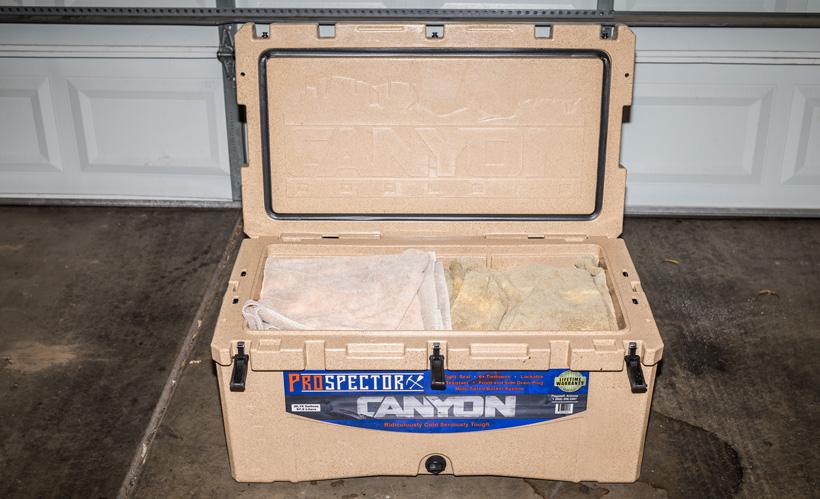
Once again, it's best to remove all of the air space to have the ice last the entire duration of a hunt. The extra space is best served with lots of extra ice, but sometimes that isn’t possible or doesn’t sit well with a wallet. I normally use two to four bags of cubed ice and then I will top it off with a few frozen towels in the cooler take up all the remaining air space. Note: I do not soak and freeze the towels. These are just dry towels that I place in my freezer overnight.
As your hunt goes on, ice will melt. Keep in mind that cold water (the kind from melted ice in your cooler) is way better than air. The only time I will drain the water is when I’m about to place meat in the cooler. The biggest thing to remember is don’t keep your cooler in the heat.
With all of that being said… another great option is dry ice. But I’ll save that comparison for another day. Overall, there are a lot of variables that will affect the ice retention in your cooler. Some of those are: the type of ice (cube, blocked, crushed, dry), how much ice, amount of air in the cooler, temperature while you're hunting, direct sunlight exposure and even the ice quality. Remember to keep your cooler out of the sunlight. Nothing kills ice faster than sunlight. Hopefully these tips will help you out on your next hunt. Best of luck this year!