


There is a lot of planning that goes into a western hunt. A lot. Applications need to be considered, gear needs to be tested and chosen, and a whole plethora of other small responsibilities need to be taken care of before your boots hit the trail. However, the work and planning are far from over once the hunt begins. One of the more stressful parts of a hunt for me begins once an animal hits the ground, particularly in warm weather. Getting the animal broken down, getting the meat cooled, and then getting the whole package out of the woods in an efficient and safe manner is a task I take very seriously.
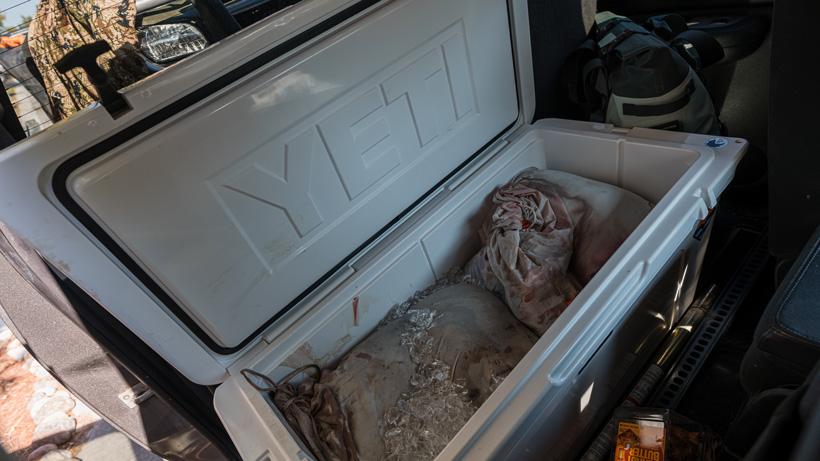
Cooler with meat that was pre-loaded with block ice, frozen water jugs, and cube ice picked up while traveling to hunt. Photo credit: Brady Miller
Obviously, not every hunt ends up successful, but I like to leave the house planning for that to be the outcome. For every hunt, I always have one or two coolers, depending on the species, that will be dedicated solely to being meat coolers. If you're curious about how many coolers you need for different animals, check out this article here. Throughout the year, I like to keep empty juice and milk jugs that would otherwise get discarded. Before the hunt, I will freeze water in as many of these jugs as I can and then stuff my coolers full. From that point, the coolers will only get opened again once I am, hopefully, successful. Even cheaper coolers will hold ice for a few weeks with this method.The biggest mistake I see people make with coolers is assuming that anything put into a cooler will keep cold. In fact, coolers are just insulators. They keep warm things warm and cold things cold, but in order to keep cold things cold, the cooler itself needs to be cold before use. If you put warm meat into an unchilled cooler, you will likely see the temperature in the cooler rise for a period of time. Having your cooler pre-cooled before dropping meat into it will be key. Along with that, though, it is also important to get the meat cooled as much as possible before dropping it into a cooler to take the most advantage of the cold temperatures you’ve established.
One of the most important facets of getting your hard-earned protein taken care of and back home is the initial cool. If you can get the meat cooled down quickly and safely, the uphill battle from there gets much less steep. How important the initial cool is really depends on the situation. If I know I am getting the meat home that day or the next I am not quite as concerned about the initial cool versus knowing it’s going to be several days before I’m home.
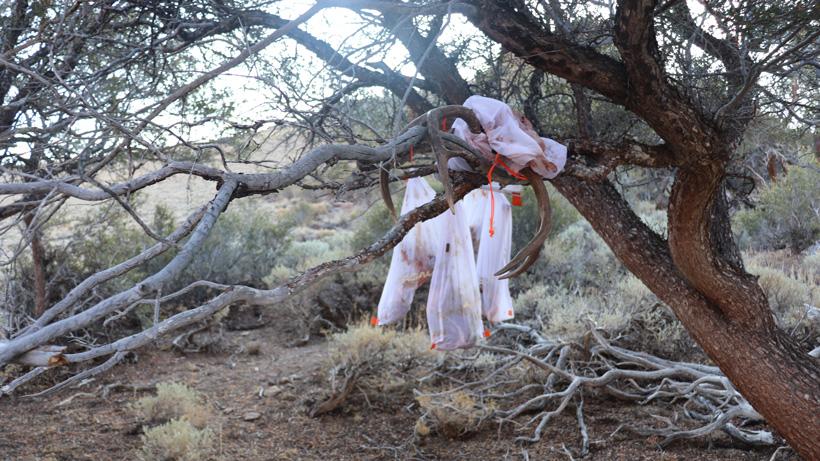
Hanging meat in game bags in the shade. Photo credit: Scott Christensen
Hands down, the best way to get meat cooled quickly is by hanging it in the shade in quality game bags, particularly if you have an area with some good air draft. Hanging the meat in the air to cool also allows the meat to crust over, which adds some natural resistance to bugs and dirt. If you don’t have access to a lot of shade, make some with a tarp.
We recently released our GOHUNT Pack Out Game Bags. You can learn more about them here. We also sell a wide variety of amazing game bags from other manufacturers as well.
Another option is tossing the meat into some contractor bags and then sinking them in a creek. This method can work great for rapid cooling, but you need to be careful with contractor bags; they don’t breathe. Meat sitting in one of these bags in an area where they are not cooling off could lead to spoiled meat in short order. In a perfect world, I like to let the meat hang overnight, either at the kill site or the truck, before anything goes into a cooler.
A few years ago, I killed an elk in early September in Wyoming on the first day of an eight-day hunt. We let the meat hang overnight before putting it in coolers. Fortunately, we had some insanely cold temps down into the teens for a few of the nights and I was actually able to get the meat almost entirely frozen by just laying it out on my tailgate at night and then rotating it back into the coolers during the day. The meat held fine for the whole trip.
One thing to note with coolers: water on the meat is a big no-go and will lead to bacterial growth very quickly. Not to mention that everything just gets slimy and gross. You need to keep the meat in the cooler out of the water and as dry as possible. If I can get the meat cooled initially and have a pre-cooled cooler, I can often get away without any ice in the cooler once the meat goes in. If I need the ice in the cooler, I will sometimes throw that in a contractor bag to reduce the amount of condensation and melt that will reach the meat.
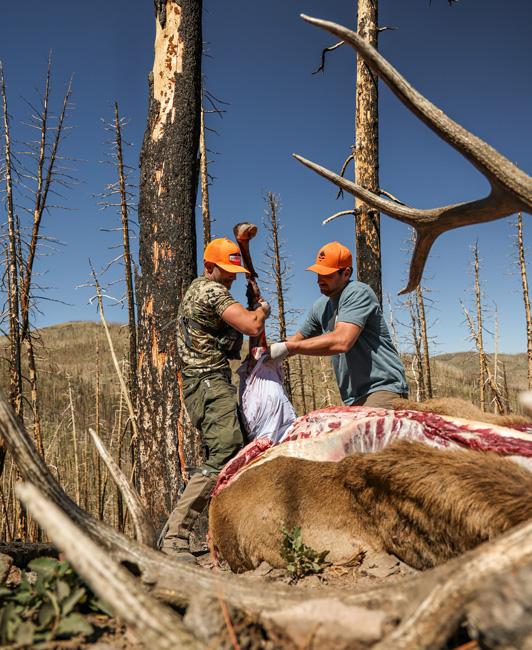
Loading elk quarters into game bags. Photo credit: Simon Carlson
Another big decision you will face after downing an animal will be to leave the meat on the bones or to bone it out while in the field. There are pros and cons to both methods, but typically, the distance I am from the truck and how much help I have will be the primary deciding factors. The meat will generally spoil from the inside out. This means meat around the bone structures will spoil first. You will sometimes hear this referred to as bone sour. Because of this, removing the meat from the bone (boning out) is a popular method as it allows the meat to cool much quicker and also reduces a ton of packing weight, particularly with larger animals like elk and moose. The downside to boned-out meat, though, is that you now have much more surface area exposed to the air and potential bacteria. Not to mention that boned-out meat does not pack or ride as nicely as a bone-in quarter.
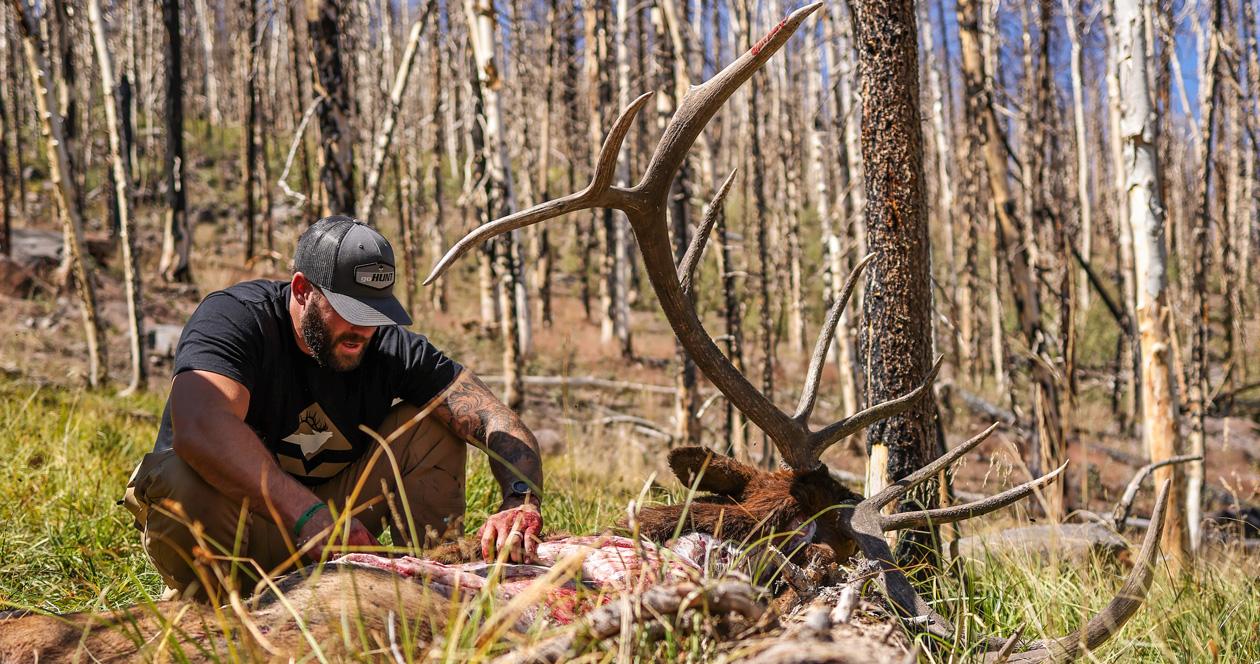
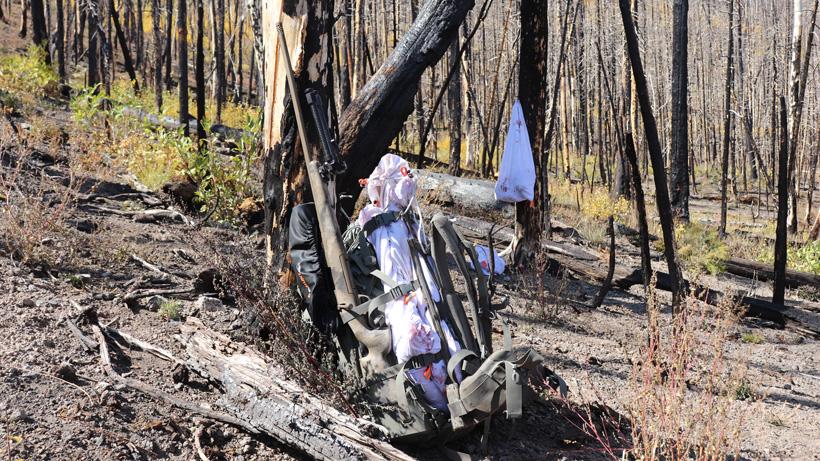
Usually, I will pack bone-in quarters if the animal is killed close to a road or if it is a smaller animal. I never bone out a Coues deer, for instance. A bone-in quarter is much easier to handle and easier to butcher once home, but the extra weight can be a drag while packing. The vast majority of the animals I kill end up in crappy spots and long ways from the truck, so I am typically boning these out. While doing that, I will always remove the quarters first and either hang them in trees or lay them on a ground cloth and then bone them out from there.
Deboning meat back at camp. Photo credit: Trail Kreitzer
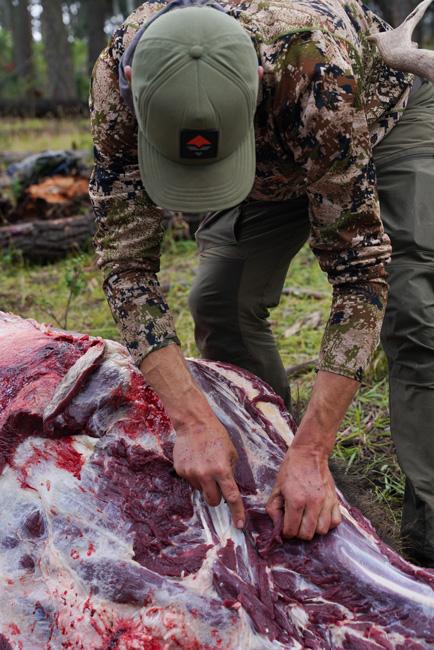
There are a few reasons for doing this. Number one, it’s so much easier to cut the meat off the bone once it’s off the animal, especially if it’s hanging. My favorite trick is to hang a rear quarter and then remove all of the meat in one big go, cut down the inside of the leg bone and then filet everything off. This keeps all of the major muscle groups together and makes butchering that much easier. Number two, while the quarters hang, they will begin to crust up from the air and develop a layer of protection — all the while, they will be cooling down. The first quarter off of the animal will be the first to get boned once I get everything off the carcass. Once home, all of the meat portions get pulled out of the game bags and laid out to dry before going into the cooler.
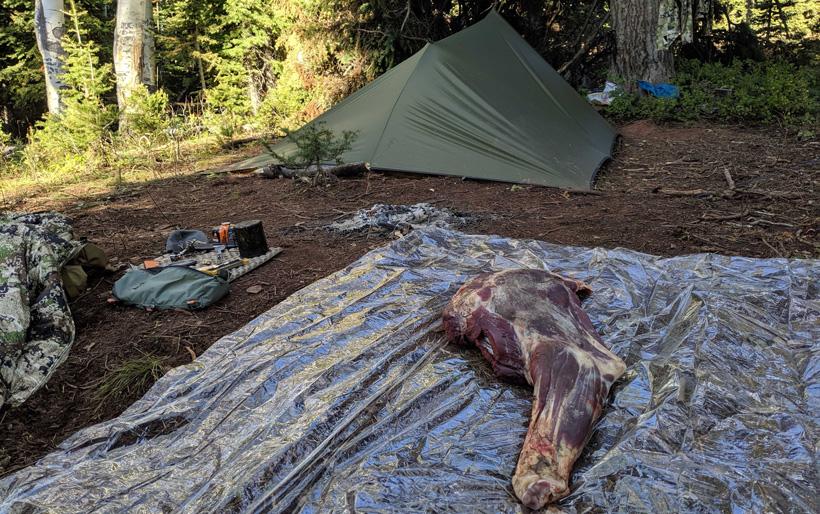
This one kind of goes without saying, but it will be very important during this whole process to keep your meat as clean as possible. The more dirt and grime that is on the meat only increases the chance of bacterial growth, and clean-up at home can be insanely frustrating and generally leads to a lot of trimming and lost meat. This can be even more troublesome with boned-out meat just due to the number of pieces you are dealing with. This is where a good ground cloth comes in clutch. Bottom line: keep the meat clean!
Now the fun part: getting all of this hard-earned meat off the mountain and into your freezer. There are a lot of ways to pack meat off the mountain and a lot of different tactics to be used. It mostly boils down to personal preference, but I would encourage you to put some thought into this before you go out.Here are a few of the things I typically consider:
Typically, for me, any deer that I kill will get entirely boned out on the mountain and then placed into two game bags, meat divided equally. I will pack this out all in one load, but If I hit a crappy section and want to drop some weight, I can remove one of the bags. This also makes it easier to manage the meat once I get home. Elk is a whole different story and often depends on the size of the animal. Spike elk, I will typically do in two loads and cow elk in two to three loads, while a big bull may take four to five loads. Terrain, temperatures, and other factors can play into this, though.
As far as splitting the meat up equally, that just takes some practice. While doing a cow elk, I will generally place a rear quarter with loin meat from one side in a bag, repeat the process for the other rear quarter and loin, and then both front shoulders will go into the third. For a big bull, I might use one bag for each of the rears, and then the fronts split into two bags with the loins going into each. Plus, you have the head and cape at times. At the end of the day, I think it’s very important to consider some of these things going into the hunt so you have some type of a game plan once an animal is on the ground.
Meat loaded for trip out and rest of meat hanging in game bag. Photo credit: Scott Christensen
As far as the actual portion, that usually just hurts the whole time, but in a good way! My preferred tactic for elk is to actually leap frog the quarters out depending on the distance. If I am a ways in, say over two miles, I will pack my first load to a given location and then drop it. Then, I’ll go back for the next and repeat this until the animal is at the new staging area. Once there, I repeat the process until I get everything to the truck. This method just works for me mentally and I find myself getting less tired and discouraged than doing the whole trip several times. I do this for elk a lot. Experiment with this or develop your own plan; it’s all about finding what works for you and your brain.
Photo credit: Sean Powell
There are many ways to skin a cat…or an elk? These are just some of the things that I have found that make the post-kill more efficient and easier to process for myself. At the end of the day, the only way to get quick and efficient at this and to discover which methods work best for you is to experiment through doing it. Pick up some extra antlerless tags to practice on. If you kill a deer in the back 40, do a mockup pack-out/bone-out and play with some techniques. Like most things in hunting, practice leads to efficiency, and efficiency leads to success.
Can this animal be brought out in one trip (deer), or is it going to require several (elk)?
Do I think I can take the quarters bone-in, or will I need to bone them out?
Will I have any help?