



I am often asked why I hunt. Although putting it onto paper is a tall order, I’m going to make an attempt to answer here. I hunt because I crave the solitude, and I love how hunting provides me a way to disconnect from my day-to-day responsibilities. I love the way hunting challenges me and pushes my boundaries and comfort zones. I love the feel of fall and watching the environment around me transition throughout the season. I love the memories I’ve made and the pictures from past hunts that hang on my office wall. I also hunt because I am fascinated with wildlife. I love watching and listening to them and being in their element.
Most notably, I love the overwhelming sense of accomplishment of grinding out a hard hunt and being successful in harvesting an animal — and the protein-rich food it then provides for me and my family. There is a certain satisfaction that perhaps only hunters can appreciate in seeing the total process unfold: a true field-to-table experience.
Wild game meat can yield fantastic table fare, but preparation and storage is a critical component and it must be done properly in order to fully enjoy it. Here I will share the basics for getting the most out of your harvest.
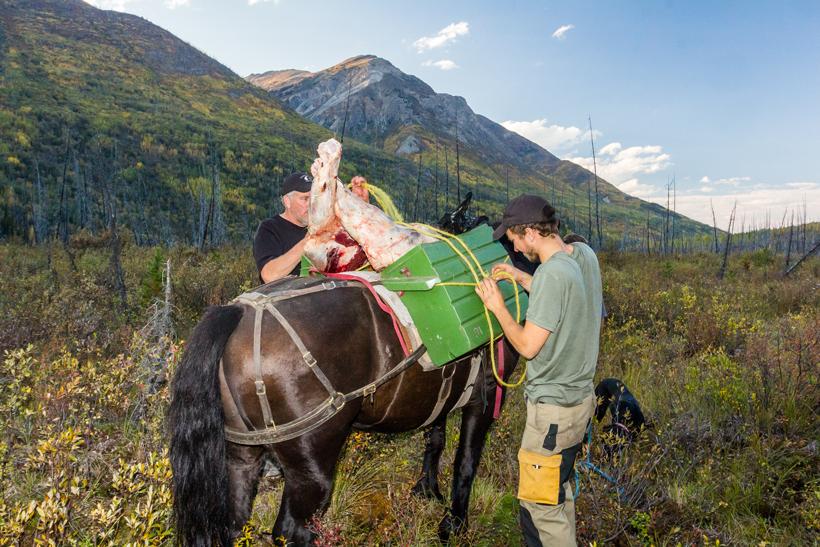
The first steps are cleaning and controlling temperature. While in the field, keep the meat as free from dirt, hair, leaves and any other body fluids as possible. Doing so will make your job at home that much easier.
Transport your meat as quickly as possible to an environment where the temperature can be held near 40 degrees. Once home, a whole skinned carcass can be hung preferably upside done for remaining blood to drain. You can also hang quarters.
Store the boned out meat in a clean uncontaminated container and removed piece by piece, rinsed and returned to another clean container. Rinse meat with clean, potable water to remove any excess dirt, hair, and so on. You can then pat the cleaned meat dry using a clean cotton sheet.
Drape an additional clean cotton sheet around the hanging carcass or quarters. Pat dry the boned out meat hang it in a clean cotton sack. The sheet and/or sack will keep the meat clean while allowing air to move across it and let heat escape.
Hanging meat should be stored between a temperature of 40 degrees Fahrenheit and freezing in a clean, dry, well ventilated area with no odors. During late season hunts, meat can likely be hung in a cool garage, patio, or north side of a structure. Warm, early-season hunts will require you to refrigerate meat.
Aging meat for three to four days is recommended to tenderize wild game. If aging is not possible, you can cut the meat and process it immediately, as long as it is clean and dry — though, as indicated above, it may be tougher to eat.
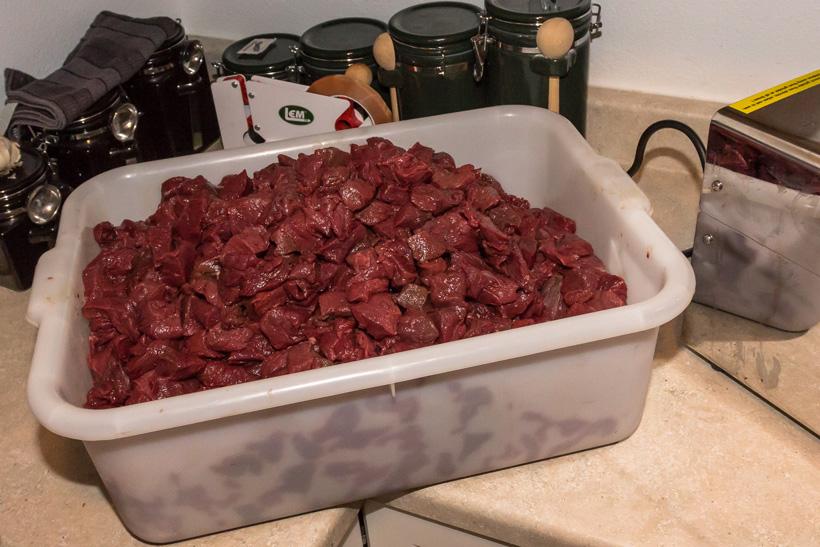
Cutting varies greatly depending on individual preferences, portion sizes and meal planning. The important items to note are that all cutting should be done with clean knives, utensils and cutting boards. All cutting materials, surfaces, hands and arms should be thoroughly scrubbed and washed with soap and hot water. Bacteria is the enemy, so take proper precautions and you will get a superior and better tasting steak.
For cutting, there are two schools of thought: one is to remove the silver skin/tendons from the meat before wrapping, the other is to keep in on and remove it once thawed and before cooking. Personally, I prefer removing it before wrapping. Cutting and trimming those pieces makes a better tasting meal later down the road, and it’s quicker to prepare.
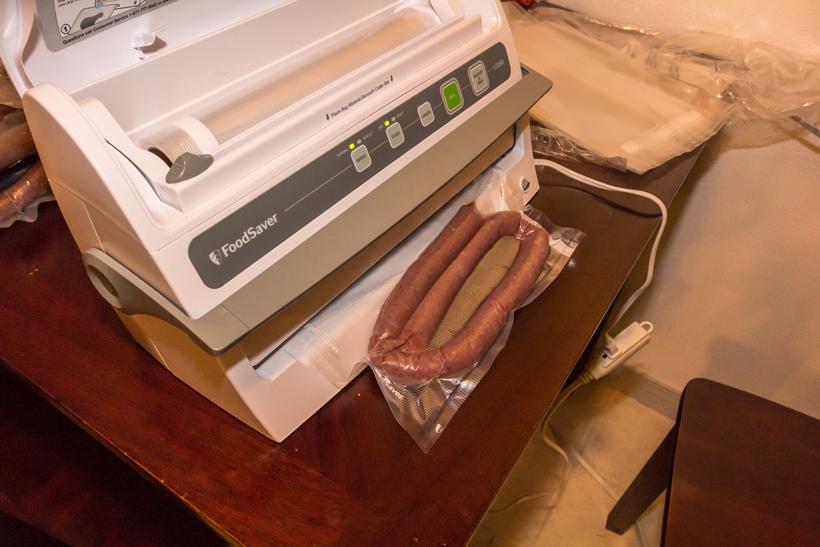
When it comes to freezing your game, whether it is steaks, roasts, or even burger, keeping air out will produce a fresher product that lasts longer. Vacuum-seal packaging is an outstanding way to remove the air and preserve your game meat.
There are several quality products out there that can be purchased at many of our local sporting and hunting supply stores. This option is more expensive to purchase and process but does produce a fresh streak that will last likely twice as long.
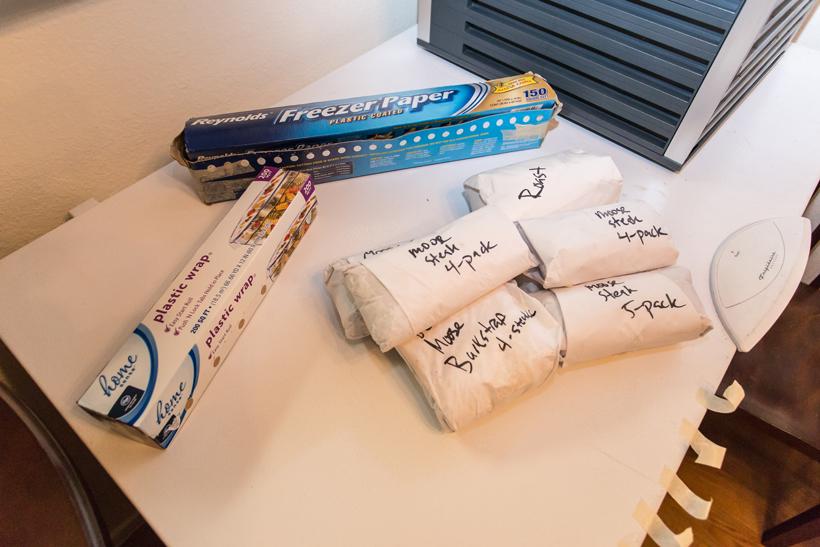
Wrapping is another cost-effective option for storing and freezing game meat. Cut meat or burger can be wrapped first in clear plastic wrap and then wrapped again in freezer paper (shiny side in to hold in any moisture, and dull side out for easy writing) and taped shut with freezer wrap tape.
Double wrapping will keep the cold air in your freezer from directly contacting the meat which would cause freezer burn.
Once again, it is critical to push out as much air as possible. After the package is sealed, make sure to write the cut, species and date on the outside of the package. Wrapped meat should be put into the freezer as quickly as possible.
Packages should be initially stored in a single layer to promote rapid freezing throughout. Stacked packages may insulate the center pieces which may not properly freeze. Store your meat at or below 0 degrees Fahrenheit. Game meat that is properly wrapped should be used within one year, but vacuum-sealed meat may keep for up to two years.
Jerky is a great option for preparing and keeping meat that is quick and available to eat anytime and anywhere.
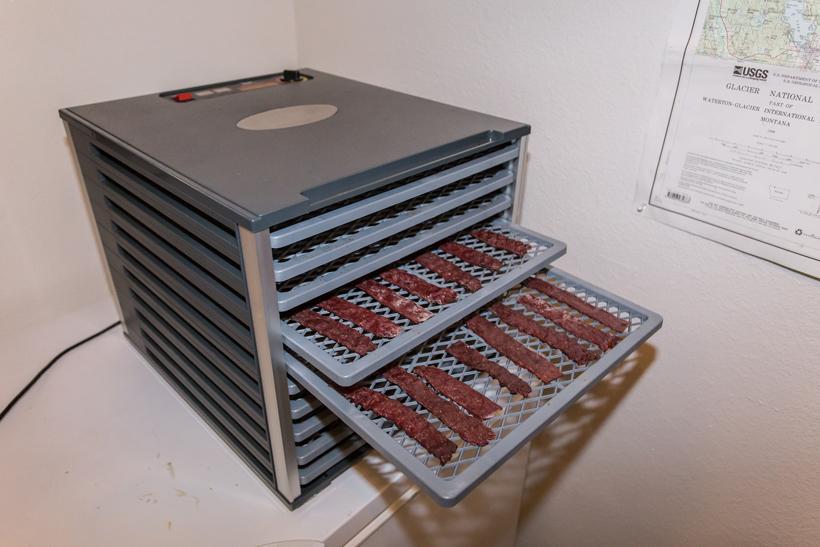
Everyone seems to have their preferred way of preparing it; mine is to cut partially thawed meat into thin slices, marinate it overnight and then put it in a dehydrator for 5-6 hours. I have included my favorite recipe for marinade below.
You can also use ground meat and a seasoning cure mix to make jerky. A quick option for DIY jerky can be found here. Jerky can be smoked or prepared in a dehydrator, as can various sausages.
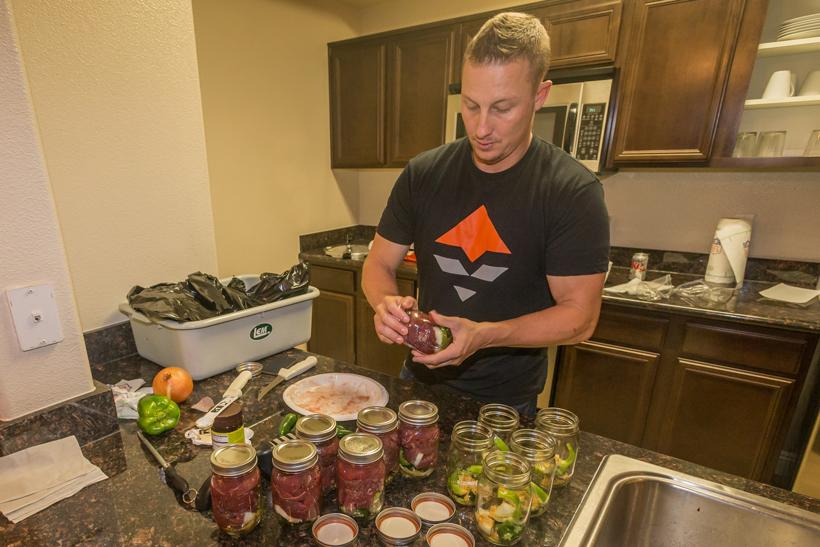
Bottling is another option that I was recently turned on to by a coworker who prepares nearly all his wild game meat with this method. To bottle meat, you use a pressure canner. A pint bottle will hold 1 pound of meat, a quart will hold 2 pounds, and the meat does not need to be cooked before you bottle it.
Bottling will likely require an investment up front for the bottles and pressure canner, but with a three year shelf life, bottling is an awesome option for preserving meat. Bottled meat is excellent in stews and sandwiches. You can read more about bottled meat here.
2/3 cup Soy Sauce
2/3 cup Worcestershire Sauce
1/2 cup Brown Sugar
2 teaspoons ground black pepper 2 teaspoons onion powder
2 teaspoons garlic powder
2 teaspoons liquid smoke 1 teaspoon Cholula hot sauce (more can be added for extra kick)
2 lbs thin sliced venison Marinade overnight ~ 10 +hrs