

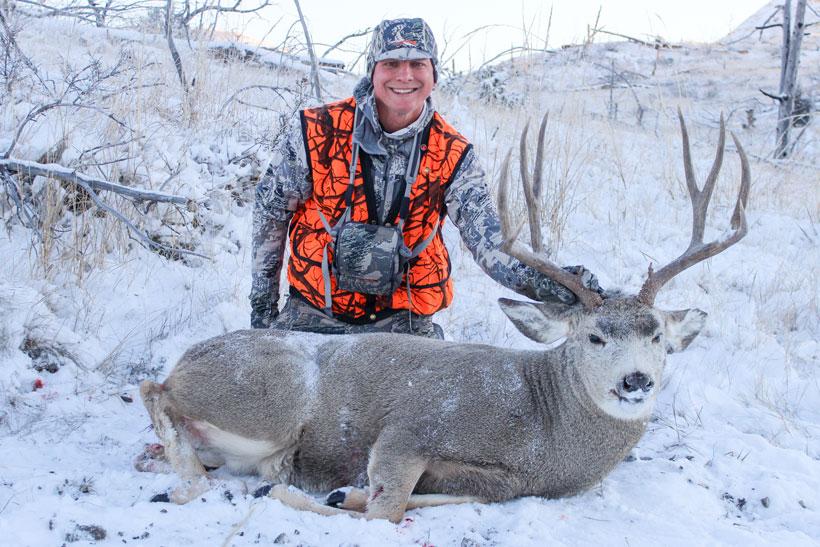
Brad's 2014 Montana mule deer that was used to make the jerky. Photo credit: Brad Tribby
5.0 lbs. |
Any wild game meat of your choice |
0.5 lb. |
Bacon end pieces (if desired) |
1 package |
Jerky seasoning |
5.0 lbs. | Any wild game meat of your choice |
0.5 lb. | Bacon end pieces (if desired) |
1 package | Jerky seasoning |
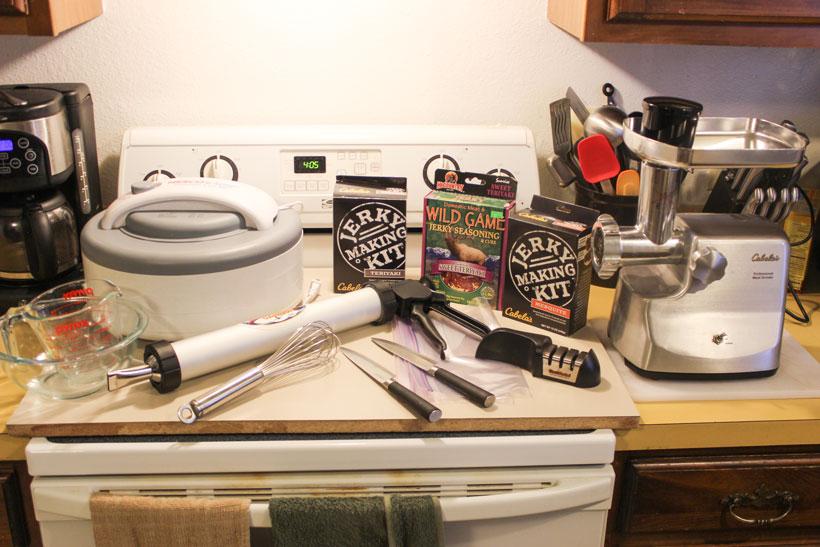
Meat grinder |
Knives |
Cutting board |
Jerky seasoning |
Mixing bowls |
Meat tub |
Jerky cannon |
Wild game meat |
Dehydrator |
Kitchen scale |
Gallon Zip Lock bags |
Vacuum sealer |
Meat grinder | Knives | Cutting board | Jerky seasoning |
Mixing bowls | Meat tub | Jerky cannon | Wild game meat |
Dehydrator | Kitchen scale | Gallon Zip Lock bags | Vacuum sealer |

As a hunter I appreciate providing meat for my dinner table. Spring is finally here and my freezer is still full of meat from a great year of hunting. I have been fortunate enough each year to harvest enough meat to also make healthy homemade snacks and now is a great time to start making room in the freezer. Jerky is the perfect item to make and it does not last long around my house because I always take it with me during scouting, hiking, summer fishing trips and fall hunting trips. It is an easy, healthy snack to take anywhere.
Do-it-yourself methods for preparing wild game meat take time, but you will save a lot of money in the process. After purchasing the equipment, processing your own wild game will pay for itself in less than two hunting seasons.
This past winter I made 25 pounds of jalapeno cheddar beer brats and this spring I made about 35 pounds of various flavors of jerky. Below is my detailed process of making mesquite and teriyaki flavored wild game jerky utilizing a dehydrator. If you are limited on space, a dehydrator is a great alternative to a smoker. I hope you try to make it yourself!
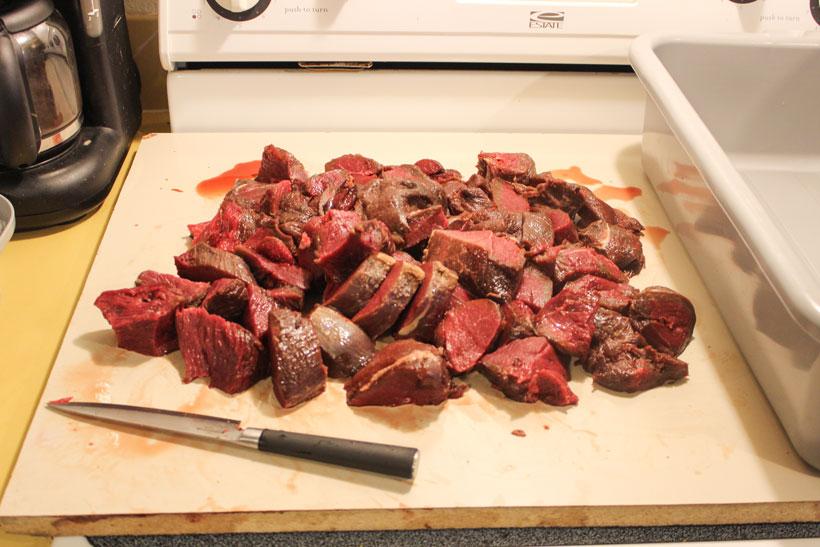
1. Cut meat into appropriate sized pieces that will fit through your grinder. Most of the time I cut the meat into strips that are three inches long by one inch thick. This length easily fits into the grinder and makes for a faster grind.
Tip: The meat should be trimmed of any fat and silverskin to make it easier to grind and for general taste.
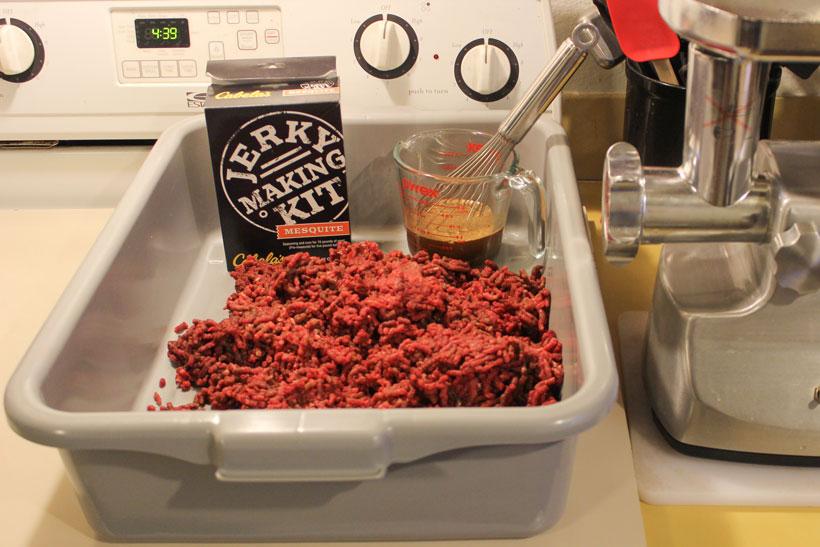
2. Weigh out meat according to the amount of jerky seasoning you purchased before you grind it. The brands I used called for five pounds of meat per seasoning package.
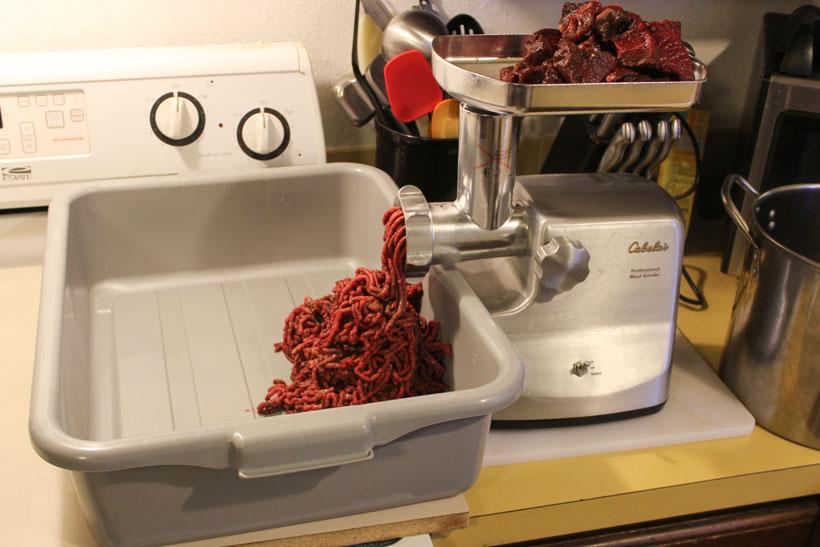
3. Next send your weighed out meat through the grinder. I use the medium sized grinding stone. Do not add any fat to your lean wild game meat. If you are looking to add a different flavor, you could add some bacon ends and pieces of beef fat to the mix.
4. After grinding the meat, add seasoning packet to the meat and thoroughly hand mix in with the ground meat.
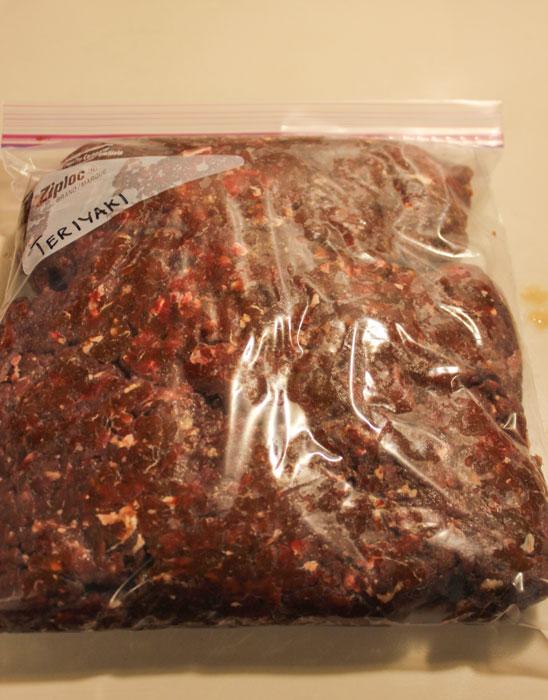
5. Once the seasoning is mixed with the meat, placed meat in a gallon Zip Lock bag and let the meat marinate for 24 hours in your refrigerator. This will help lock in the flavor of the seasoning.
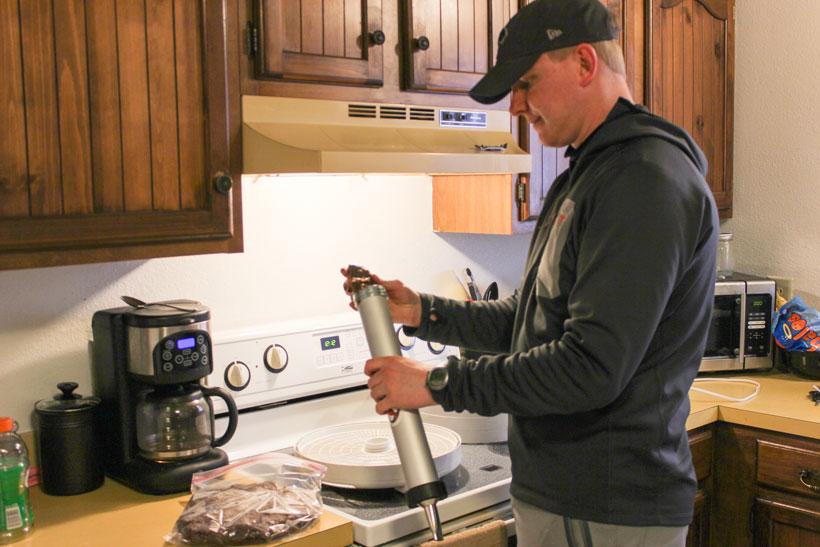
6. After 24 hours, remove meat from the fridge and pack the meat into a jerky gun and “shoot” strips of meat onto the dehydrator trays.
If you do not have a jerky gun you can use a roller and roll the ground meat to about a quarter inch thickness and cut your strips with a knife.
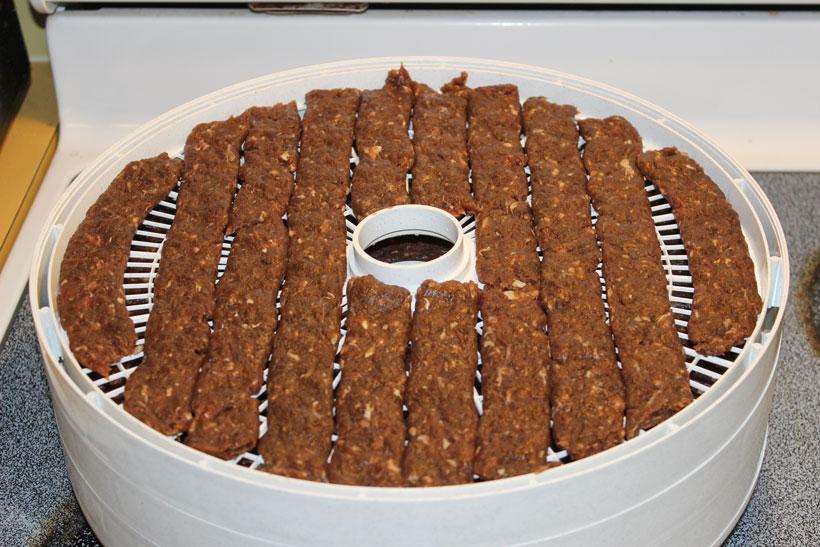
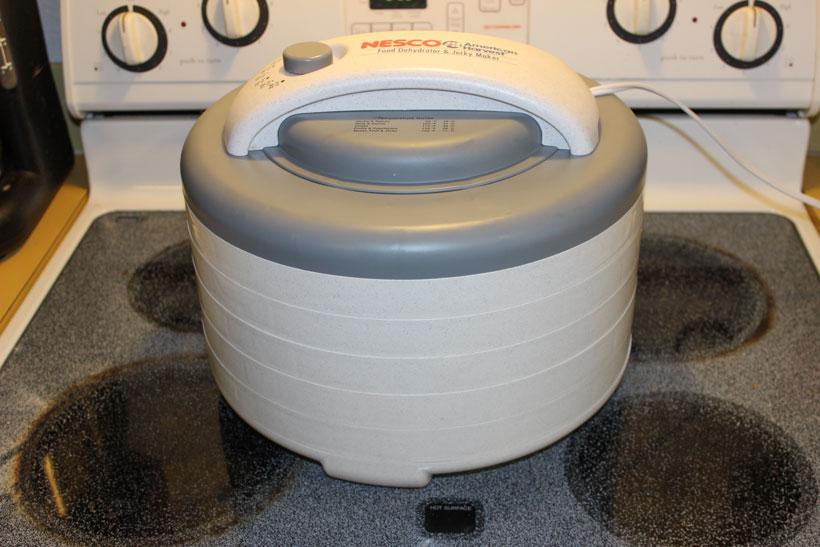
7. Dehydrate meat according to the settings on your dehydrator. I set my dehydrator to 160 degrees and dehydrated the meat for six hours. If you have the heat too high or leave the meat in the dehydrator too long you will have extremely hard jerky that will end up like a tough hard candy and may hurt your teeth to bite into. If you have the heat too low or do not have it in the dehydrator long enough you will end up with very moist jerky strips that may not be cooked all the way. Repeat the process with other jerky seasoning flavors.
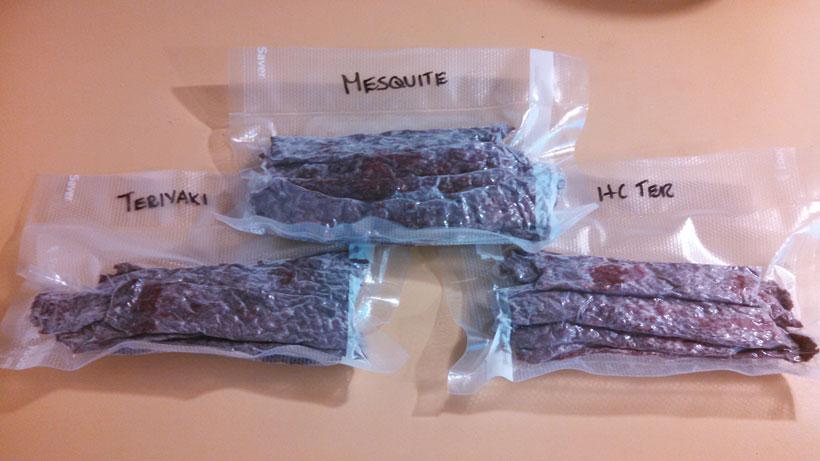
8. After the dehydrating process is complete, you will need to freezer wrap the jerky in portions that work for you. Freezer wrap is the ideal method because it locks out the air and protects your jerky from freezer burn. I normally place eight to 10 pieces of jerky per bag. Adjust the amount based on how you plan to use the jerky. Smaller batches work great for taking into the backcountry on a hunt.
By following this simple process, you now have great tasting jerky from your hard earned hunt.

