


This is the second part of a two-part series on building the perfect arrow. You can find part one here.
Previously we cut, squared and floated our arrows to slowly tighten the tolerances from arrow to arrow. Next we will sort all the compents and attach the vanes and insert to the arrow shaft.
Sort your arrows and components by weight. This is where you can really make your arrows clones of each other. Sorting is done in order to create arrows that will weigh within a few grains of each other. You do not want an arrow weighing 430.2 grains and another arrow weighing 437.0 grains. Be extra careful and have patience during this process in order to build arrows that have the potential to be extremely accurate.
I prefer to have a computer do the sorting for me in Excel, but a pen and paper will work, too.
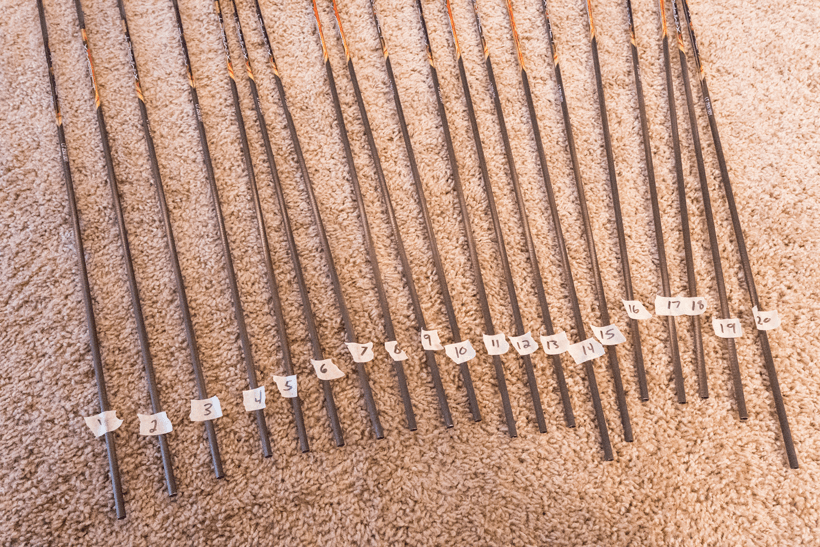
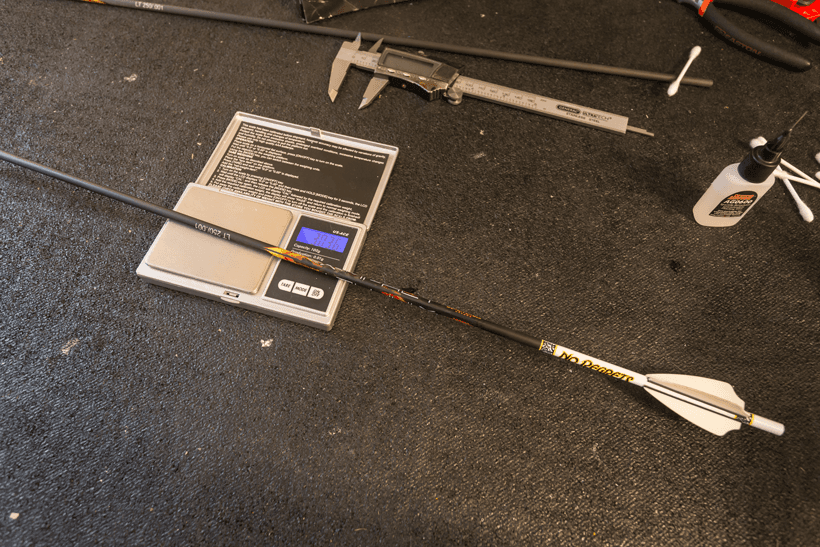
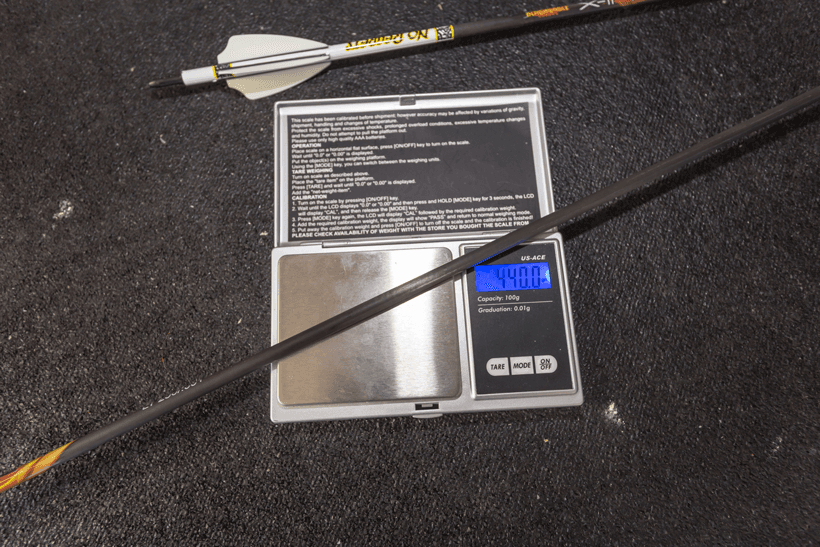
Start by taking a small archery scale that is capable of reading in grains and weigh each of your arrows and record their weights. It sometimes helps to number your arrows with masking tape in order to keep track of each arrow (do not weigh the arrow with the masking tape). Enter all this information into your computer.
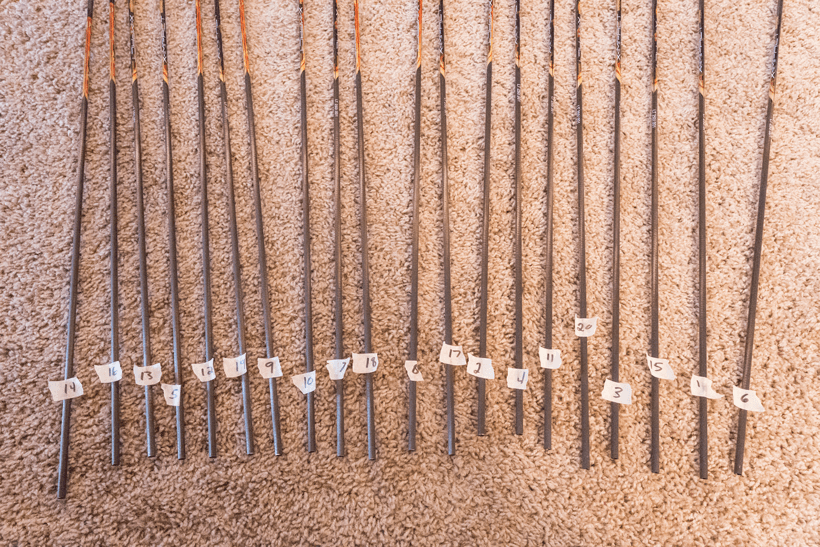
Be sure not to move your arrows after you weigh them because you will need to sort them from heaviest to lightest.
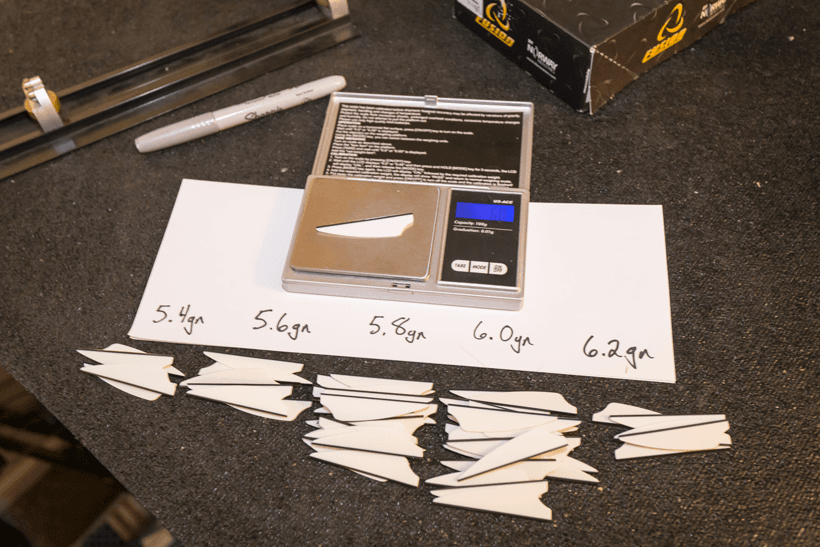
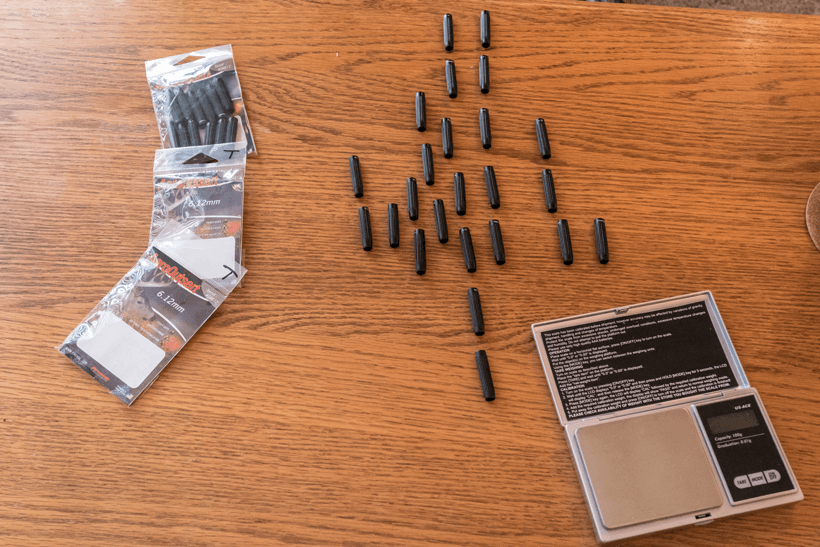
Continue to weigh out all of the arrow components (vanes, nocks, inserts, etc.) and sort them from heaviest to lightest while entering their numbers into your computer. Throughout my testing, I have found some vanes, nocks and inserts of the same brand/model from the same package will vary as much as 0.8 grains.
Sorting components will allow a heavy shaft to be paired with lighter components and a light arrow with heavy components to achieve the balanced, or cloned arrow. Lay your arrows and components out by heaviest to lightest on a table and sort your computer table to display the numbers from heaviest to lightest to keep everything organized.
Now, you should be able to see what components should go with what arrow to make them all the same weight. Experiment with the numbers in the Excel table until you find a combination that allows all arrows to weigh approximately the same.
Before you start to glue your fletching to your arrow, you will need to determine what type of fletch orientation you want to achieve. Check out this article for a detailed description on the pros and cons of each fletch choice.
Start off by dipping the nock end of the shaft in a large jar filled with 100% pure acetone. Drip dry and then wipe the arrow dry. At this time you can apply an arrow wrap if needed for extra weight or if you just want to add a personalized touch to your arrows.
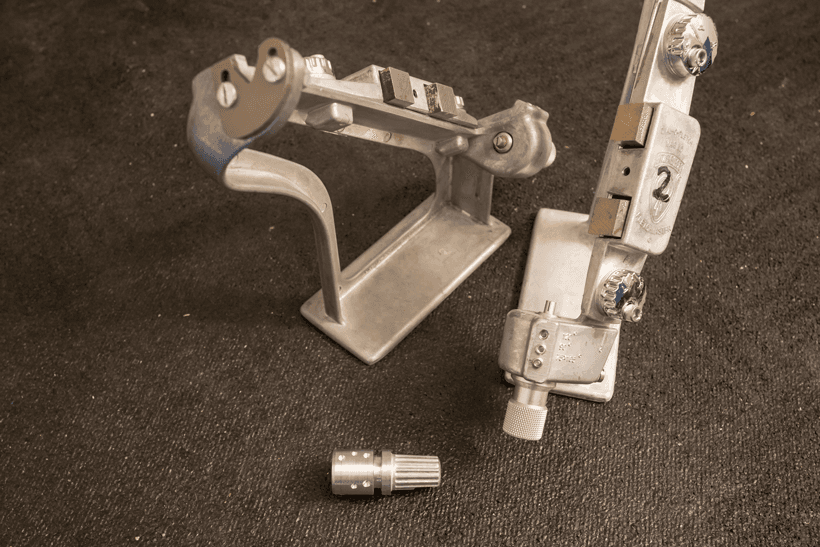
Several manufacturers make quality fletching jigs such as AAE, Bitzenburger and Last Chance Archery.
I prefer to use a Bitzenburger with a Zenith Archery Bitz Upgrade kit. The upgrade kit replaces your standard nock receiver (pictured above is the standard nock receiver on the table) and provides tighter tolerances.
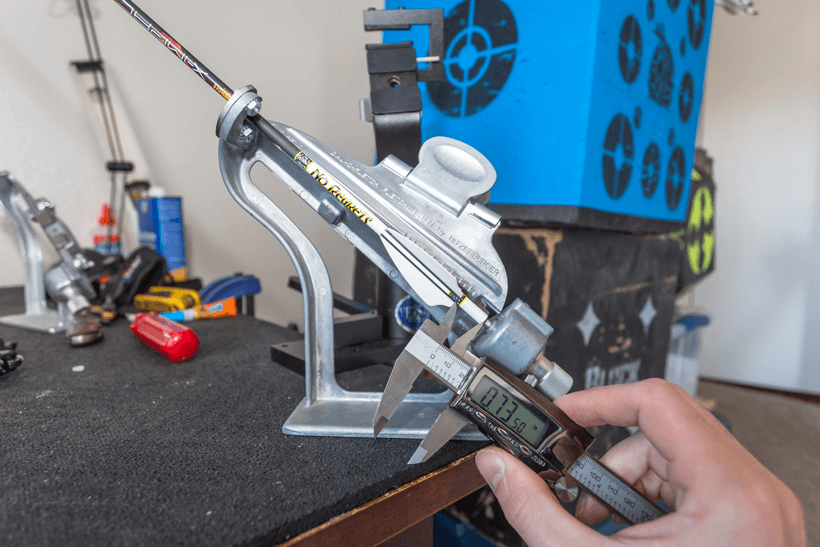
Place the arrow in the fletching jig of your choice. Next, rotate the arrow until you have the heavy side of the arrow that you marked earlier (from the bathtub test) on the top. This is where you will start the fletching process on each arrow.
Place a vane in the clamp and then take a digital caliper and measure the distance that you prefer from the end of the shaft to the vanes. This will allow you to place the vane in the same location on each arrow.
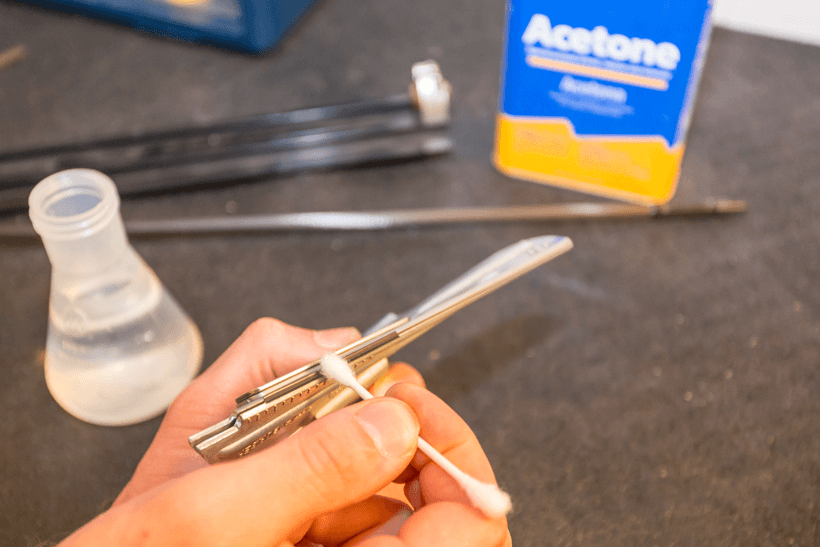
Have a small bottle of 100% pure acetone ready. Take a Q-tip and dip it in acetone and clean the fletching from one side to the other. Flip the Q-tip around and wipe down the vane to dry.
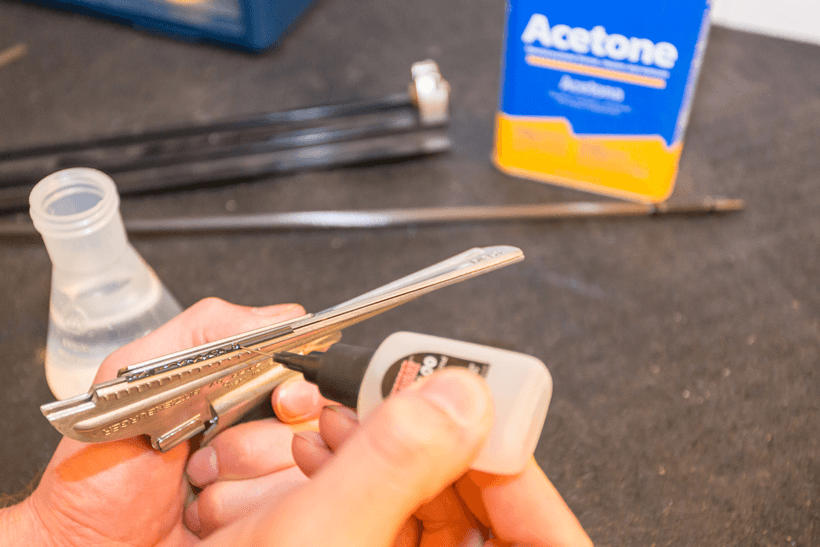
Let air dry for a moment and then apply a very small bead of glue down the vane.
It is important to use a quality type glue such as AG0600 or Gorilla Super Glue to ensure proper adhesion. Next carefully place the clamp onto the arrow and seat the clamp in the proper position on the jig.
Wait the required amount of time for the glue you are using to dry. Carefully remove the clamp and rotate the jig to the next position and repeat the process for the other vanes. Once finished, remove the arrow from the jig and place a small dot of glue on the front and back of each vane to ensure it stays glued down.
Head back to the grain scale and weigh the arrow with the vanes attached and record this number in your table.
Next, sort the arrows again from heaviest to lightest and do the same on your Excel table. It is important to stay organized during the process so you can continue to properly balance the arrows while adding the fletching.
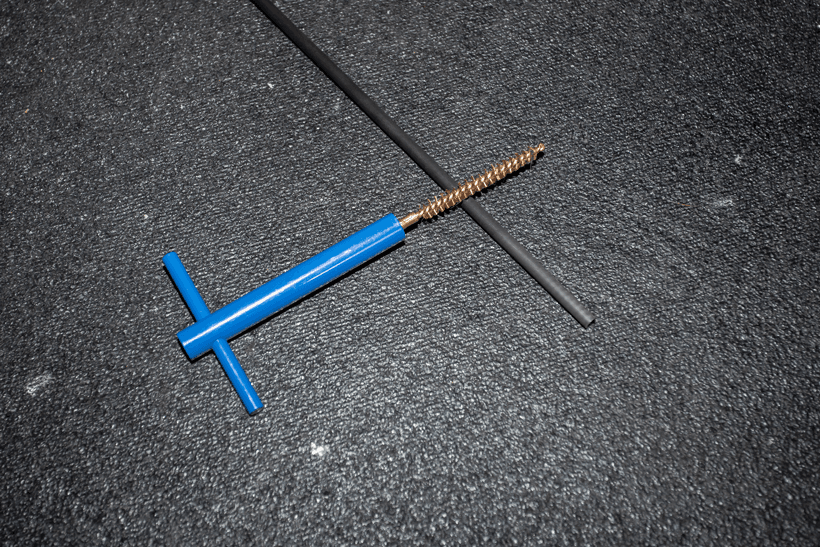
If your arrow uses inserts (arrows with outserts do the opposite) take a small rifle barrel wire brush to lightly rough up the surface.
This creates a strong bond for the Epoxy and insert on the arrow shaft.
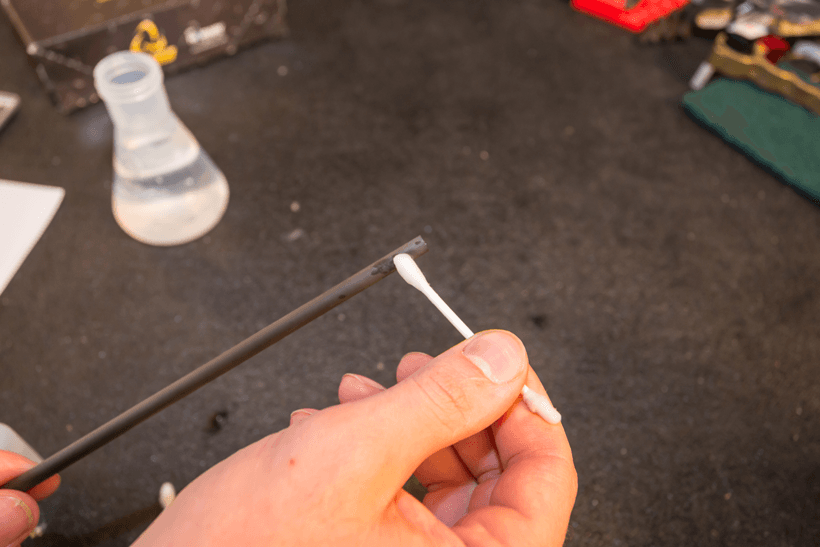
Dip the point end of the shaft in 100% pure acetone to remove any carbon or aluminum dust. Once again, it is a great idea to dip a Q-tip in the acetone and clean out the inside of the shaft (or outside of the shaft if you are using an outsert) until the end of the Q-tip is clean to remove any carbon or aluminum dust. It is best to use multiple Q-tips for this process to ensure you are removing all the dust.
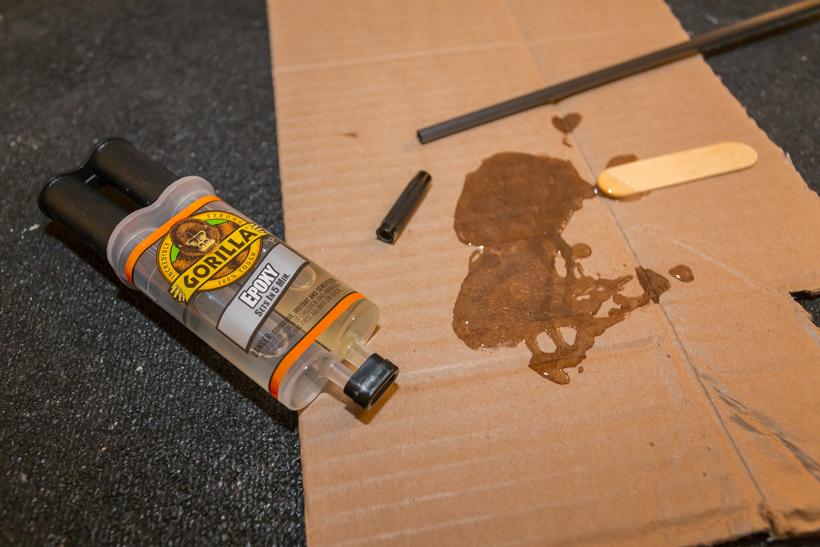
Use the insert of the correct weight that you measured earlier and glue it in the shaft with epoxy.
If you are the type of person that prefers to have a broadhead aligned with the fletchings, you can screw a test broadhead into the insert and then push the broadhead-insert combination into the shaft and rotate the broadhead until it aligns with the fletchings with the epoxy on the insert. Keep in mind, this will only work if you are using the same number of broadhead blades as fletchings and will not work with two blade broadheads for obvious reasons.
Have the epoxy cure for 24 hours with the arrows lying horizontally for hidden inserts to ensure the inserts do not move in the shaft.
For outserts or normal inserts that stick out to the diameter of the shaft, you should stand the arrows up vertically to keep the insert seated on the end of the arrow properly.
You will then re-weigh the arrows and once again sort them from heaviest to lightest.
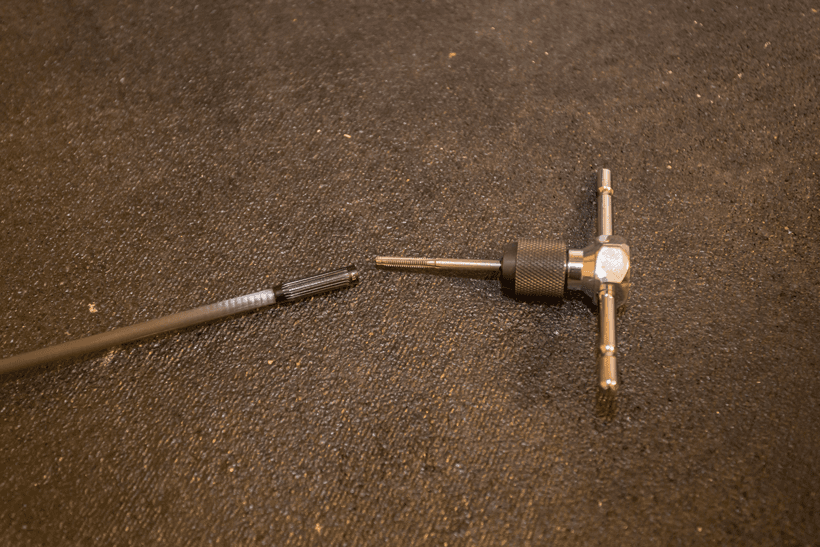
If you can't get a field point to thread into the shaft after your epoxy has dried, then you will need to clean the threads with a thread tap.
Locate the correct size tap and thread it into the insert and back out to clean the insert threads of epoxy material.
Sort your nocks from heaviest to lightest. Place the correctly weighted nock into each shaft. Pay close attention to your nock when you install it. Nock straightness is extremely important, so always use a nock tool when installing nocks rather than pushing your nock in against a table.
The final step is weighing each arrow with a field point or broadhead attached.
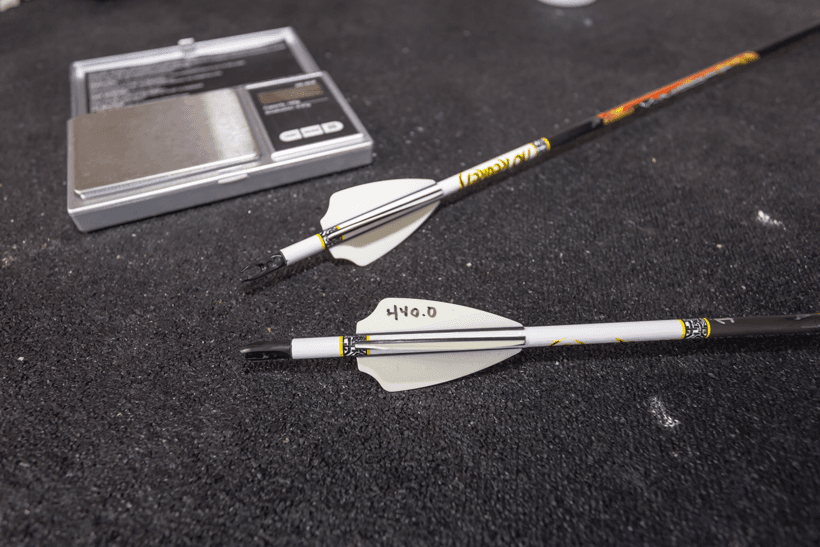
You should have a stack of arrows that all weigh very close to the same weight and will be almost clones of one another. Record this number on an arrow vane.
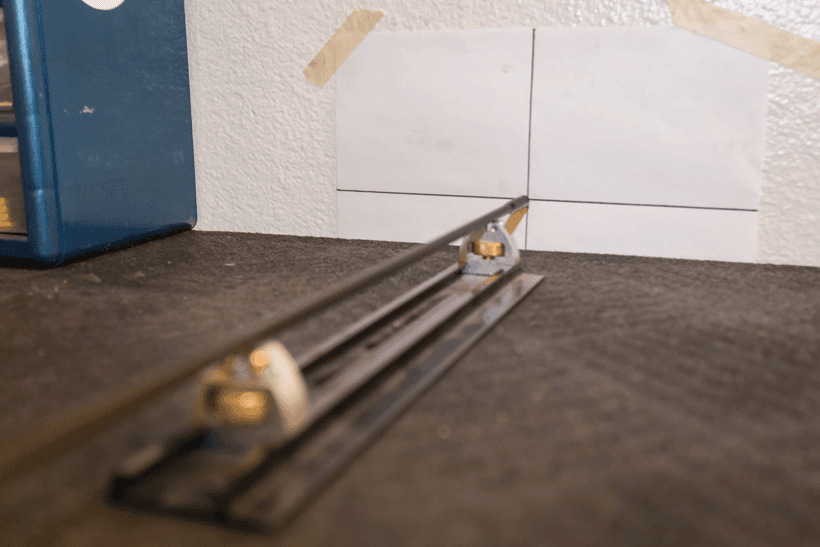
The last step of the process is to spin test the arrows to ensure they are square after everything has been glued. Use a ruler to make an "X" on a piece of paper.
Place the arrow on an arrow spine testing device and place the arrow tip against the small dot in the middle of the X and spin the arrow. If the arrow wobbles, then something isn’t seated correctly and will cause the arrow to fly drastically off course when you test it at further distances. You might be able to make a few changes to fix the wobble can or just use it for practice purposes only.
Building arrows utilizing these steps may seem overly time consuming and tedious, but I believe the benefits outweigh the amount of time behind the arrow building process.
An arrow that is built with tight tolerances will almost always resemble an exact clone of the next arrow in your quiver. This will help keep your arrow flying true toward its intended point of impact no matter which one you reach for this fall.