


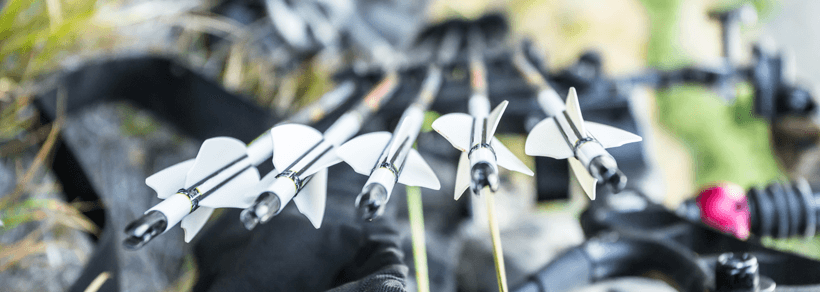
Arrow saw |
Arrow squaring device |
Silver marker |
Small wire brush |
Water container |
Soap |
Cork plugs |
SOS pad |
Grain weight scale |
Computer with Excel |
Masking tape |
Q-tips |
100% pure acetone |
Fletching jig |
Digital caliper |
Vane glue |
Epoxy |
Spin tester |
Arrow saw | Arrow squaring device |
Silver marker | Small wire brush |
Water container | Soap |
Cork plugs | SOS pad |
Grain weight scale | Computer with Excel |
Masking tape | Q-tips |
100% pure acetone | Fletching jig |
Digital caliper | Vane glue |
Epoxy | Spin tester |
This is the first part of a two-part series on building the perfect arrow
The goal of any bowhunter is to have an arrow fly perfectly straight out of your bow, shot after shot. This end result is a form of art. Achieving perfect flight takes patience, quality equipment, knowledge of bow setups and a quality pro shop or the right tools to get the job done yourself.
Building the best arrow possible is a pivotal part of a forgiving and accurate setup. You can build a better arrow by using the best materials. This includes everything from the arrow shaft itself to the glue used to attach the components. Precision equipment will ensure that your arrows are precisely made.
It is easier to create arrows that weigh close to the same weight if you start out with a lot of arrows, rather than building a few arrows here and there in the off season. I prefer to do this with two dozen or more arrows at a time. This ensures that I do everything the same and it also aids in having enough components to properly sort in case I need a lighter insert or heavier nock to match up with the rest of the arrows.
The following detailed steps will help you create arrows that are for the most part, clones of each other, which will create tighter groups and increased confidence in your setup.
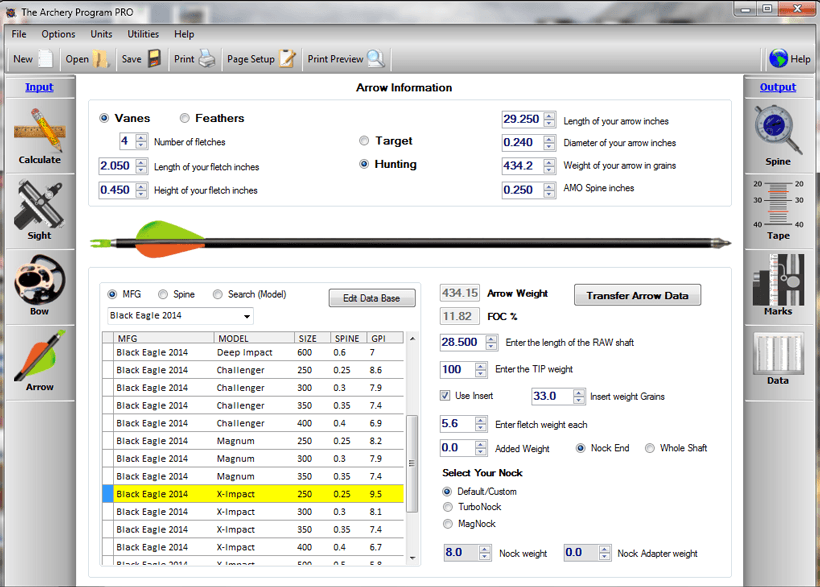
First you need to select arrows for correct spine (check out this article for help). Next, determine what length arrow you will need based on charts or from entering your bow and arrow information into an archery software program.
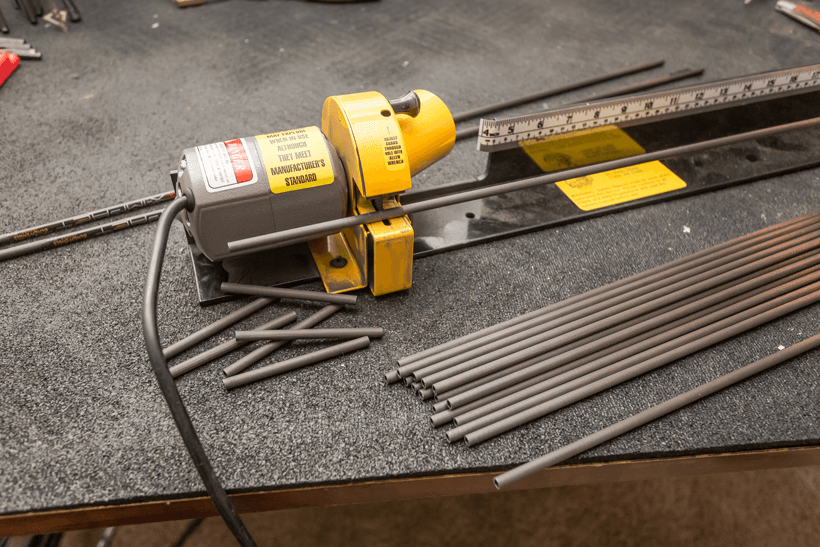
I prefer to use The Archery Program or Archers Advantage. Experiment with different arrow lengths, point weights, and fletching options in the program to create your ideal setup. When cutting arrows, be sure to use a quality high speed saw that is specifically designed for arrows. Other than for safety reasons, this will aid in providing a true cut.
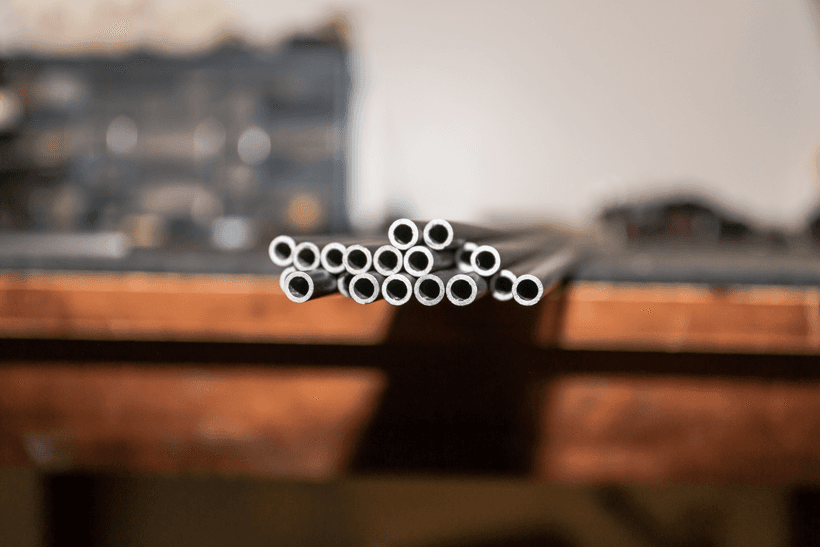
Cut a little from each side of the shaft to ensure straight ends on the arrows. Straightness flaws usually come from the front and backside of an arrow. You never really know how exact a manufacturer is when mass cutting the arrows. Before doing this, make sure that you are not cutting an arrow that is tapered or barrelled from both sides. Then cut the arrows to the correct length.
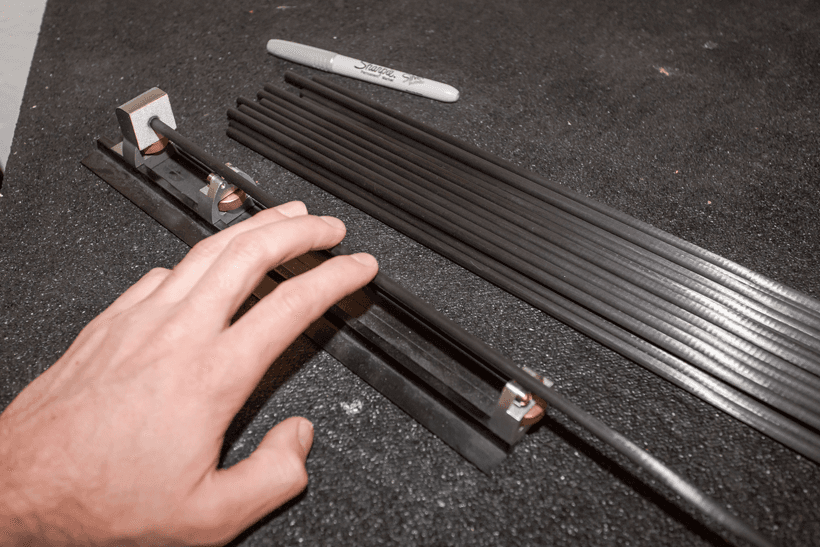
Square the arrow up. Start with a silver marker and mark the nock and point end of each shaft.
Then take the shaft and carefully use an arrow squaring device to square up the ends of the arrow. Rotate the arrow on the squaring device until you have removed all the silver marker from the end of the shaft. Several manufacturers (G5, Firenock) make great arrow squaring devices.
An arrow shaft must be square in order for the arrow nock and insert to sit properly against the shaft. If not, this will cause accuracy to suffer as the arrow will not spin true.
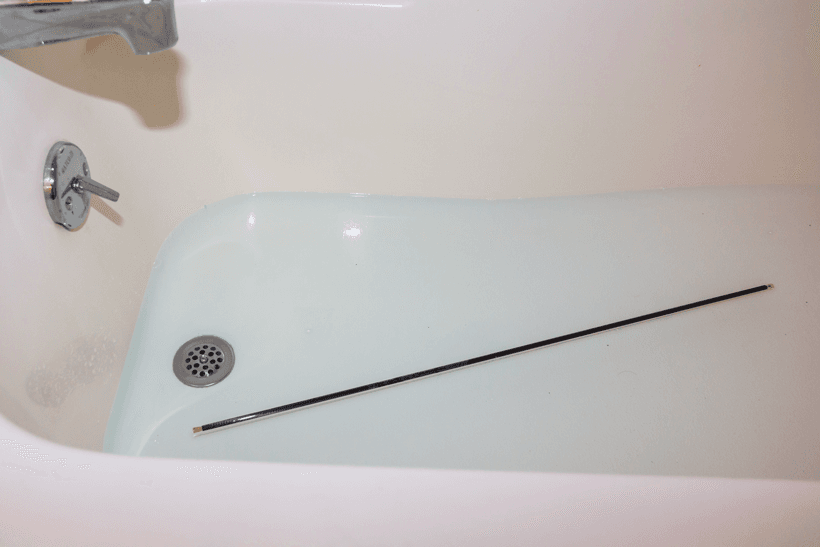
Next determine which is the heavy side of the shaft. This is usually caused by a seam on the arrow where the carbon layers overlap because this area is heavier. The easiest way to determine this is by spinning the shafts in water. Floating arrows is an easy method for finding the stiffest (heaviest) side of the shaft. This is beneficial during the fletching process because you will start fletching on this stiff side of the arrow. All of your arrows will be fletched the same and it also allows you to index your nocks in the same position. Fill a bathtub or something similar with enough water to spin the shafts.
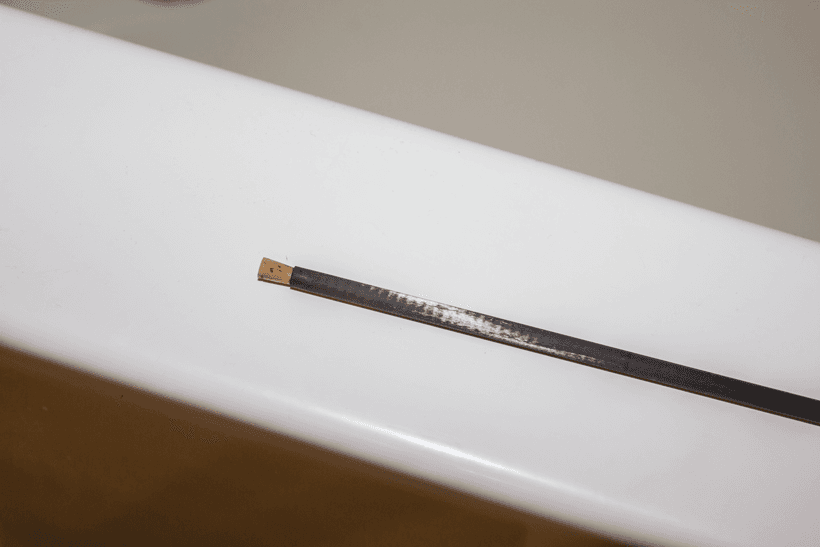
Take two small corks or nocks and plug each side of the arrow to prevent any water from entering.
Take some dish soap and pour it into the bathtub in a serpentine pattern up and down the tub. Do not agitate the water to form bubbles on the surface because this will not allow the arrow to spin freely. To avoid this, take your hand and gently place it in the water and carefully run it across the bottom of the tub to mix the soap with the water.
Place the arrow in the water and spin it. Once the arrow stops spinning, take note of the side that is up and spin the arrow a few more times to ensure that it stops in the same spot. After you do this, take the arrow out of the water and place a mark on the back of the shaft on the nock side that was below the surface of the water. This is the heavy side of the arrow. Later, you will place one of your vanes on this heavy spot to keep all arrows the same.
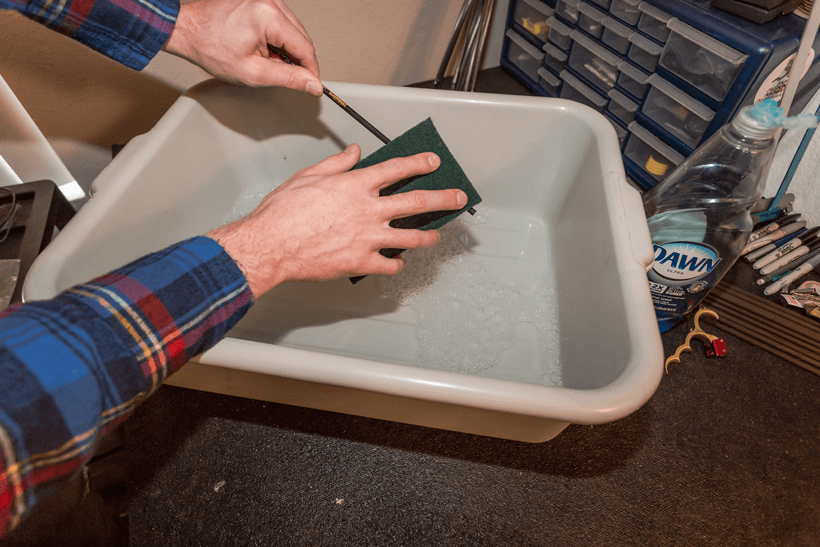
Once you have finished floating the arrows, take an SOS pad and place some drops of dish soap on it and place it under hot water while rubbing the SOS pad on the fletching side of the arrow to remove oils and to roughen it up.
This will allow the fletching and/or wrap to adhere better.
Next week's article will take you through sorting arrows based on weight, applying inserts and the fletching process.
(Update February 10, 2015, Part two can be found here)