


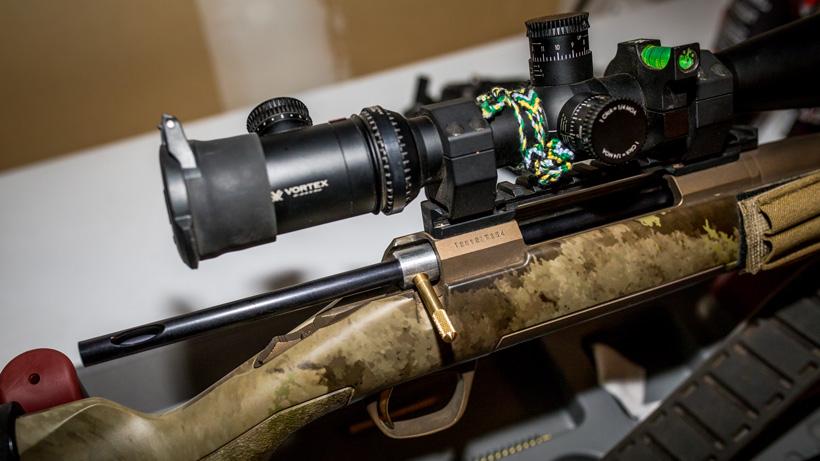
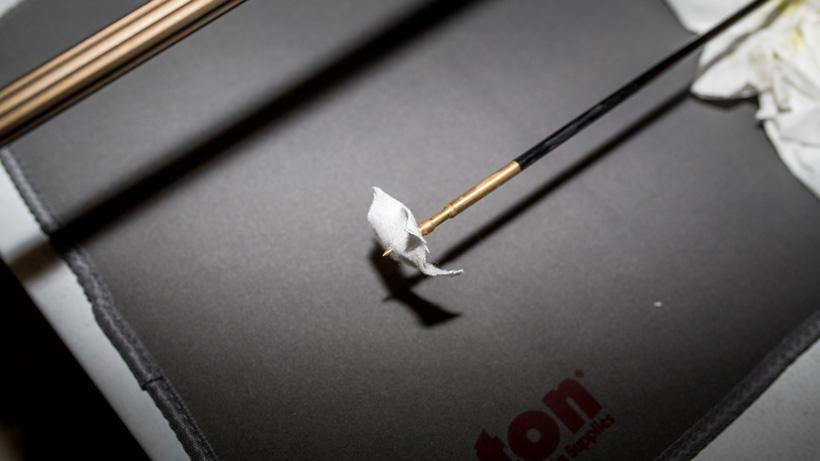
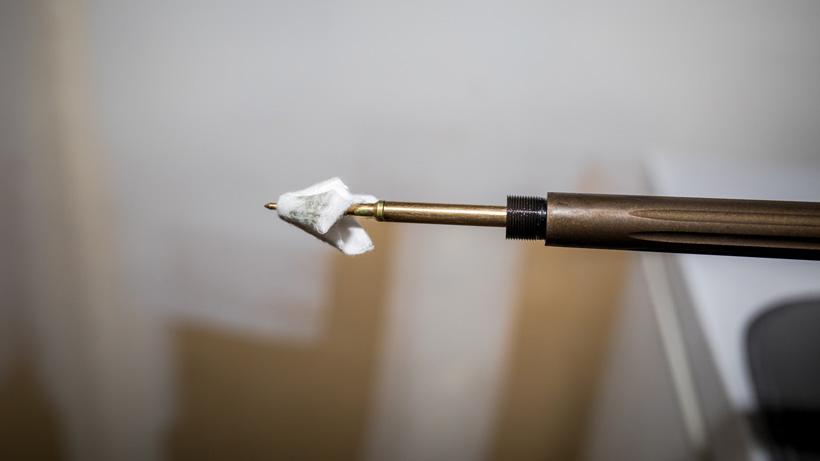

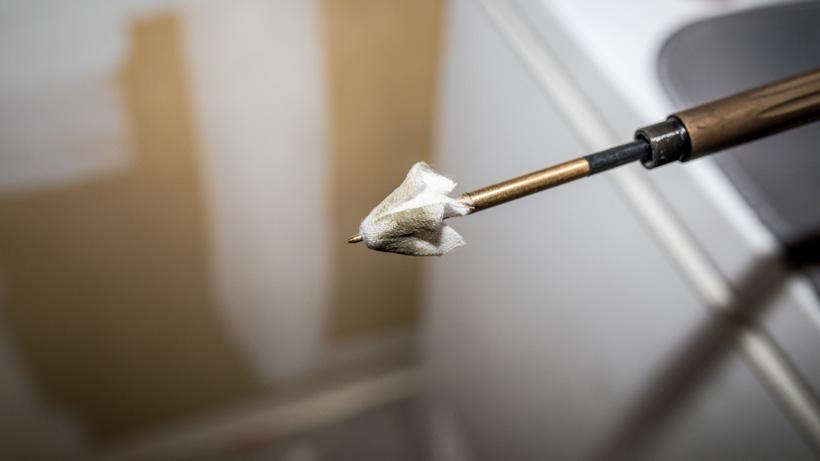
For demonstration purposes, I pushed the cleaning rod a little further through the barrel past the crown than I normally would.
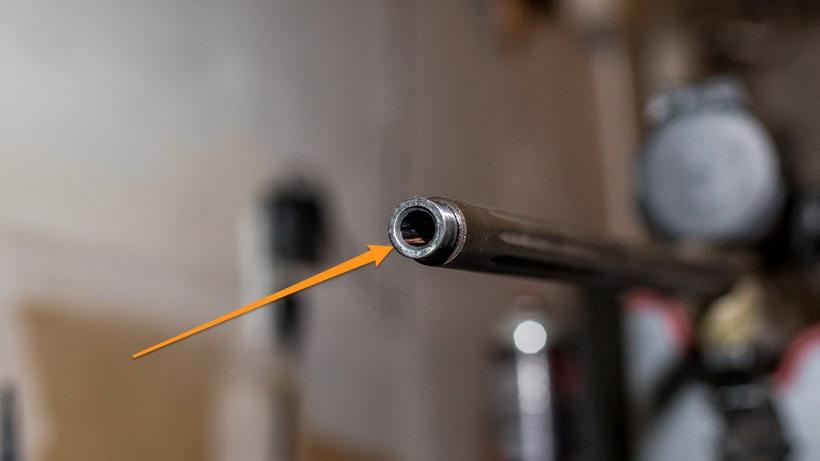
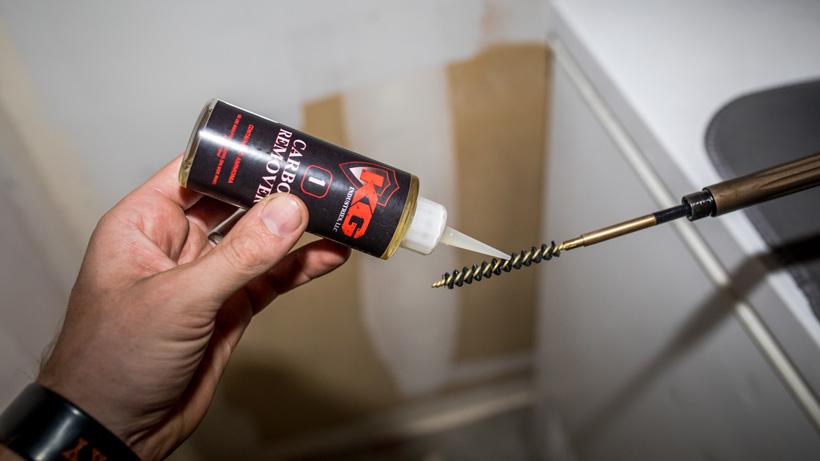
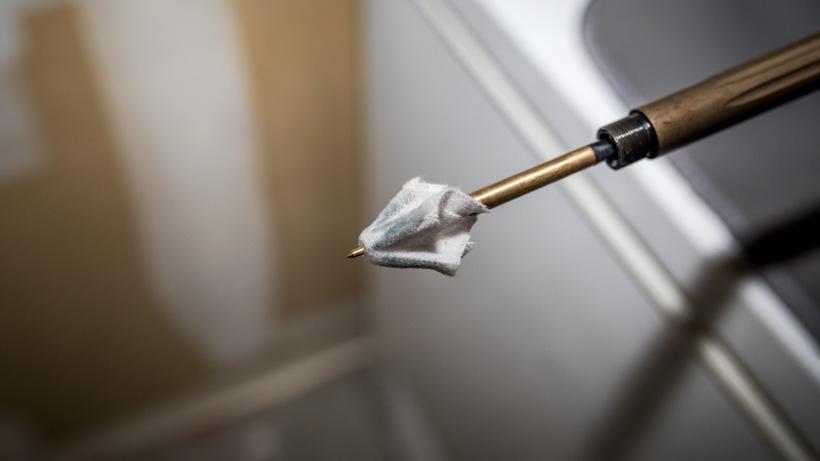
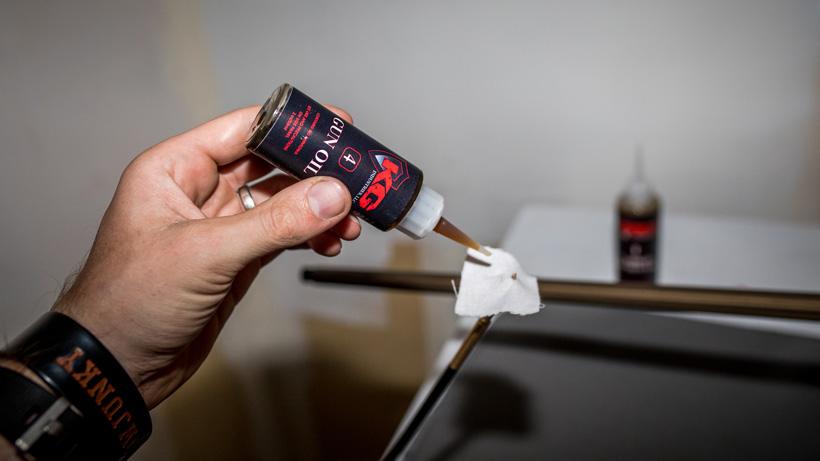
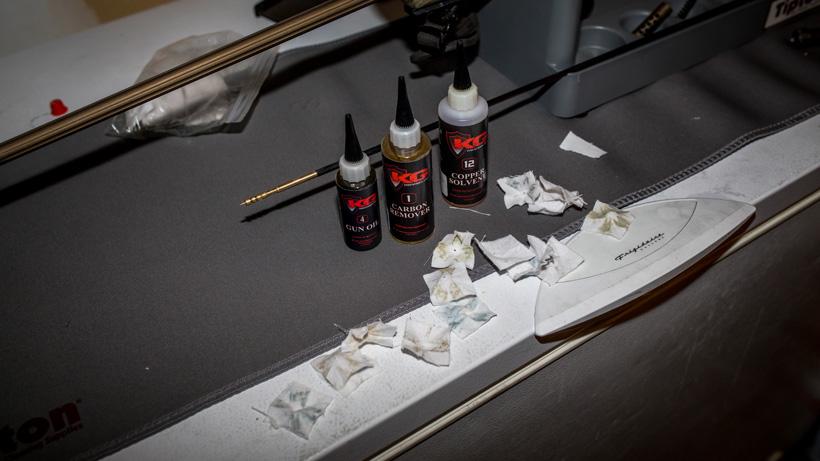
End results after cleaning hunting rifle bore.
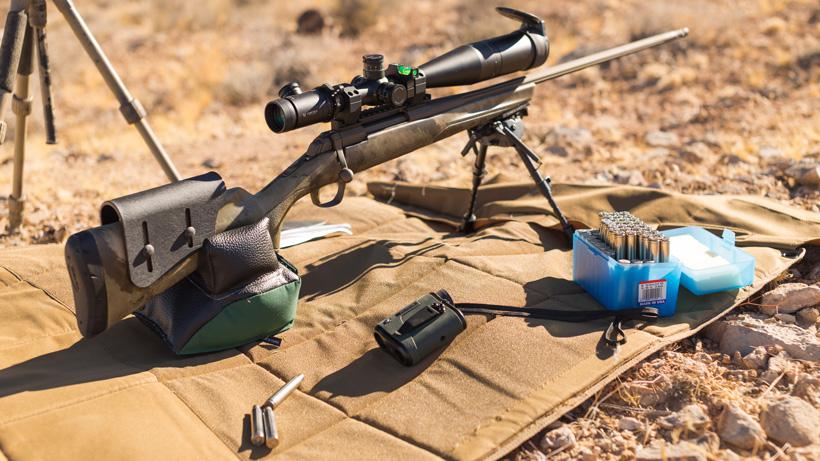

I’m a firm believer in cleaning your rifle throughout the season. Below are some steps that I’ve been using for a long time that my father taught me along with some modifications that I’ve learned from others. I’ve said it before, but everything I’ve learned in long-range shooting has been from my dad. He’s a wealth of knowledge when it comes to rifles. Over the years, some of the cleaning solvents that I use have changed, but the general process is still the same for cleaning my hunting rifles. Now, before I get started, there are a plethora of ways to clean your hunting rifle barrel and lots of different brushes, mops, jags, etc that all work great. This is a method that has worked very well for me.
A semi-deep clean is probably the best way to describe this process and it is my preferred way to get a rifle shooting where it’s supposed to after all the target practice to dial in my loads and dope chart. The process below was done on a Browning X-Bolt Hell's Canyon Speed rifle in .300 Win Mag.
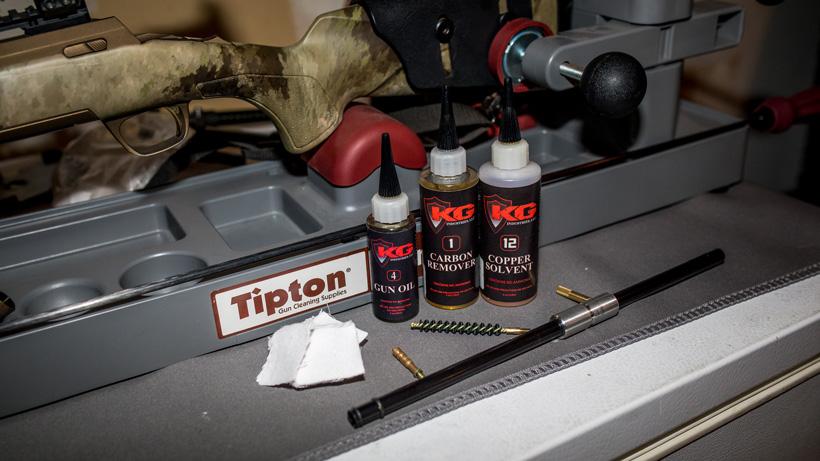
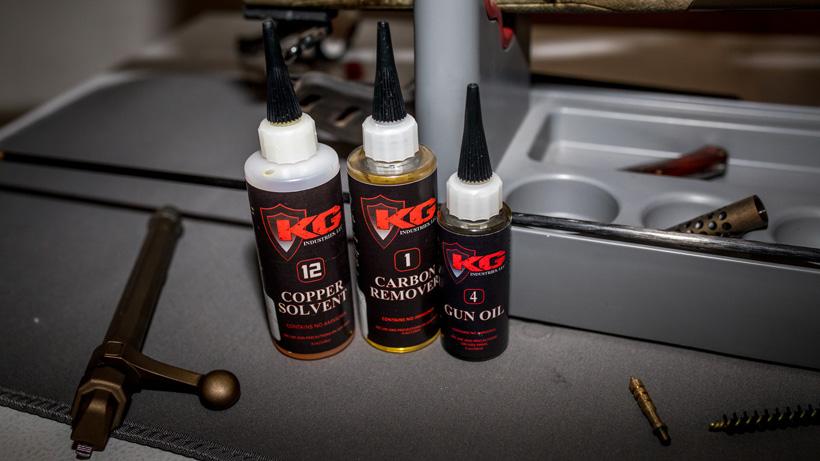
Notes on cleaning solvents: There are plenty of different options out there. My family and I have used Hoppes, Gunslick, KG Industries, Montana Extreme, Wipe Out, Shooter's Choice, and Sweets throughout the years.
Place your gun in a cleaning bench or extend your bipod if you don’t have a bench tool. Note: Always clean your gun with a cover over your scope. You don't want the solvents or brush to accidentally get on your lens.
Remove the bolt and place the bore guide into the rifle. I like to use bore guides that have an O-ring to prevent the cleaning material from entering back into the action.
Take a cleaning rod and attach the jag.
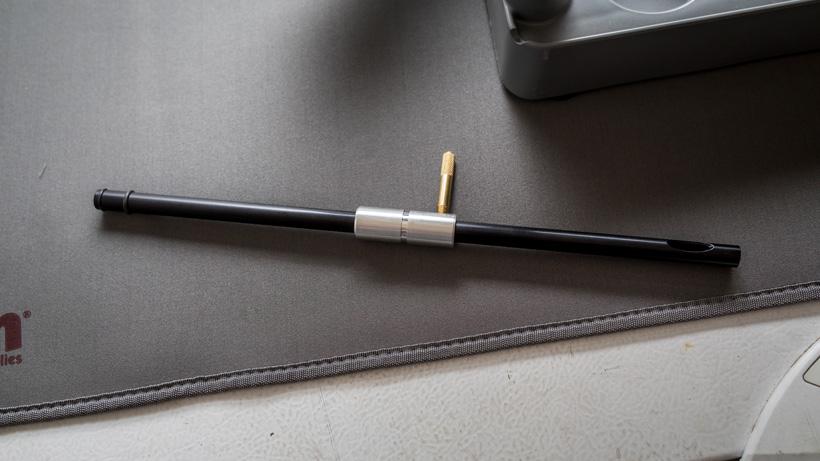
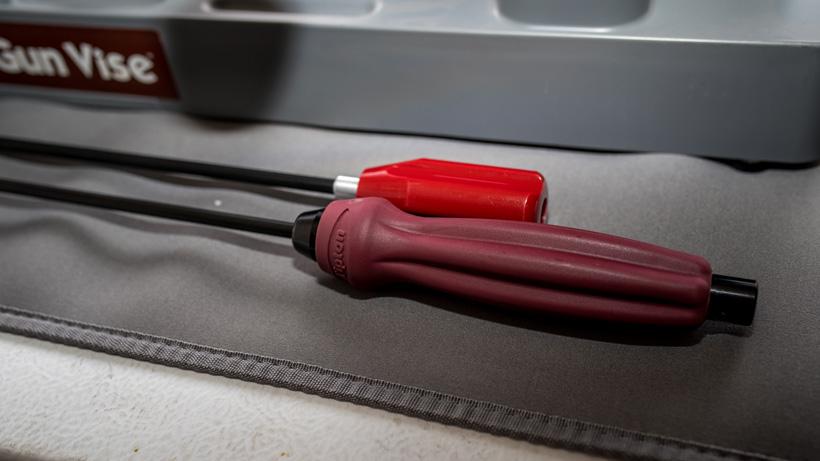
I prefer J Dewey nylon-coated and/or Tipton carbon fiber one piece cleaning rods.
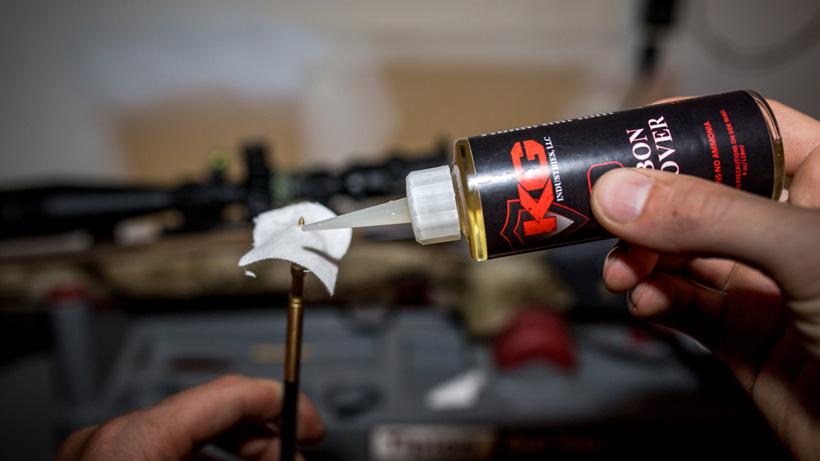
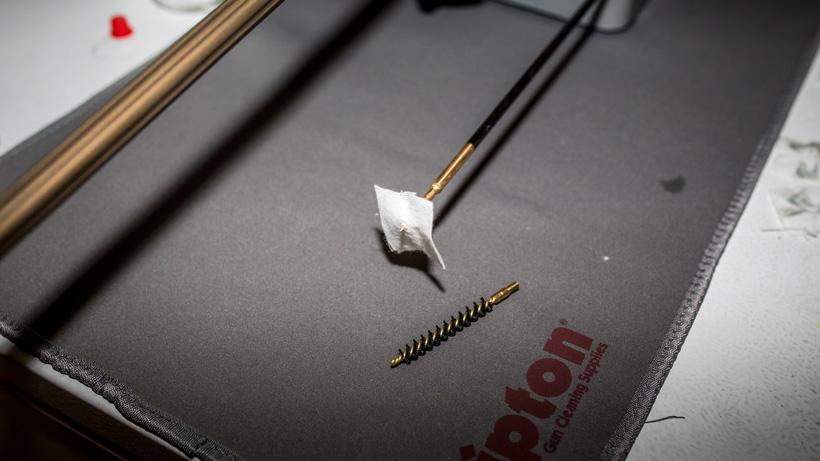
Next, take a cleaning patch, attach it to the jag and place a few drops of carbon remover on the patch. Run the cleaning rod with the patch through the bore, discard the patch and repeat the process a few times until clean. This process also shows some of the carbon fouling.
This process is great for removing a large amount of gunk from the barrel. You’ll instantly notice that the first few patches are pretty dirty.
Note: When running the cleaning rod or brush down the bore, just let the tip poke out from the end of the muzzle. This is just an extra precaution to protect the crown of the barrel (still important if you have a muzzle brake removed).
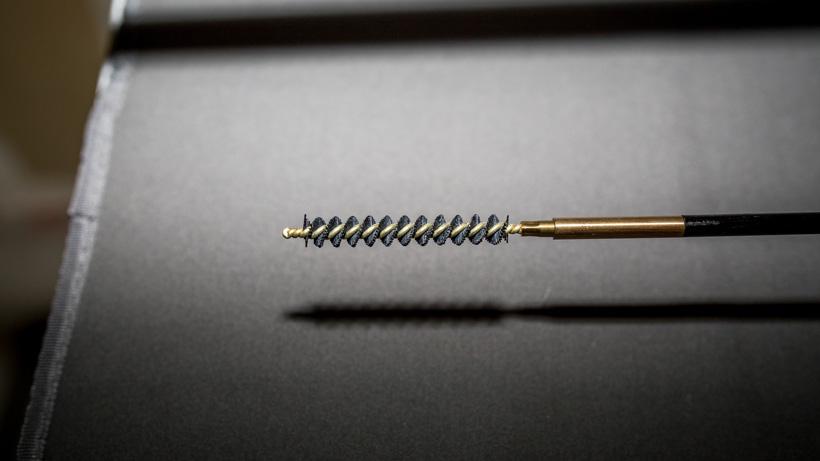
This step is where you’ll work on the carbon fouling. Attach the nylon brush to the rod and run it through the rifle bore (but don’t pull it back through).
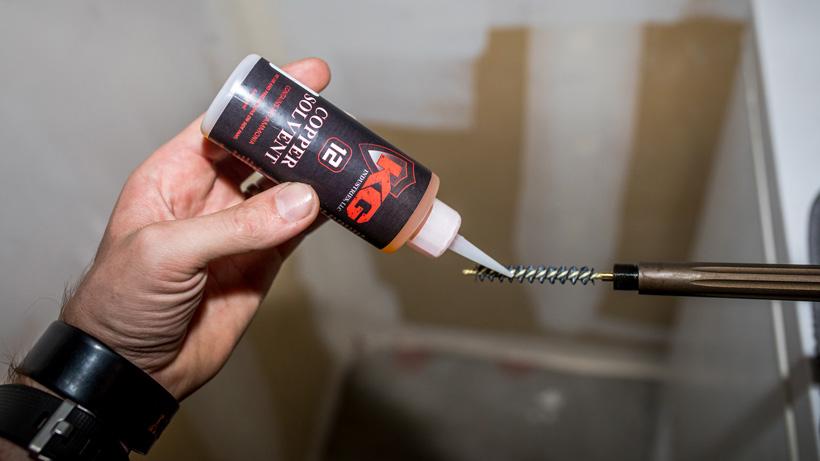
Once through the bore, you will apply some drops of copper remover solvent to the brush. You could add the drops of solvent in the hole in your bore guide if you prefer. I definitely do it both ways depending on the conditions. Sometimes applying it to the bore end prevents the solvent from leaking onto your rifle stock and possibly discoloring it or impacting the laminate.
Now is when you will brush the bore like you’re giving your teeth a hard brushing. So, roughly you’ll want to run the brush through the bore 25 to 50 plus times.
Next, attach your jag and run a dry patch through the bore several times and check the end of the barrel to see if you’ve removed all of the copper fouling.
If you still see copper fouling, then repeat the above steps a few times until it’s all removed.
Normally the copper streaks will look like brownish tinted streaks.
This process is very similar to the previous step except, this time, you’re going to be removing carbon in the barrel.
Take the nylon brush and push it through the bore. Once the brush is exposed, apply a few drops of your carbon remover solvent of choice. Then it’s time to brush your teeth (rifle bore) another 25 to 50 plus times.
After that, again, run a few dry patches through the barrel and check the barrel for a clean look.
If you don’t have a clean finish, repeat the process a few more times.
Take your cleaning rod and attach the jag and then place a patch on it. Next, apply a few drops of gun oil and run it back and forth through the bore a few times. After this, take a dry patch and run it through the bore to remove any excess gun oil.
I’ve had a few different rifles that seemed to respond differently after a cleaned barrel. Some rifles shoot great from a super cleaned bore, but others may not—all rifles are different. To be safe, I take a freshly cleaned gun back out in the field and take a foul shot to “settle a barrel down” so to speak. There’s definitely a lot of reading that can be done on foul shots and bore mapping.
After you’ve completed all of these steps, your rifle is now ready for your next hunt!
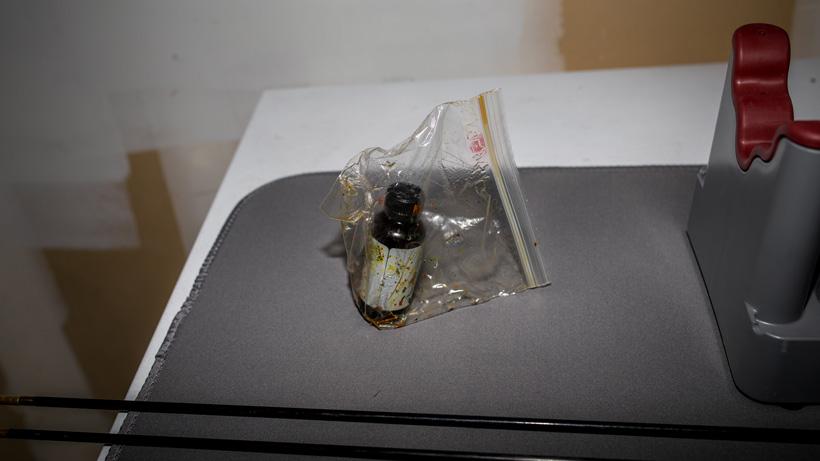
Ending thought: Keep in mind to always properly store your rifle cleaning solvents. This is what happens when you forget to screw the cap all the way down after some range practice.
Cleaning bench
Cleaning rod (carbon fiber or nylon)
Nylon brush (correct size)
Jag (correct size)
Patches
Carbon remover
Copper fouling remover
Gun oil
I prefer one piece cleaning rods
Nylon isn’t as harsh as other materials
I really like stainless steel so you don’t get a false copper reading. For the article, I couldn't find my stainless jag in my cleaning kit for some reason, so I used a brass version.
Ensure they are the correct size for the rifle caliber.