



Photo credit: USGS
Technology has infiltrated nearly every facet of life. Hunting is no exception. There are gadgets and apps for just about everything you could ever need when it comes to hunting and navigating the backcountry. Portable GPS units are a fantastic addition to anyone's pack because you can plot routes, know your exact location instantly and even signal for help with some models. But there is just something about doing things the old fashioned way. In addition, what will happen when technology fails? For anyone who spends time in the backcountry, it is important to understand how to use a compass and a topographic map.
A compass and map will never run out of battery life. They will never short out if dropped into water. They will never have a broken screen or malfunction. A compass and a topo map will always work when you need them to work.
A map and a compass never need a software update or an SD card. You can also write directly on them.
I order my maps from MyTopo.com and I can get the exact location I want in the exact scale I want with the exact details I want.
Even if you prefer to have a portable GPS, you should always have a compass and a map as a backup just in case.
In all seriousness, when you see someone navigating with a map and compass you say to yourself, "He/she is pretty legit."
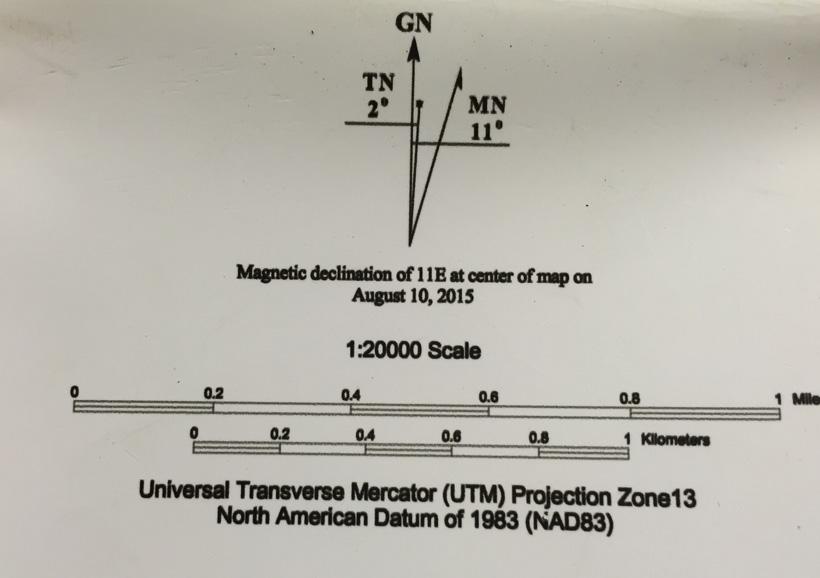
All maps are made to a certain scale. The map will indicate the ratio scale (i.e., 1:24,000, 1:100,000, etc.) of the map as well as the measurement scale (i.e. 1 inch = 1 mile). Scale is essential to understanding the distance between two points.
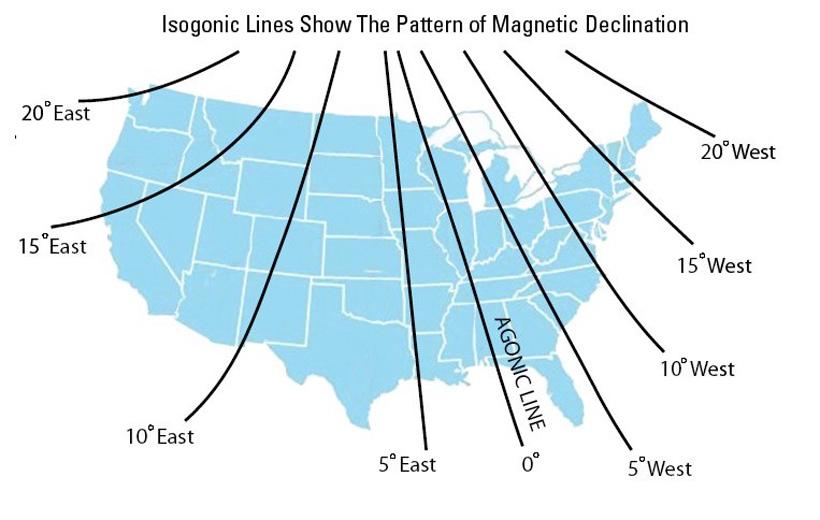
Magnetic declination is the degree to which Magnetic North differs (declination) from True North. There is a diagram on every topo map that gives the correct declination for the given location on the globe.
All topo maps have a grid system that uses reference points around the margins of the map. The most common two are:
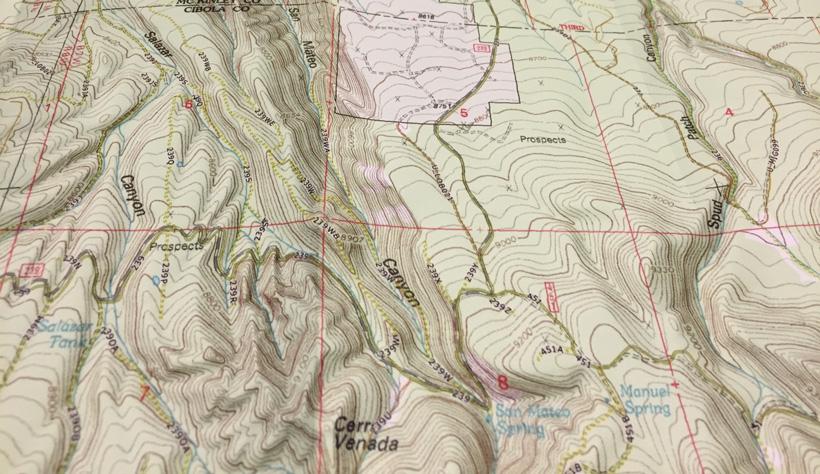
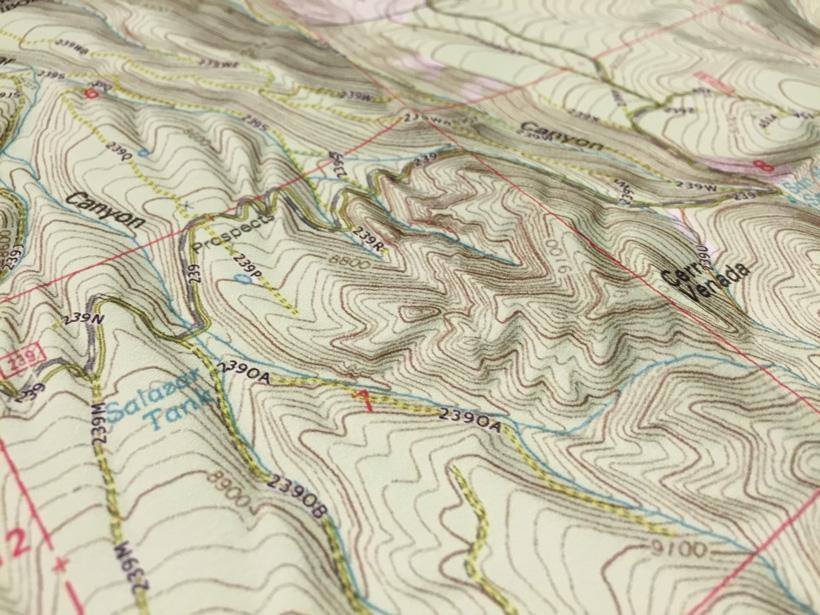
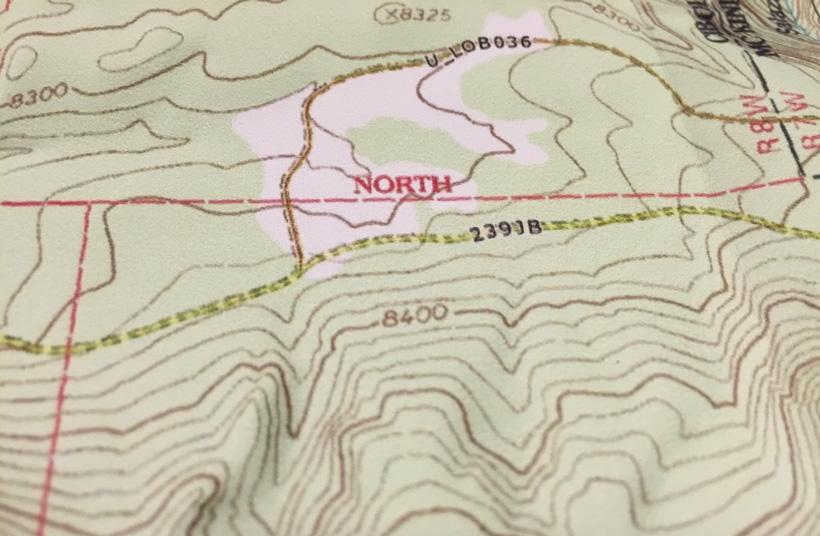
Contour lines are lines that indicate changes in terrain by connecting points that are the same elevation. This gives a continuous line across an area in which the terrain has a natural contour.
Index contour lines appear bolder on the map and serve as an indicator for that specific elevation (i.e. 8000’, 9000’, etc.)
Contour lines have intervals of separation that are separated by a set distance in terms of elevation (20’, 40’, 60’, etc). Whatever the interval is for a given map will remain consistent throughout the entire map. Contour line intervals do not change within a single map.
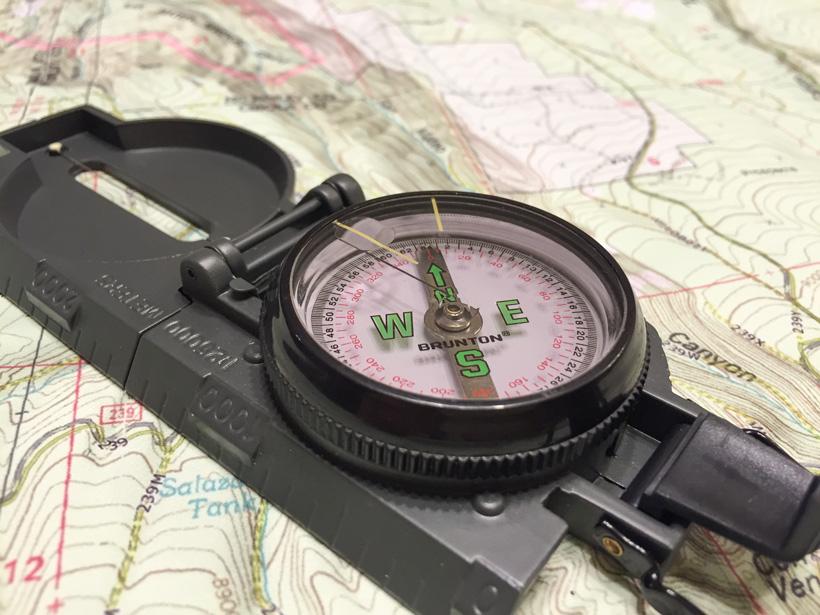
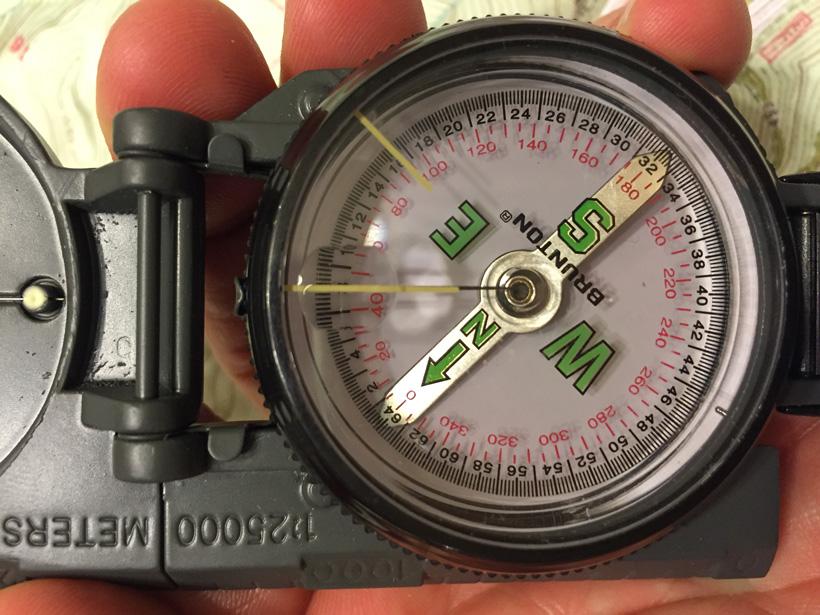
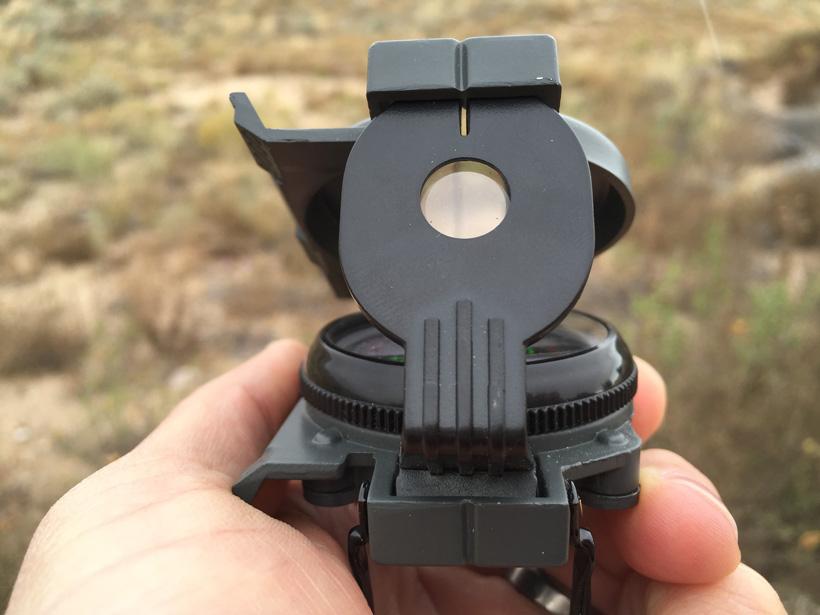
Not all compasses are the same. Some are packed with features and some are more basic. I personally use a military-style compass because that is what I was trained with in the Army and is what I am most comfortable using. Use the owner's guide that comes with your compass to determine its exact features.
These are the basic features present on nearly every compass available:
Once you have a compass and a topo map, it is time to get to work.
I highly recommend that you take a class on how to properly use a compass and a map before you go into the backcountry. While the information in this article will help you gain a basic understanding, taking a class taught by a certified instructor will help to ensure you can confidently use these tools to their fullest potential. The first few times you take a map out in the backcountry, make sure you are using it in a place in which you know your exact location. If you don't do this, you are just going to get more and more lost when you finally do pull your map out. In order to know where you are, find landmarks like forest roads, water tanks, etc. on the map. Once you know your current location, you can begin to determine where you want to go from there.
In order to know how to proceed to a specific destination, you must first take a bearing. A bearing is essentially the direction you must head to reach a specific point (landmark, campsite, water tank, etc.). A bearing is much more specific that "head northeast." Instead, it is communicated using degrees. Heading 30 degrees will give you a much more accurate path than "northeast" will. If you are off by just 1 degree you could miss your point by hundreds of feet. For this reason, being accurate with your bearings is essential.
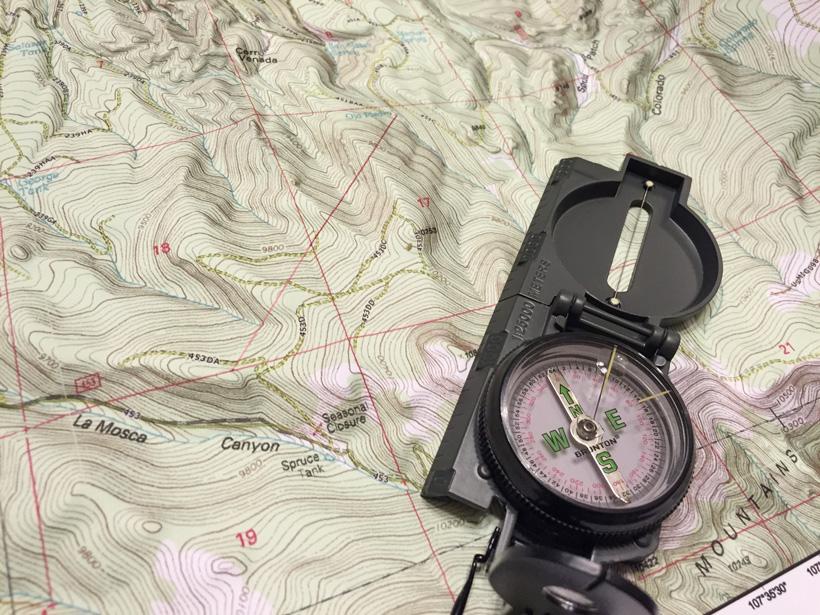
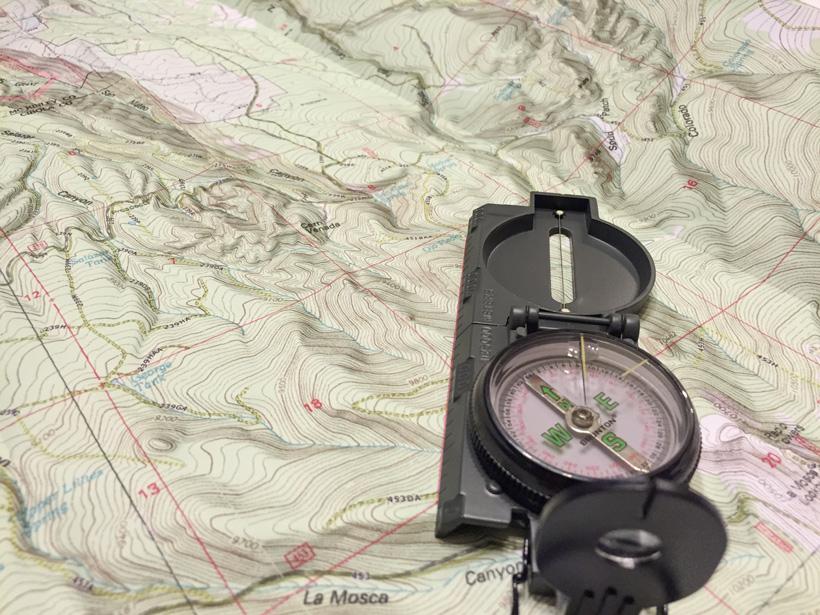
To take a bearing, identify your current location on your map and then identify your destination. These two points will create a straight line. You can see this in the photo above.
Next, take your compass and align its edge with that line. Now, rotate the bezel of your compass so that the bezel's orienting lines run parallel with the grid lines on the map (you can also accomplish this by rotating the bezel so that the North arrow runs parallel with the grid lines.)
You now have your bearing. For our purposes, the bearing is 45 degrees northeast. If I follow 45 degrees northeast on my compass, I will reach my destination after hiking for the allotted distance between the two points (use the measurement scale of your map to determine the exact distance and count paces to determine distance traveled).
This process can be reordered to determine a specific bearing based on observing the terrain. If I can see a point that I can also identify on the map, I can then use my compass to get a bearing from my point to that point and then plot that bearing on the map in order to find my location on the map. This is known as triangulating. Using two known points and plotting a bearing on the map from each point will pinpoint my location on the map.
Walking with a compass takes much more attention and diligence than just pointing an arrow and walking in that direction. The first thing you must know is that the compass should not just be held in front of you at chest level while walking. It is a good practice to find a visible mark (tree, rock, etc.) that is perfectly inline with your bearing, walk to that mark, stop, and repeat (this is called "shooting a line"). This will prevent you from looking at your compass too much, which could lead to injury. This will also help you to ensure that you maintain a straight line. Your eyes should be up, looking at the terrain, not down and looking at the compass. As you walk, stop and confirm you are still maintaining your bearing. If you have veered off of your bearing, reorient yourself and begin walking again.
To shoot a line accurately, hold your compass at eye level and use the sight pin of your compass in conjunction with the mirror and line the sight up with your bearing. Once you have your bearing, identify what the site is lined up with on the horizon. This is your target. Once you reach your target, shoot another line to another target that is inline with your bearing. Doing this continually will ensure that you are maintaining your proper bearing.
Take breaks to check and make sure that you are on-track based on your map and the visible terrain. As you approach your destination, it is important that you keep your head up and look around as you may be off by 10, 20, or even 100 feet. If you followed your bearing properly, you should be able to see your destination even if you do not step right on top of it.
The goal of aligning your compass to a map is to align it with True North, using the magnetic arrow. To do this, you must find the magnetic declination diagram on your specific map. If your compass has an adjustable declination setting, you can manually adjust the magnetic arrow to account for the declination amount; however, if your compass does not have this feature, you must remember to account for this declination amount. An easy way to remember is to use tape or a marker to mark the declination amount on your compass.
While this is very basic instruction on how to use a topo map and compass, it is enough information to potentially save your life if you get lost and only have a topo map and compass to find your way back. Get outside, practice and take a course offered locally. Doing so will increase your confidence as well as teach you some advanced techniques for navigating.
Latitude and Longitude – Latitude and longitude points are marked in intervals (most common).
Universal Transverse Mercator (UTM) – Military system that divides earth's surface into zones.
Base Plate – The mounting surface of the compass. This typically has a ruler to be used in conjunction with specific map scale. Some have multiple rulers for multiple scales.
Magnetic Needle – This points to Magnetic North.
Orienting Lines – These lines are intended to be lined up with grid on the map.
Compass Bezel – Most compasses have a bezel around the needle with degree markings. These markings allow you to maintain your heading after taking bearings.