


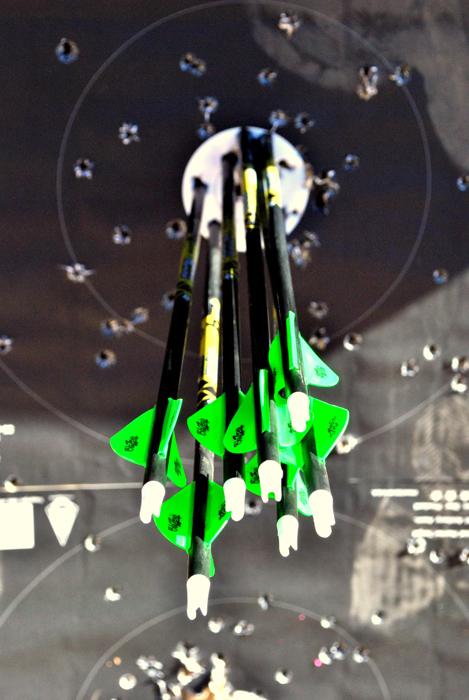
When I started bowhunting 15 years ago I began with a simple set of instructions: just pull the bow back, look through the peep sight, put the pin in the middle and slowly squeeze the trigger. Seems simple, right? For awhile it was and shooting a compound bow accurately seemed a relatively easy task that I thoroughly enjoyed. Every spare moment I had I would pick up my bow and head out back to shoot a few arrows. Over time, I noticed that moving the pin into the center of the target and holding it there seemed to be an increasingly difficult task. I would arrive at full draw, settle in and try to aim, but my pin seemed to freeze at 3 o’clock just to the right of the center of the target. I would try to force the pin into the center and hold it, but it was difficult to consistently hold dead center. This led to, “drive by shooting.”
Since I could not seem to hold the pin in the center, I would force it slowly over and as soon as the pin crossed over the intended target I would quickly punch the release. Following the “drive by shooting” phenomenon, I started to experience an odd hitch or flinch prior to releasing an arrow and every so often I would flinch and completely miss an entire target. My groups got bigger and bigger and a day at the range began to be something I dreaded. I was so frustrated that I was almost ready to give up on archery completely.
I was suffering from target panic, a psychological disorder that causes an archer to freeze off target or flinch upon releasing an arrow, causing terrible off target misses and possible wounded game. It is estimated that as many as 90% of all archers will deal with “target panic” at some point, and if you shoot a bow and arrow long enough, it will likely affect you, too. It is debatable what exactly causes target panic, but anxiety and anticipation seem to be at the heart of the problem. Some suggest that the fear of missing causes anxiety which in turn causes us subconsciously to hold off target so that we do not risk failing. Others say that it is the learned connection between the eye, brain and our release hand — the eye sees the pin cross the target, brain triggers the fire reflex and the hand punches the trigger. Over time we begin to anticipate the shot and that causes anxiety and flinching. Whatever the case, the symptoms are the same: freezing off target, inconsistent shooting, flinching, and frustration.
Those afflicted with target panic do not need to give up archery or bowhunting. There are ways to combat this disorder and get back to shooting confidently again. Before I begin, I should note that the recommended process and the time it takes can be difficult. There will be a temptation to give up on new methods and go back to shooting normally because they can be uncomfortable and boring at times, but if you are going to get over target panic, you must commit to doing whatever it takes.
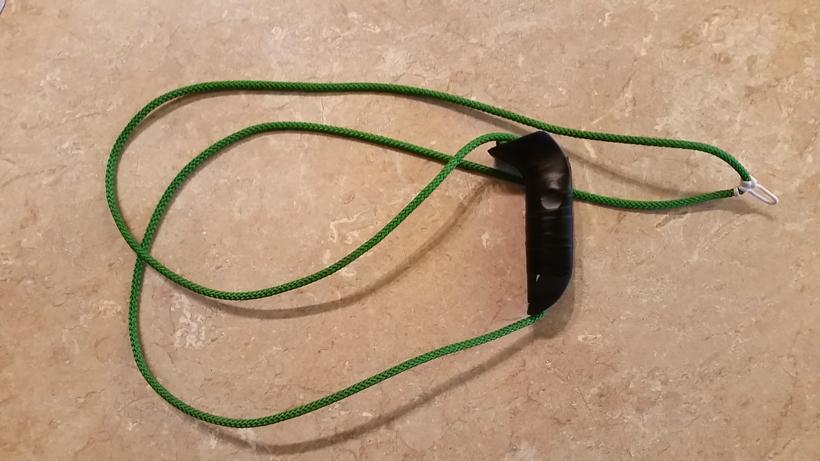
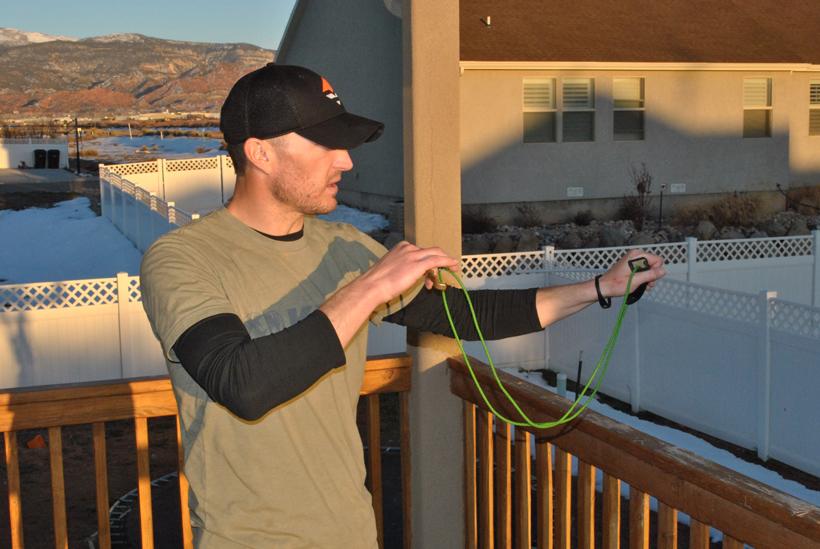
The first thing you should do is put down your bow and arrow and pick up a training aid. There are training aids available at most archery shops, but a piece of rope tied into a length that matches your draw length also works quite well.
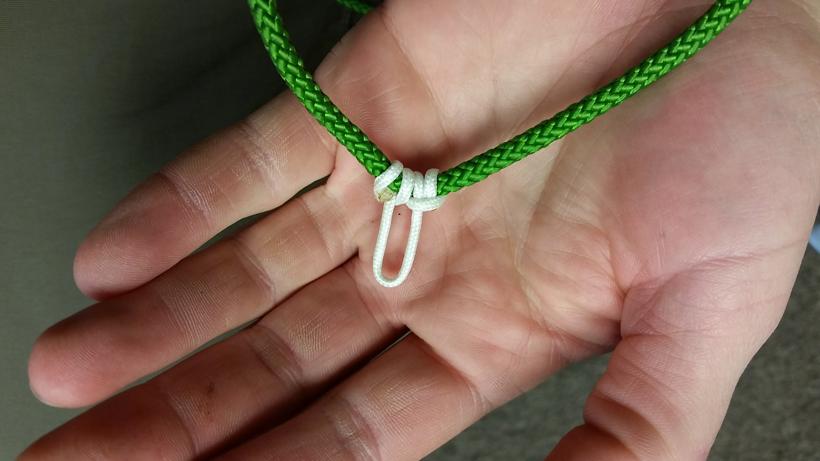
Next, tie a D-loop onto the rope, similar to the one currently on your bow string.
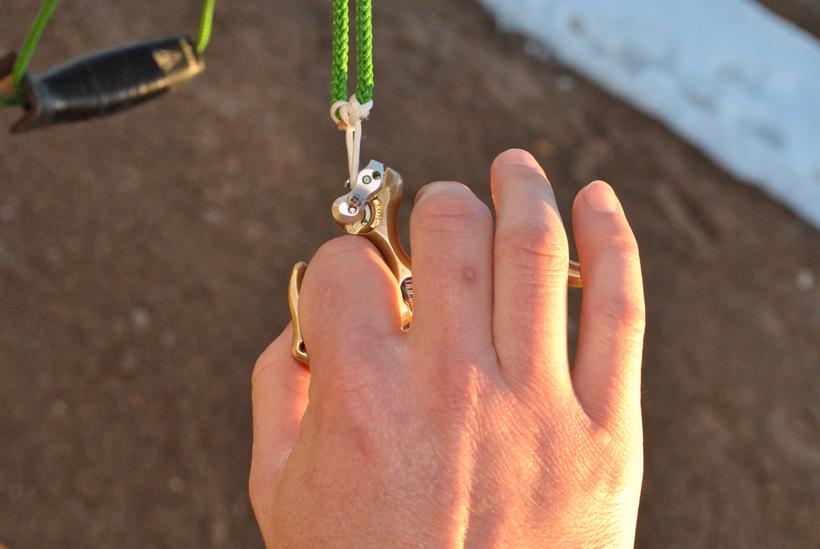
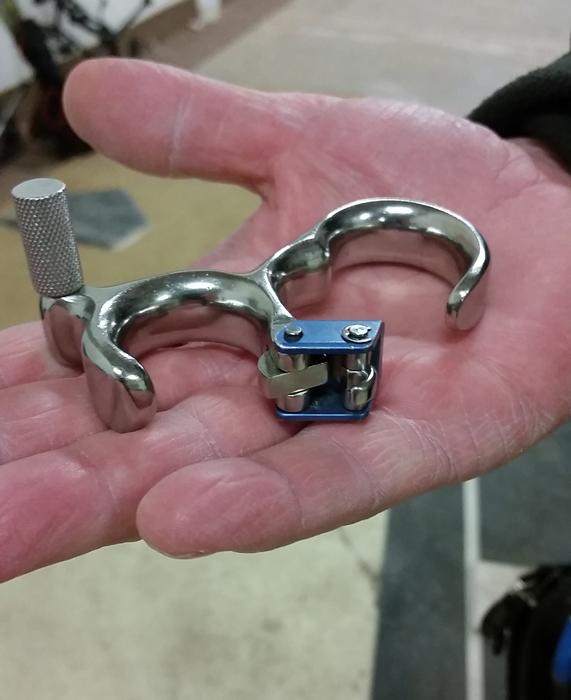
At this point, you may want to reconsider switching the type of release you shoot. The majority of archers with target panic issues are shooting an index finger style release. There is nothing wrong with this type of release and they make a lot of practical sense, especially for hunting. However, I would advise you to switch to a back tension or hinge-style release in the interim to deal with target panic issues. While switching to a back tension release or thumb activated trigger will not cure target panic, it will provide an opportunity to learn a new technique and what proper shot execution should feel like. A lot of archers that I talk to about switching to a hinge cannot get over the fact there is not a trigger and they typically do not understand how they work. With a little practice, using a hinge release is not all that difficult. Just make sure to practice using your practice rope instead of your bow.
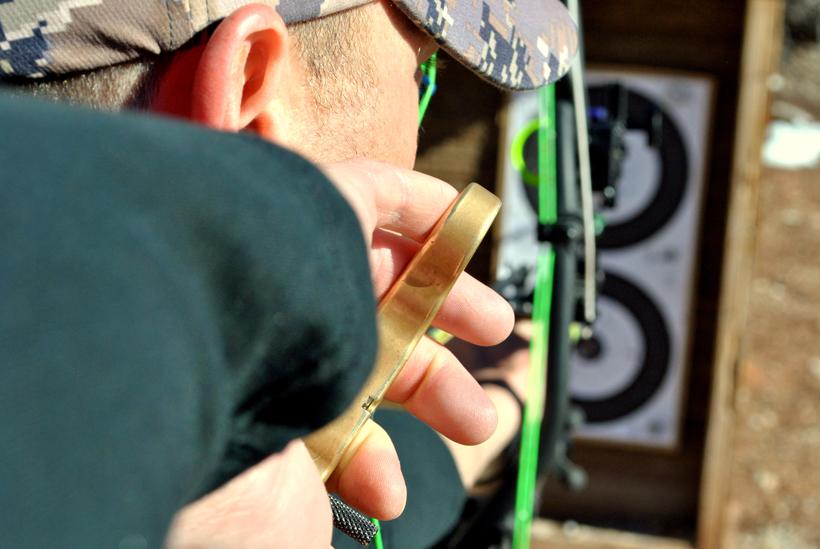
A hinge works on a half moon cam with a hook that rests on the edge of the half moon. This is what keeps the release from firing if the pressure is correct. As the angle/pressure transfers from the index finger to the back three fingers, it allows the tension of the hook to slide off the moon as the release fires. The first step to using a hinge release correctly is being able to draw. Hold the release in your hand with the tension on your index finger and your thumb rested either on the provided thumb peg or on the back of your index finger. Your other three fingers should have little to no tension initially on the release.
Draw your practice rope as you would your bow. As you draw you must retain the pressure on your index finger otherwise the release will fire as the pressure/angle changes.
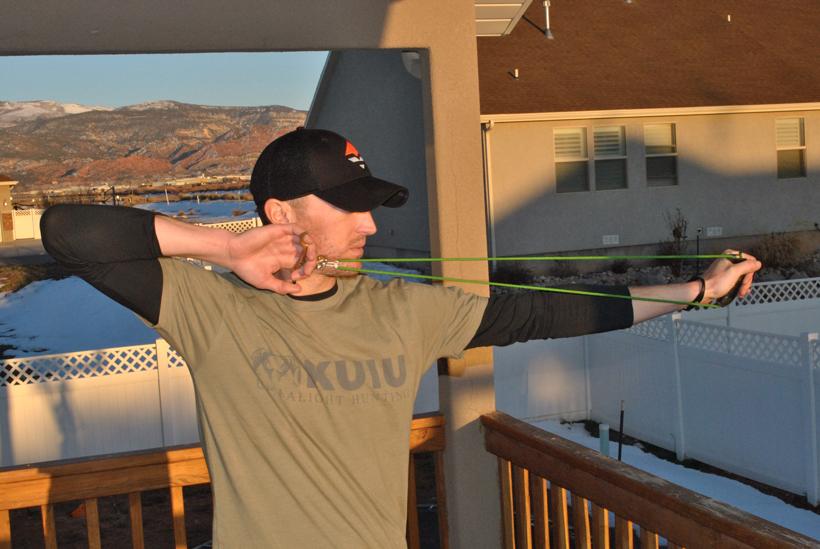
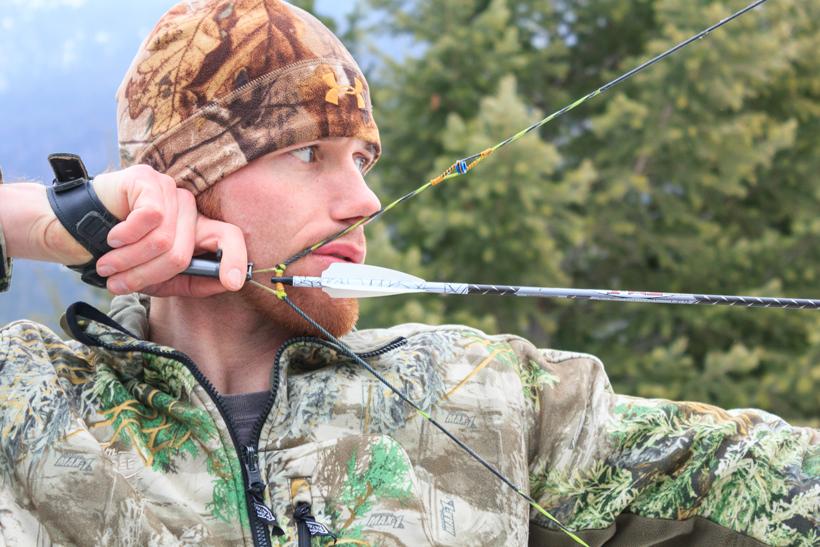
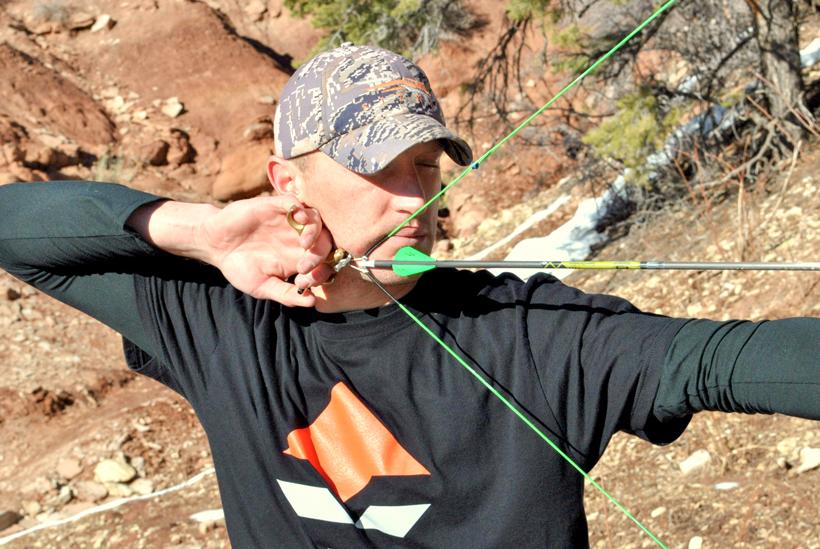
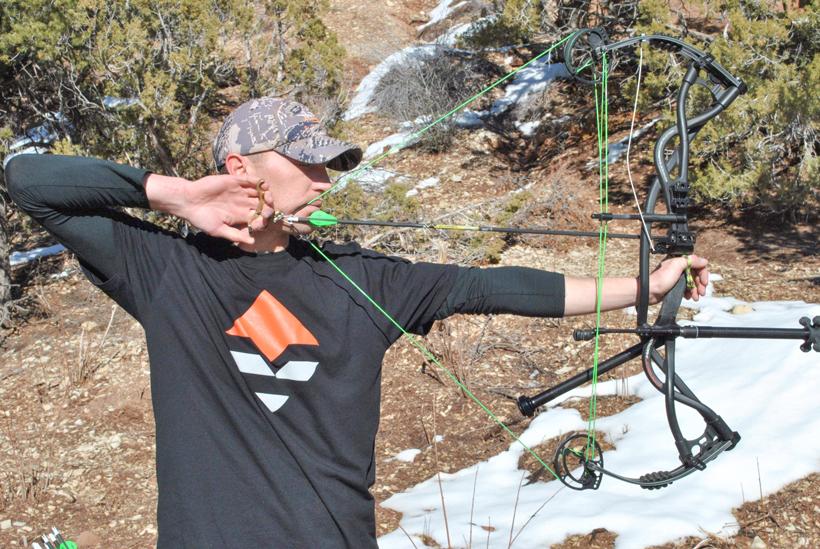
Arriving at full draw, anchor in and get comfortable with the location of your hand. For me, I like to split the first and second knuckle with my jaw bone between the two. My jaw bone sits along the inside of my index finger. This helps me to repeat my anchor point consistently. Next take a mental note of where the tension is in your drawing side of your body. Is it in the muscles of your forearm or your bicep? If so, transfer that weight to your rhomboid back muscle, which is much stronger and more capable of holding draw weight. The feeling was once explained to me as if I were trying to crush an orange between my shoulder blades. The front half stays steady as the back half shoulder blade squeezes, pulling the draw weight of the bow back. The muscles in your arm and hand should be relatively relaxed. The majority of any tension in your drawing half should sit right behind your shoulder blade. Get that feeling or sensation correct over and over again until you can do it without thinking. Try not to worry about firing a shot on your practice rope until you know you have the draw right.
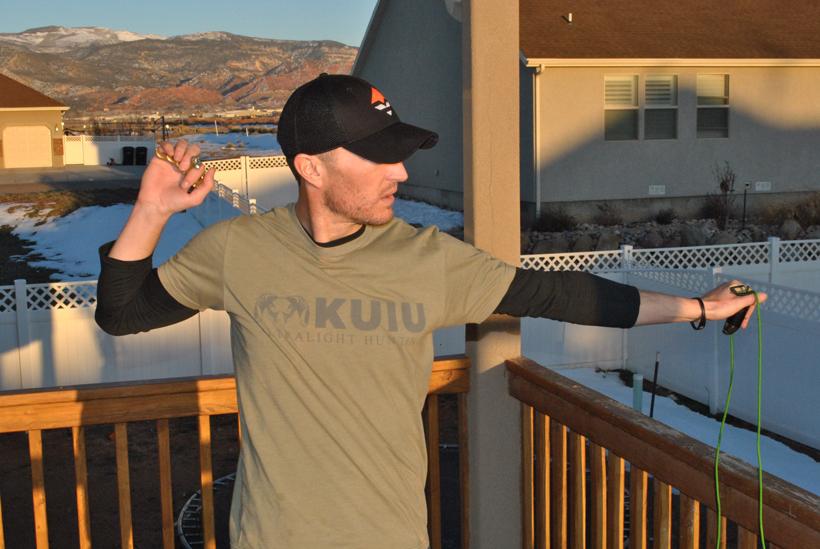
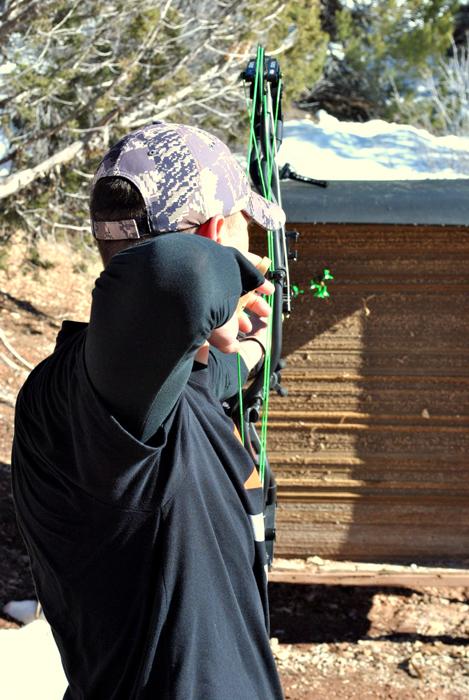
Now you are ready to execute a shot with your practice rope. Come to full draw as smoothly as you would with your own bow and focus on building the holding tension directly behind your shoulder blade. Find your anchor point and settle in. Focus on the back half of your body and how it feels to be correctly at full draw. Now lay the other three fingers on the release gently with very little pressure. Pull through now with your back muscles steadily, relaxing your hand as you pull. If you were to look back at your bow arm as you pull with your back muscles you should see that it comes back at a natural angle behind you, not in a straight line as you may have assumed. You may feel the tension transfer out of your holding index finger as you pull with your shoulder blade. Your release hand/fingers should not move. It should be a transfer of tension from the weight holding index finger as it relaxes out of the release as your back muscles pull through. Sounds complicated, but once you practice it, you will be able to replicate it again and again. It will soon become second nature.
If you do not want to switch to a hinge style release, the same process can be accomplished with your index finger release, but with a subtle change in the way you likely have it set up. Most archers have their release trigger set up in a position similar to a trigger on a rifle with the trigger sitting near the tip of the finger or right in the first knuckle — shorten that up. Adjust the overall length so that the trigger is sitting deeper in the second knuckle. Wrap your finger around the trigger and instead of activating it by moving your finger, just rest your finger on the release, relax the hand and pull through with your back muscles as described in the previous paragraph.
Once you have the described method down continue to practice it with your release rope for a minimum of two solid weeks. Resist the temptation to pick your bow back up. Target panic is a result of the connection between the target, your sight, your eye and the body’s response to punch the trigger. You need to eliminate the connection of immediately firing a release based on what the eye sees.
After a couple weeks of practicing with your release rope it is time to pick up your bow again. Before you pick it up, take the sight off of your bow and the target off of the bale before you get started. Removing the sight and target will allow you to shoot your bow without thinking about aiming.
Stand close to the bale, draw your bow and anchor. Close your eyes, focusing only on the shot process and allow the shot to happen. Repeat this daily as you would a normal practice session. Shoot enough that you build the habit, but not so much that you become fatigued. Practice in this manner for another two weeks.
After you feel like you have developed good habits put your sight back on your bow, but still shoot at a blank bale. Once again stand close to the blank bale and come to full draw. Settle in, close your eyes and this time imagine your sight pin floating directly over the X on a target and execute a shot. Repeat this over and over during your practice sessions for at least another week.
On week six, plan to put a target face back on your bale. Standing approximately 5 yards from your target and begin staring at the X you plan to shoot. While continuing to stare at the X come to full draw, settle in and bring the peep and sight pin into alignment. Remain focused on the X. Allow the pin to float directly over the X for six to eight seconds before letting down your draw. Repeat this step over and over, never releasing an arrow. Once you are able to allow your pin to consistently float over the X you can move back to 10 yards and repeat the process. After 10 yards, move back to 20 and repeat. These sessions will retrain you to be ok with the pin floating over the X and will allow you to get comfortable with the pin sitting there without having to make a shot go off. This step is critical in combating target panic. During this week you should also continue to practice with your release aid and your rope.
Finally, on the seventh week you can begin to execute actual shots. I like to start out shooting a blank bale with five to 10 arrows with my eyes closed. Again, focus on the shot and allow it to go off correctly and smoothly. After those warm-up shots, put a target face on your bale and, at close range, draw your bow. Settle into your anchor point, focus on the X, allow your pin to float over the X and execute a shot. Take a minute to note how you are feeling. Anytime you feel like old habitats are creeping back, make sure to take a step back in the process and start over.
After a few days of shooting from close range you should feel confident to move back to 10 yards and then 20. This is the last step in the process. Completing these steps should put you well on your way to improving your scores and enjoying archery again. I still like to start and end practice sessions with shooting a few blank bale arrows just to reaffirm what proper execution feels like. Another great tactic is to follow this close range string practice method. Good luck and good shooting this year.