


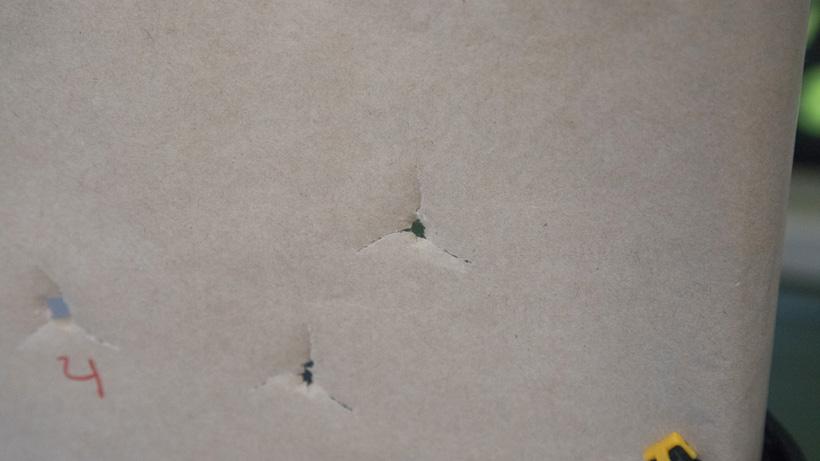
Paper tuning my Mathews Halon X bow after adjusting top hats.
Issue | Broadheads hitting left |
|---|---|
Paper tune cause | Paper tune tear - tail right |
Rest fix | Move rest left |
Mathews top hat fix | Move cam right |
Issue | Broadheads hitting right |
Paper tune cause | Paper tune tear - tail left |
Rest fix | Move rest right |
Mathews top hat fix | Move cam left |
Issue | Broadheads hitting high |
Paper tune cause | Paper tune tear - tail low |
Rest fix | Move rest down ormove nock point up |
Mathews top hat fix | N/A |
Issue | Broadheads hitting low |
Paper tune cause | Paper tune tear - tail high |
Rest fix | Move rest up ormove nock point down |
Mathews top hat fix | N/A |
Issue | Paper tune cause | Rest fix | Mathews top hat fix |
|---|---|---|---|
Broadheads hitting left | Paper tune tear - tail right | Move rest left | Move cam right |
Broadheads hitting right | Paper tune tear - tail left | Move rest right | Move cam left |
Broadheads hitting high | Paper tune tear - tail low | Move rest down ormove nock point up | N/A |
Broadheads hitting low | Paper tune tear - tail high | Move rest up ormove nock point down | N/A |
Mathews, Inc. produces several quality hunting bows, including the whole Halon lineup which has been out for a few years. For 2018, the brand new Triax has been wildly popular due to a variety of factors, perhaps most notably it’s compact size, speed, and being almost totally vibration and noise free. Mathews has a killer line of bows and, if you are still in the market for a new bow, I highly recommend you get to a local pro shop and shoot one.
I’ve been shooting and hunting with the Halon X since it came out in 2016. I love the way it holds and I have taken a couple great bulls with it over the past two years. When I first set my Halon X up, I set my center shot to about 13/16", ran the arrow at a 90° from the string through the berger hole and, just like that, bullet holes through paper. I went out and shot it several times as I sighted my pins in and it shot great. Fast forward a few weeks and I started to read and hear about a few guys having tuning issues. That’s when I started hearing how a “top hat” adjustment could really help with tuning the recent Mathews bows. I began doing some reading and it was tough to find a detailed description of what the top hats were, how to adjust or change them and why you might need to. After a few years of playing with these bows and setting up many of them for myself and my friends, I have a good understanding of the top hat system, and I have to admit I really like it!
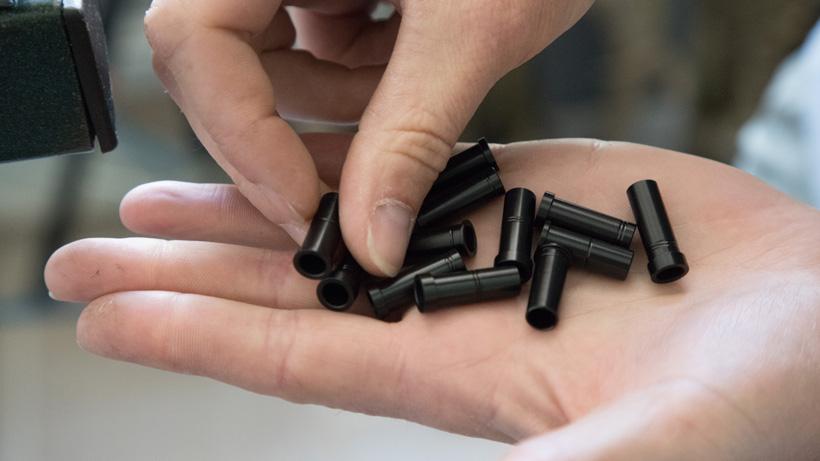
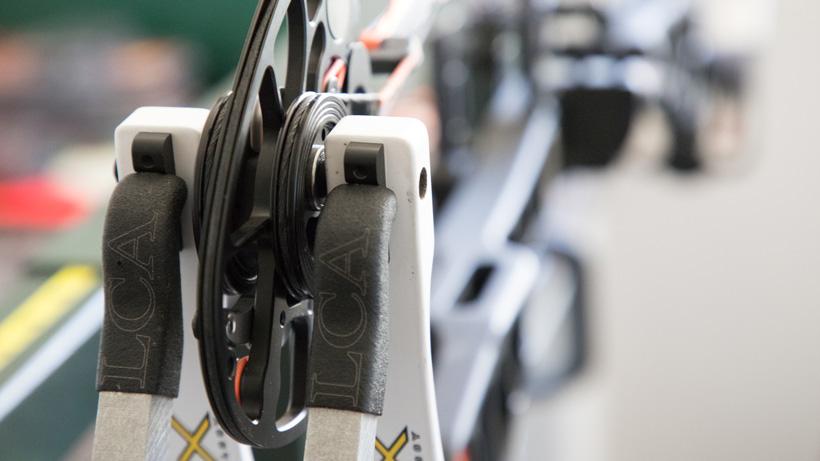
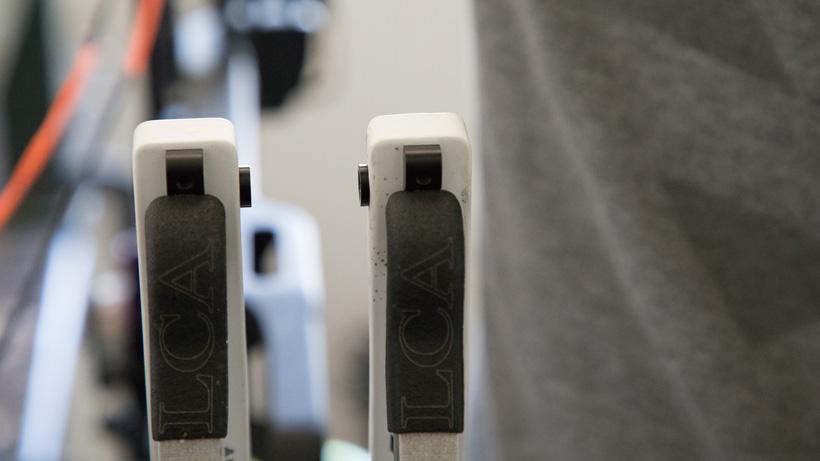
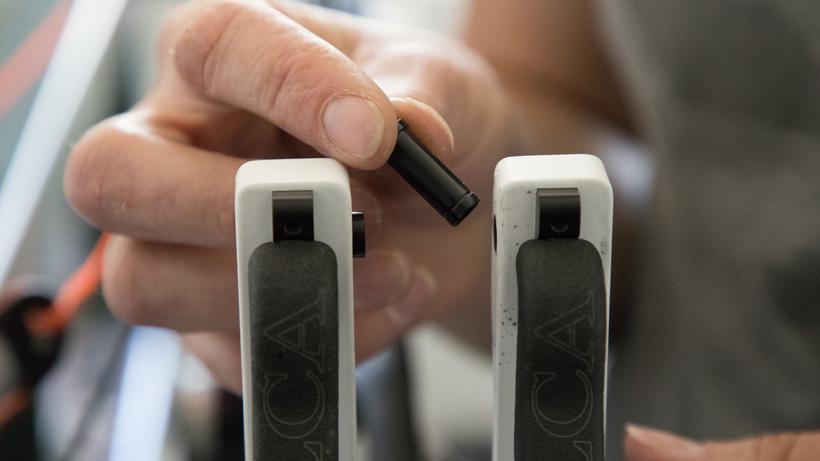
If you look at your Mathews Halon or Triax bow you will see what looks like a black spacer or washer that sits on either side of each cam. You will notice that the spacers have different thicknesses, typically with the thicker one on the right side of a right-handed bow and on the left side on a left-handed bow. Those spacers are what’s considered the top hats. They actually have a portion that slides inside your limb like a sleeve. The spacer part sits on the inside of your limb between it and your cam and then your axle actually slides through the limb and top hat on both sides. If you pull one out you’ll see it looks like a little top hat, hence the name.
In reality, the top hat system is a genius, relatively simple system to help you find the best possible tune for your bow. Your Mathews bow is likely to tune out of the box with minimal adjustment, provided you have a proper grip, the rest is set to the right-center shot and height and your nocking point is close. But, in some cases, I have seen bows that seem to get a left or right paper tear when tuning. I have also shot broadheads that just seemed to fly left or right. You can move your rest one way or another to tune that out, but, sometimes, it’s nice to leave your rest at a center shot distance that gives you plenty of vane clearance and use the top hat system to tune those issues out.
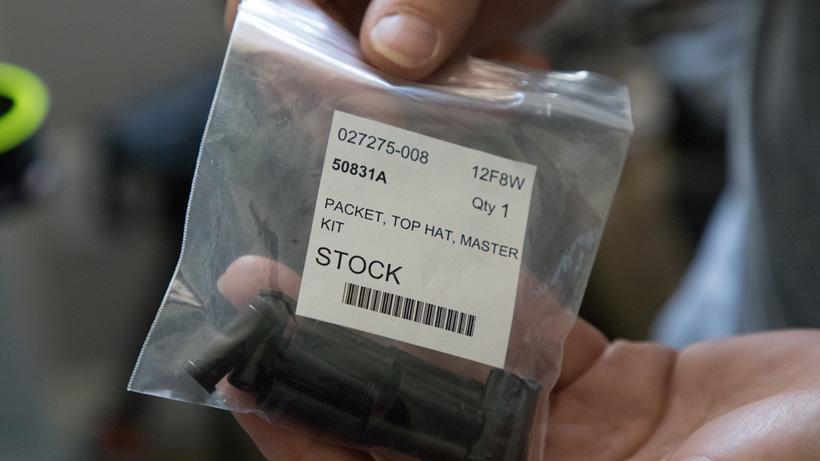
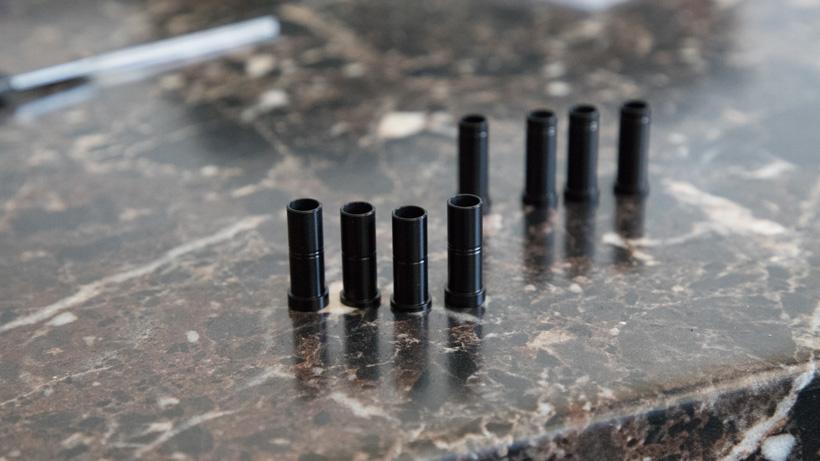
Top hat kits can be purchased for about $50 from any pro shop that carries Mathews bows or even from an online retailer like Lancaster Archery. A top hat kit is going to come with 12 top hats (six sets) that will vary in thickness. The thickest one and thinnest one make a pair, so on and so forth. You do not want to install top hats that are not a pair, meaning that, together, the spacer set would be greater than .175".
Once you have your top hat kit, I like to line mine out in sets or pairs so I know which ones go together.
Now let’s say that you set everything up on your bow and you shoot some arrows through paper and you are getting a left tear, meaning the point goes through the paper and the tail of your arrow is tailing to the left. First, you can move your rest to the right in very small increments to see if it cleans it up. If you can’t clean it up without moving the rest too close to the riser (right-handed shooter), then it’s time to move to the top hat system. If you are getting a left tear, then the cam needs to move to the left. If you were getting a right tear you need to move your cam to the right. You may not need to move both cams. Often, if you start by moving the top cam by changing the top hats, it will take care of the issue. If it doesn’t, try moving the bottom cam over as well. I’d recommend you start with the top cam and then shoot again before moving both cams.
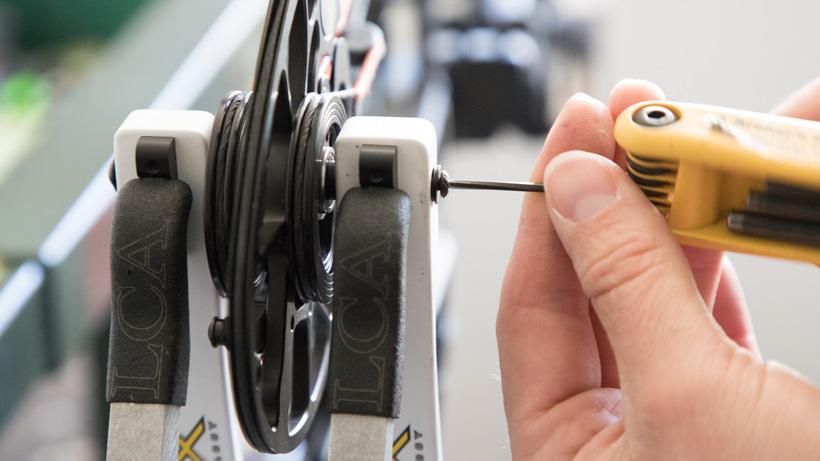
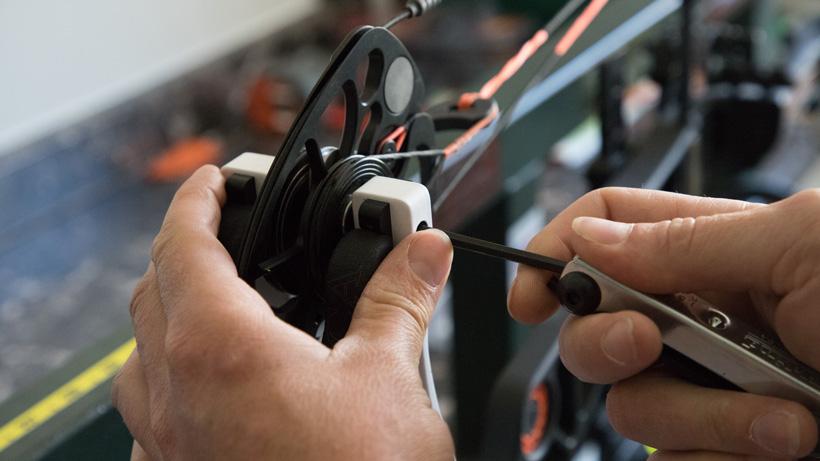
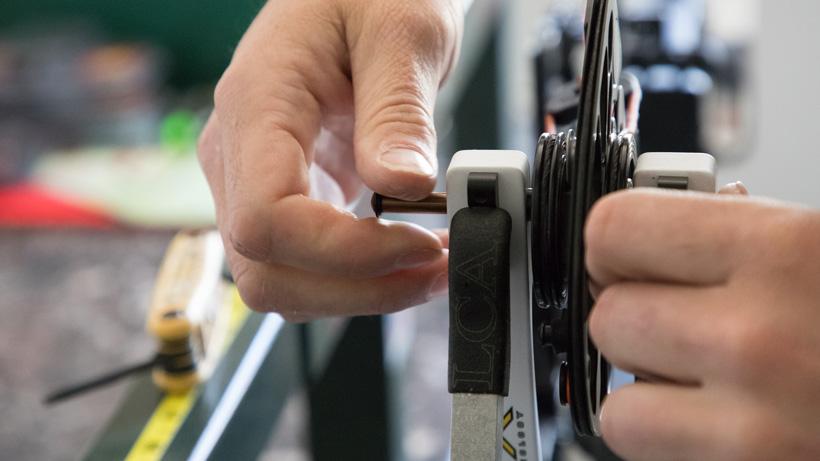
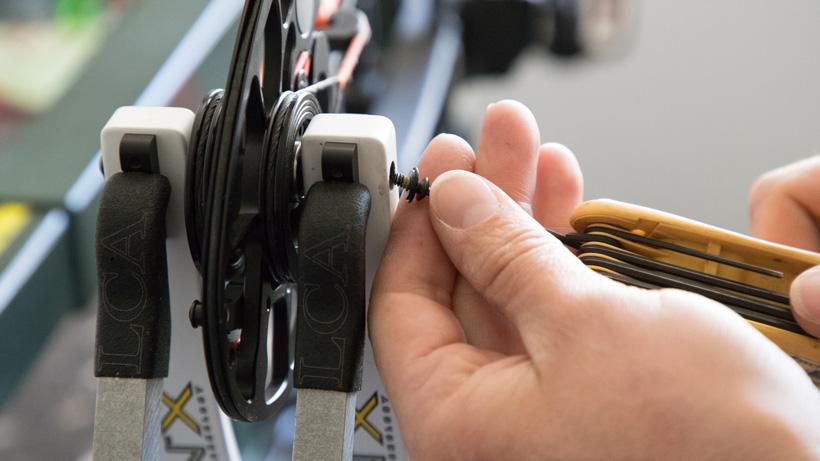
First, you’ll need to press the bow. Once the bow is pressed, use an Allen wrench to unscrew the set screw on the outside of your limb.
Gently pull that out, then carefully pop the small black washer on the outside of the limb out. You’ll then be able to look inside the limb/axle hole and see the axle running through.
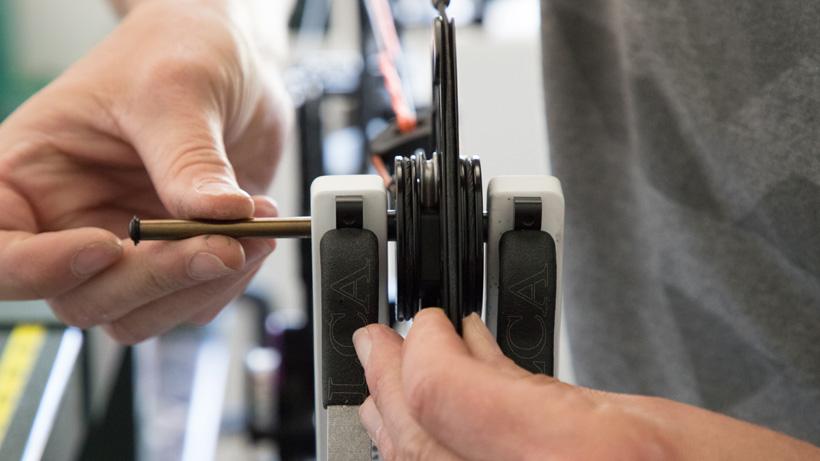
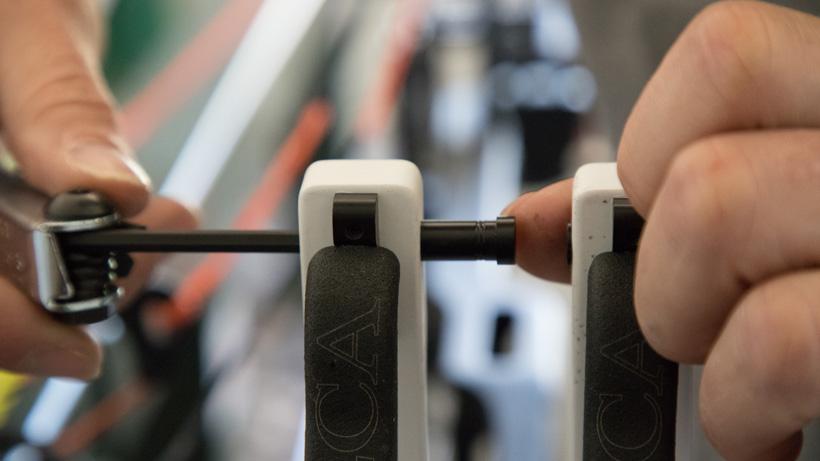
Take an Allen wrench slightly larger than the diameter of the inner axle and use it to carefully push the axle through the limb, out of the cam, and through the opposite limb.
Be prepared to hold onto the cam so it doesn’t fall as you push the axle through.
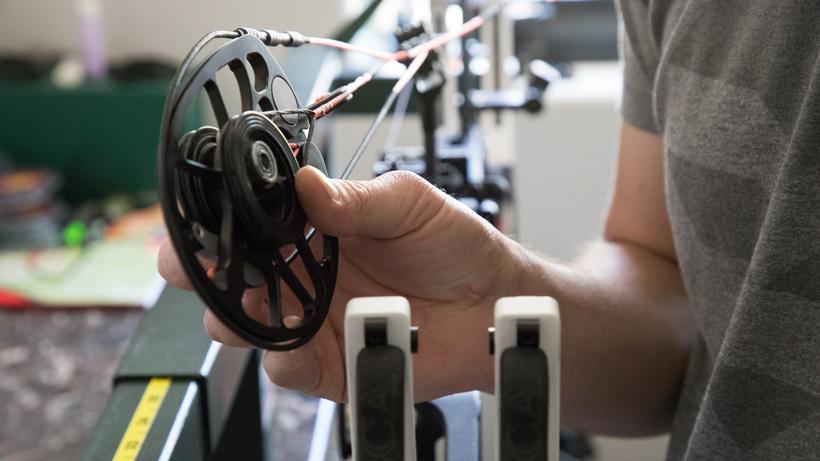
Once you have the axle out, place the cam, with the strings still loosely on, on the edge of your press or, better yet, let a buddy hold it.
Axle and cam removed.
Then, from the outside of the limb, you can slide an Allen wrench on the inside edge of the limb and push out the top hat to the inside of the limb.
Once you get it started you can pull the top hat out on the inside with your fingers. Do the same thing on both sides so both top hats are out.
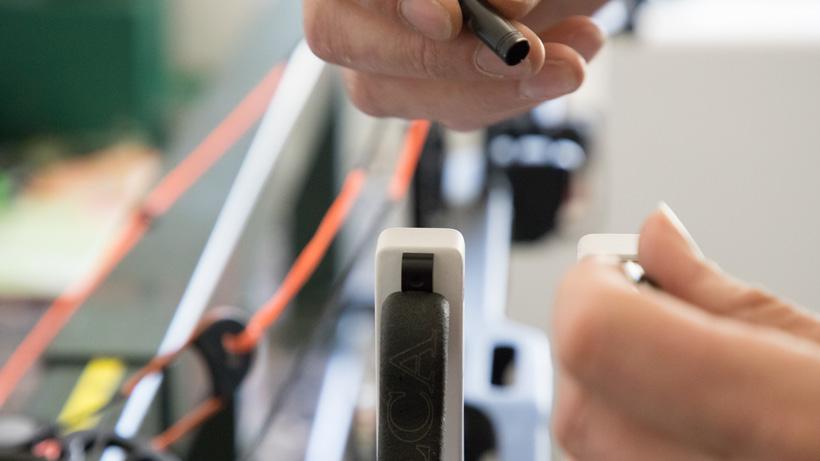
Now, install the new top hats by sliding them from the inside back into the limb. Remember: if you had a left tear you want to put a thicker top hat on the right side of the limb and the corresponding thinner top hat on the left...meaning you are moving the cam to the left. If you are getting a right paper tear, move the cam to the right.
After you have put the top hats back inside the limb, the next step is to put the cam back in between the top hats. After the cam is back in, slide the axle from the outside back through the limb, through the cam, and through the other limb.
Then place the outside black washer in the outside of the limb and screw the set screw in.
The top hat kit has a variety of size options, which is great because you can really fine-tune your bow by moving the cams slightly one way or another. Like I previously stated, start with the top cam first, shoot it to test your results and then move to the bottom cam if you have persistent issues. You will need a press, but the whole process is very simple and takes less than five minutes.
Paper tuning my Mathews Halon X bow after adjusting top hats.
To conclude, I’ll give you a real-world example of how this can work. I recently helped a friend who has a Halon 32 who was trying to get his fixed blade broadheads to fly. He was having decent results, but when he shot out to longer yardage he was seeing his broadheads hit a few inches right of his field tips. Broadheads hitting right of field tips would mean there is a tail left paper tear. We could have moved the rest over to the right a bit and, then, after getting the broadheads and field tips hitting together, we could have moved the sight to the right to re-sight the pins in. But his rest center shot was fairly centered in the riser and moving the rest over would have given him less clearance for his vanes. So, instead, we put the bow in the press and switched out the top hats, moving the cam ever so slightly to the left. He then went back out and shot and found that his broadheads and field tips were hitting together and with a minor adjustment to his sight he was pounding out to 80 yards and still had a rest centershot location that provided plenty of clearance for his vanes. The Mathews top hat system really does give you the opportunity to fine-tune your equipment.
If you don’t shoot a Mathews or even if you do and don’t use the top hats to tune, I have included a quick set of references to help you broadhead tune your bow.
After you make adjustments to your rest to get your field tips and broadheads hitting together, then move your sight to re-sight in your pins. This method will ensure your bow is well tuned (good paper/bare shaft tune) and your broadheads and field tips hit exactly where you want them to!