


Let’s face it, when it comes to bowhunting, silence is deadly. Once you get in close to an animal and the moment of truth is about to present itself, one small noise can wreck everything.
These days, drop away arrow rests come in many great designs. Some with full containment; others with a large launcher arm to keep the arrow in place. To some degree, both designs can help prevent your arrow from falling off to the side and making contact on the riser, which could alert an animal when it’s close; however, there are some steps I like to take to ensure my arrow contacting my riser will never spook an animal.
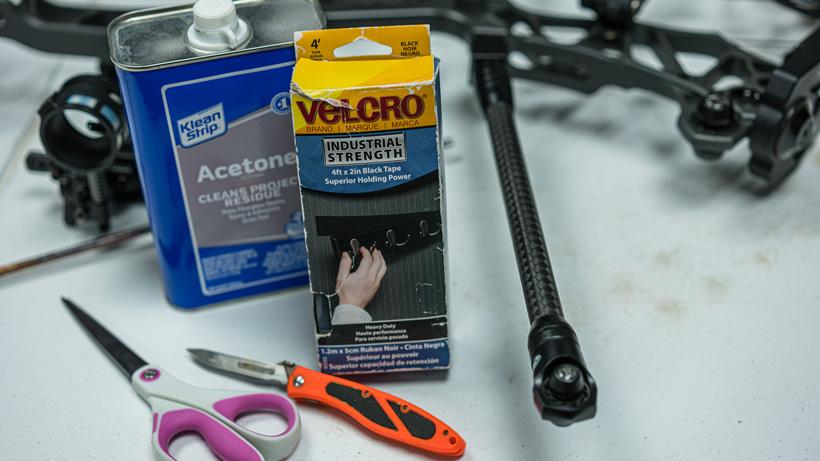
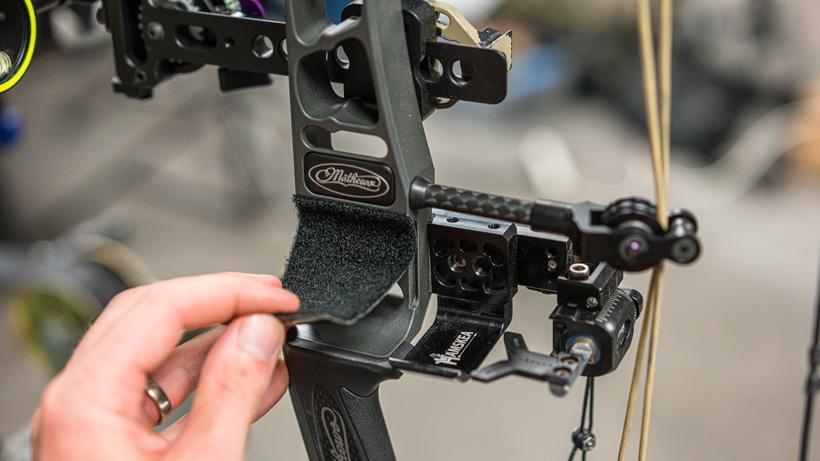
To prevent any unwanted noise from happening around my arrow rest and riser, I like to place plain old Velcro Industrial Strength grade tape on the shelf and up the side of the bow riser. I prefer this method over small rubber arrow holders that you can stick to your riser. Some of them are too tall and could come in contact with fletchings once you release the arrow.
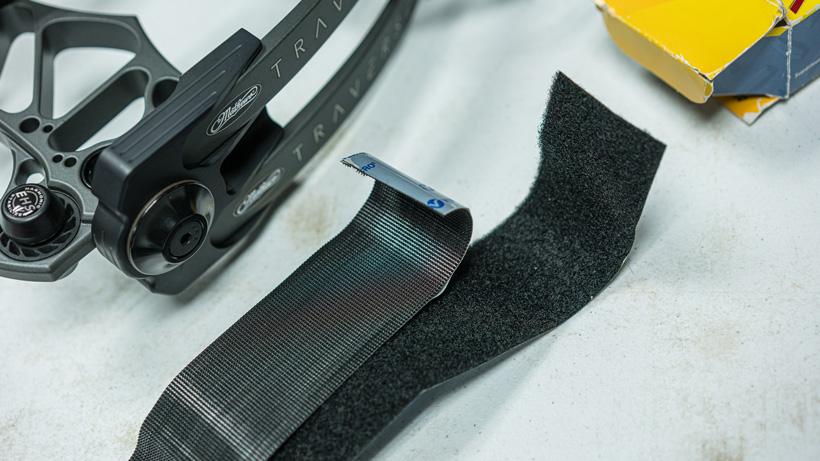
If you get the Velcro Industrial Strength brand, the adhesive sticks so solid that hunting conditions (rain, heat, dirt, etc.) don’t seem to impact it. The side you’ll want to use is the loop side or more commonly called the soft side. For me, I prefer the soft side. I also prefer Velcro tape over moleskin, felt pads, or anything sold from the bowhunting marketplace. To me, they never stick when on a hunt in the pouring rain or scorching heat.
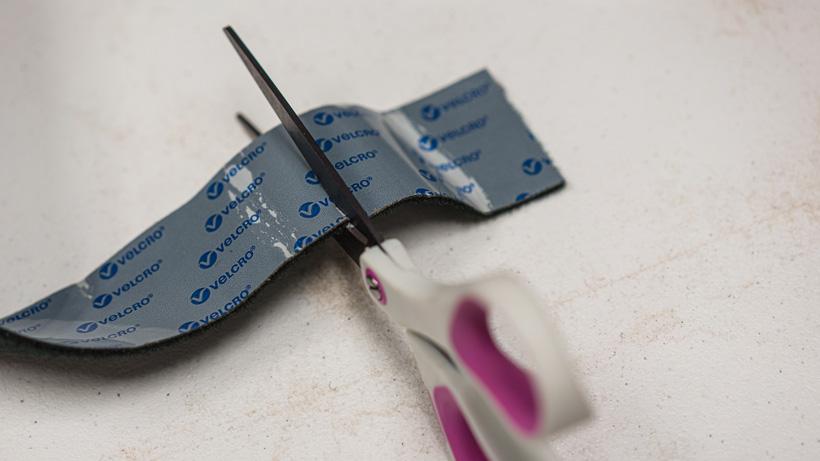
Other items you'll need are scissors, a sharp blade, acetone, and a paper towel.
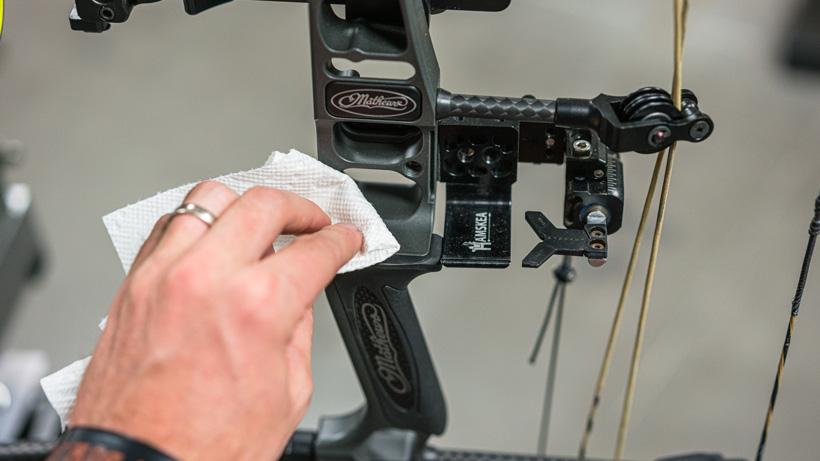
I’ll start by nocking an arrow on my bow and then laying the bow sideways or I'll just place my bow in a bow holder. Next, I’ll take the arrow and I’ll angle it up away from the rest and lay it on the riser and take note of all the places where the arrow makes contact with the riser. This will determine how far up the riser to place the soft side of the Velcro tape.
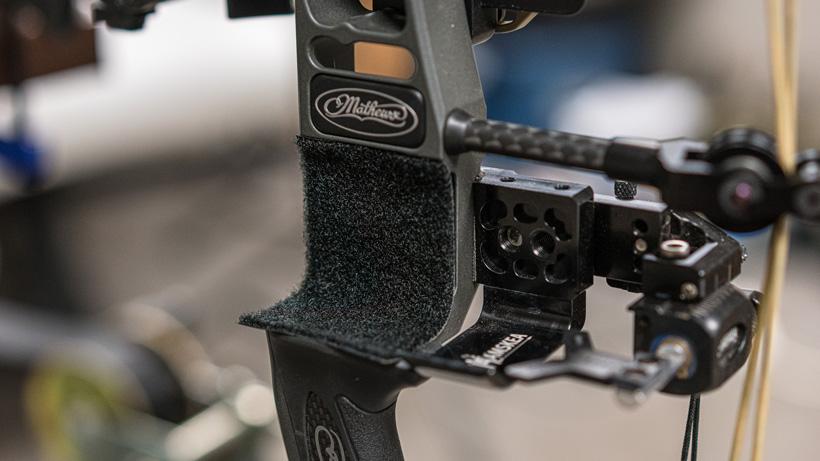
Showing the point of the riser where my arrow contacts the riser. If you had nothing here, when you draw the bow it will create noise as the arrow moves along the shelf until the dropaway rest picks up the arrow.
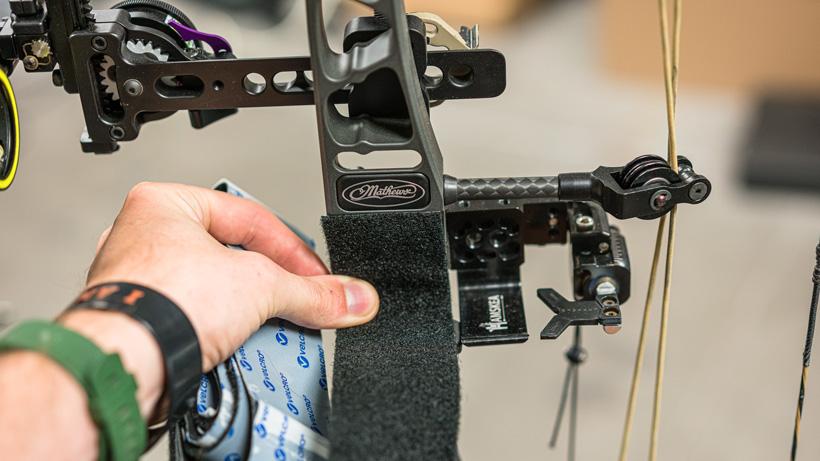
Next, I’ll take my roll of Velcro tape and lay it on the riser to see if I need to cut it narrower. Luckily, all of the Mathews bow risers are just about the perfect size for the 2” wide Velcro tape that I use. If you need to trim it, do it before you peel the film backing.
Next, you’ll want to mark where to cut and then trim for length.
For trimming, a box cutter type knife, Havalon blade or even a pair of sharp scissors will work.
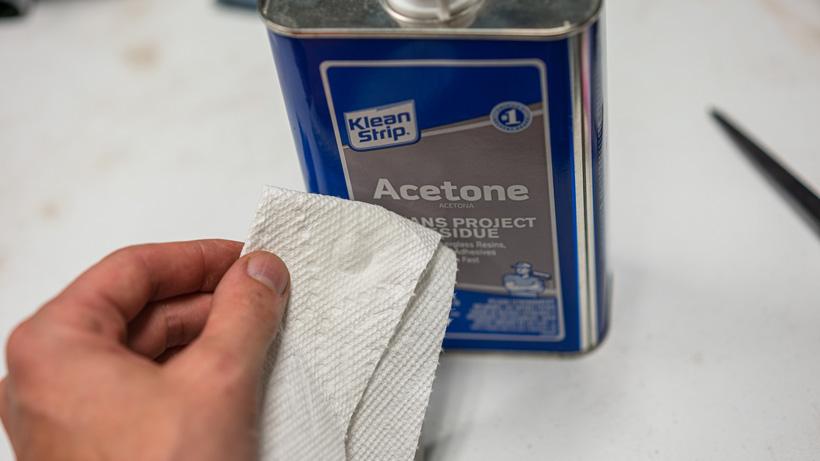
After trimming the width and length, I’ll clean the riser of any oils with a quick swab of acetone on a paper towel.
Note: if you use too much acetone or scrub it too hard, you might take some of the bow’s paint off. If this concerns you, use soap and water and let it dry thoroughly. If you use a small amount of acetone, you will have zero issues.
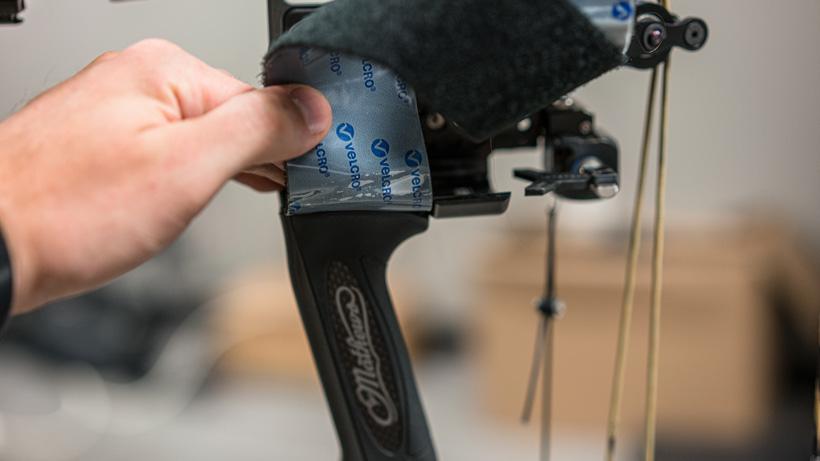
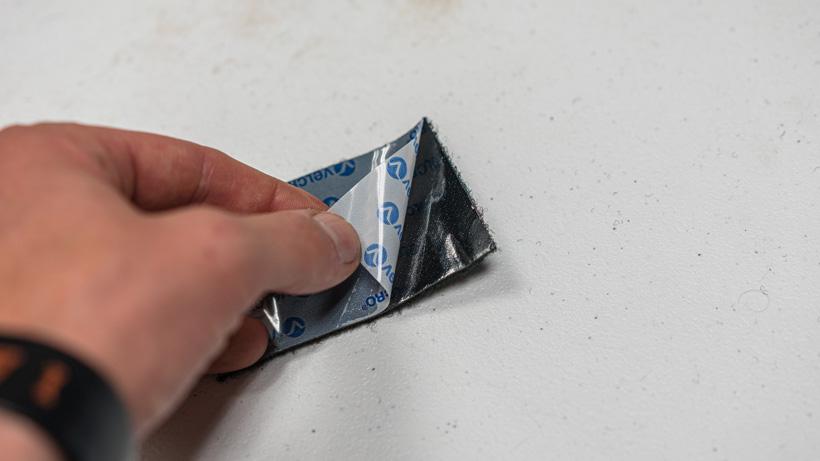
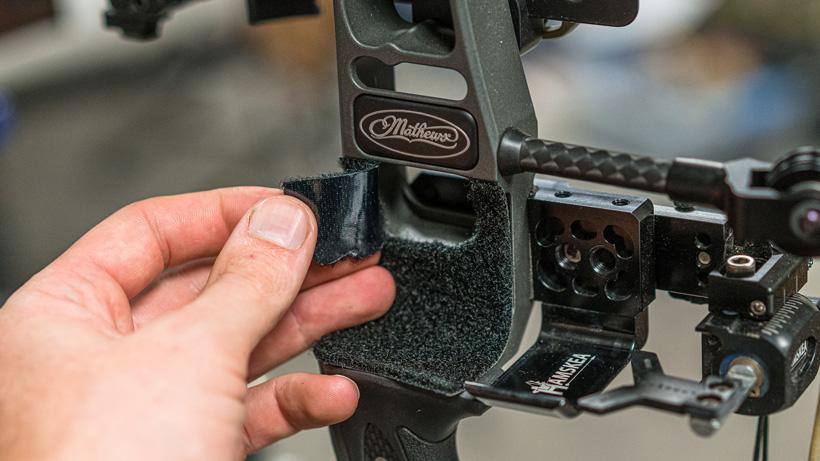
Now, take off the film backing and carefully apply the Velcro tape.
I like to start at the front of the riser along a straight edge to ensure it stays straight.
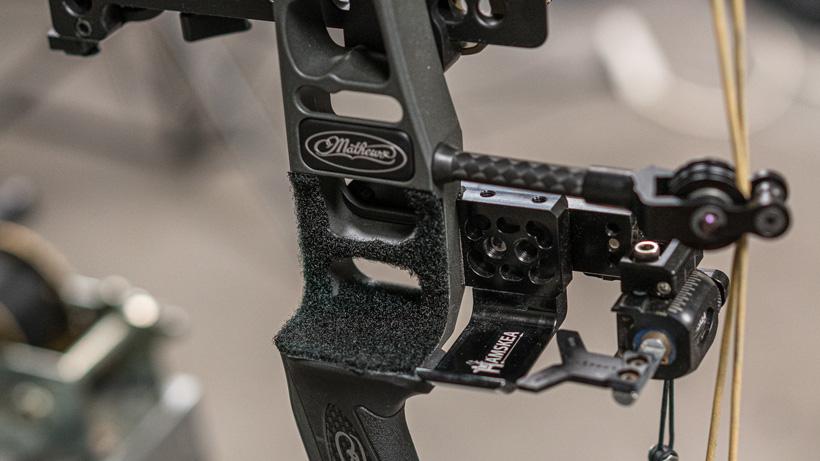
Now I'll trim up some of the edges. You could stop here if you want, or trim out the cutouts in the riser.
If the riser has any cutouts, this is when I’ll take a Havalon type knife and cut them out. You can take out the material at the cutouts, or you can just cut the sides and place the velcro on the riser section.
This whole process shouldn’t take you more than five minutes, but it could save you this fall when working in close to an animal and your arrow somehow bumps against your riser. Keep in mind that if you have a small arrow holder on your riser, you could still use that and cut around it. More ways to silence your bow can be found here. Best of luck this fall!
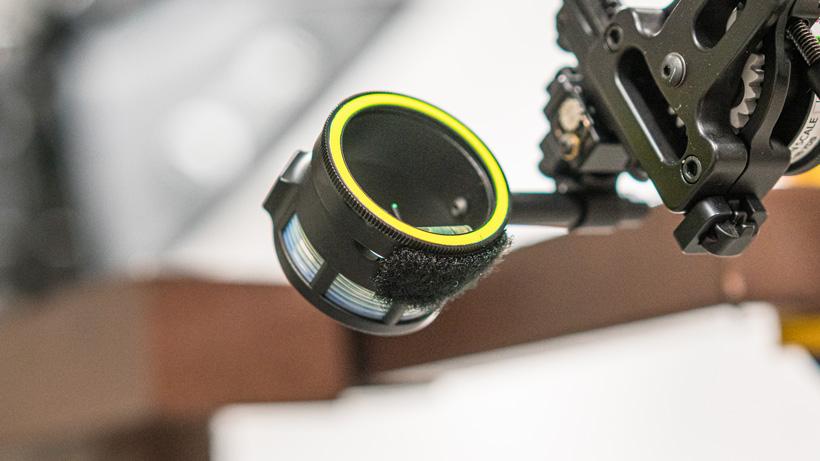
You probably have some material left over, so another quick way to further silence things is to add a small section of Velcro tape on the underside of your bowsight.