


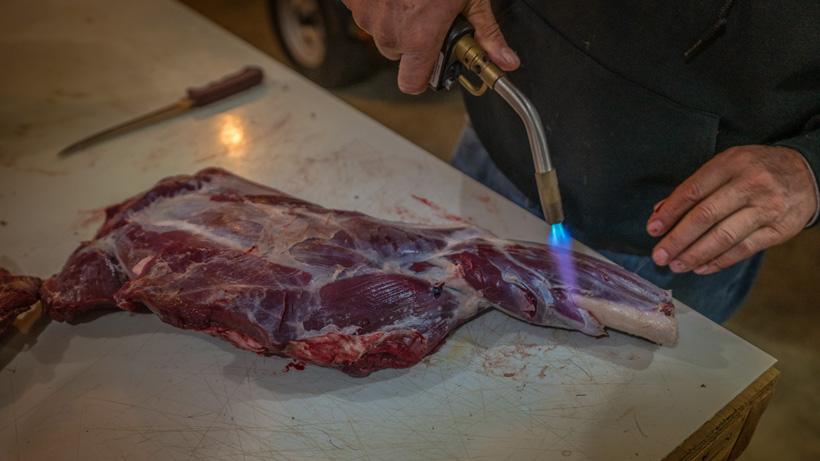
One of the easiest ways to remove stubborn deer hair while processing is with a small butane torch. Photo credit: Brady Miller
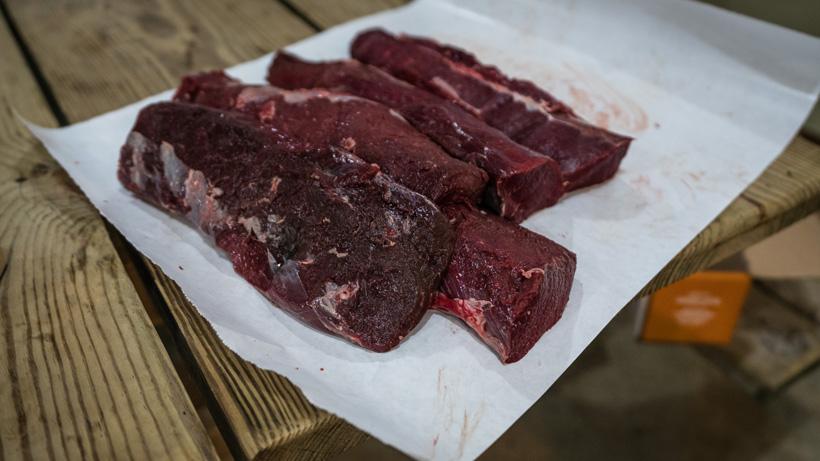
Mule deer ready to be wrapped. Photo credit: Brady Miller
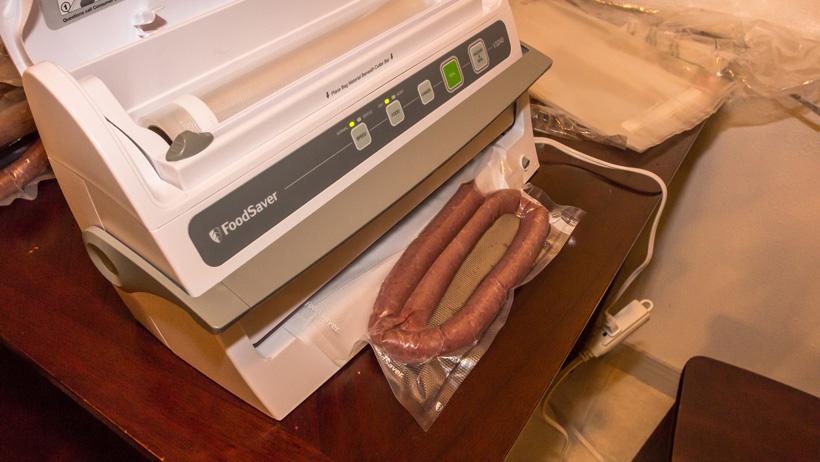
Photo credit: Brady Miller

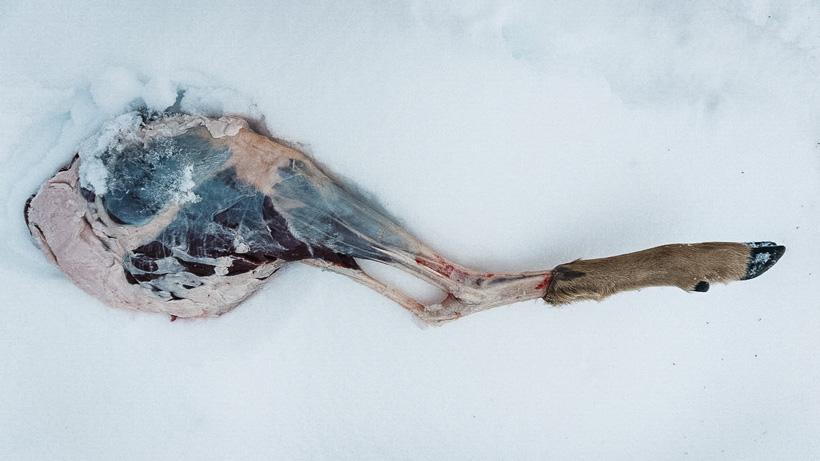
Photo credit: Dan Wilde
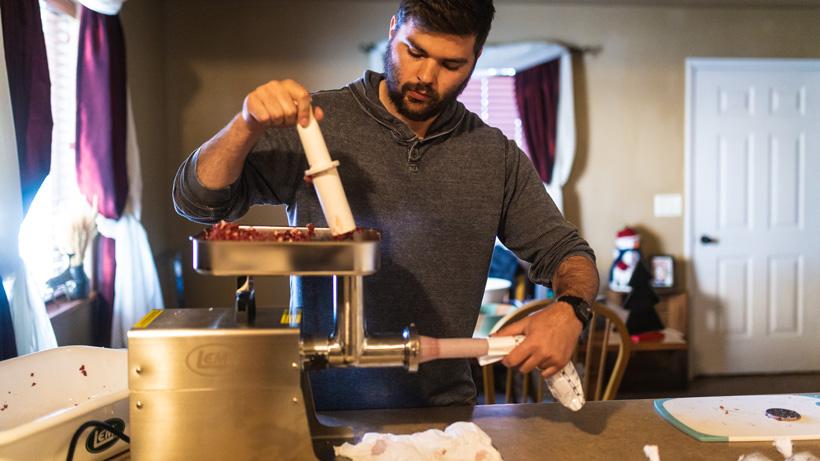
Photo credit: @taylorgraywilde
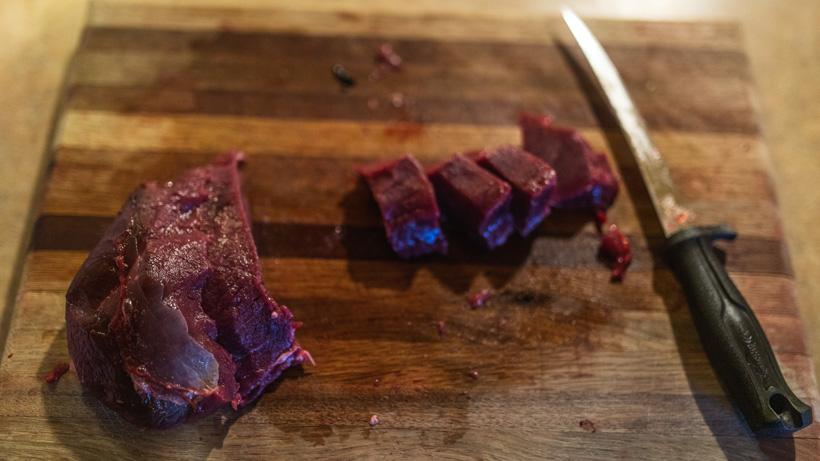
Photo credit: Dan Wilde
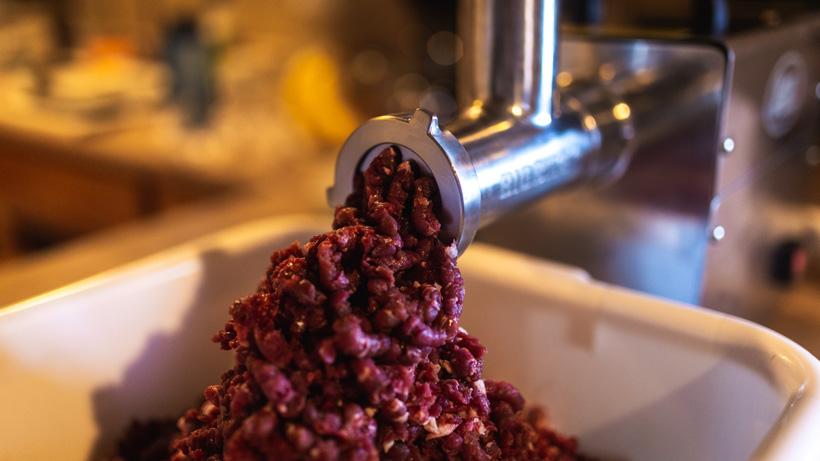
Photo credit: Dan Wilde
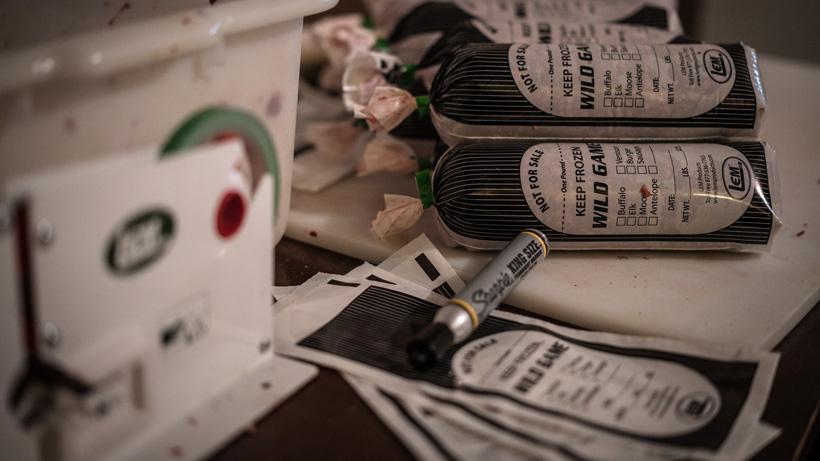
Photo credit: Brady Miller

When I was growing up, the idea of processing my own deer never even occurred to me. As a matter of fact, it was tradition for my mom to gut any deer that my family harvested. So while I was the one pulling the trigger and taking an animal’s life, the rest of the process was pretty hands off for me. But, now, I can’t imagine not doing it all myself. The opportunity to be in control from scouting the animal to eating it—and not missing a single step in between—is a highly rewarding experience that I wouldn’t trade.
While I now think butchering an animal is hard to mess up, it can be a daunting and intimidating task if you’ve never done it before. There is nothing wrong with bringing your meat to a commercial processor, but if you’ve never tried doing it yourself I highly recommend you give it a shot and see if it’s worth the extra effort for you. For this article, I am going to focus strictly on the processing part and assume that the animal has already been skinned, gutted and/or quartered.
One of the easiest ways to remove stubborn deer hair while processing is with a small butane torch. Photo credit: Brady Miller
No matter what part of the animal you are working with, it’s important to start by picking off any stray hairs that may have gotten stuck to the meat along with any pieces of dirt or debris from the field. Then, once you’ve done that you’re going to want to trim away any pieces of fat from the meat. When I was butchering my first deer, I didn’t know this and mixed the deer fat in with my burger. It is a really waxy type of fat that tastes like eating a candle so I definitely don’t recommend it.
Mule deer ready to be wrapped. Photo credit: Brady Miller
So, go ahead and trim away all of the fat and tissue that isn’t meat. Make sure you’re careful not to go too overboard on this step because you can end up wasting a lot of meat if you do. Once it looks like something you are ready to serve to a guest, then it’s probably good. One exception to this rule is the silver skin that you will find on some of the roast pieces. You can fillet it off, but I actually prefer to leave it on as another layer of protection to the meat and then simply remove it before cooking.
The great thing about processing your own animal, is that you have total control of what you want to turn it into so that it is recipe-ready depending on how you prefer to cook. There are numerous different variations of what you could do (and I will cover a few different options), but this is by no means an exhaustive list.
Photo credit: Brady Miller
For packaging these cuts, I like to wrap them in a layer of plastic wrap followed by a layer of butcher paper. This has worked well for me, but there are definitely other ways to package them like a vacuum-sealer.
One of the most highly prized cuts of meat is the loin (or backstrap) that runs along each side of the spine from the hip all the way up to the neck. Once this is removed and trimmed it can be left whole, cut into smaller sections, or sliced into steaks right away. I generally like to cut a backstrap into two or three pieces, which allows me to cook it whole or cut it into steaks at a later date.
Similar to the backstraps are the tenderloins, which are found along the underside of the spine. These are popular to eat fresh, but can be packaged and thrown in the freezer as well. Although some say that they are susceptible to drying out and recommend eating right away.
There are a few options when dealing with the front legs of an animal. Generally, these tend to be tougher than the hindquarters, so they are conducive to grinding into burger. So you simply could grind all of the front leg meat, but another popular option is to cut them into bone-in roasts for the crockpot or a dutch oven recipe. To do this, you simply use a hacksaw or reciprocating saw and cut the shoulder horizontally into three or so large pieces, going through the meat and bone.
Below the knee is what is referred to as the shank. Again this can be trimmed from the bone and thrown into your grind pile. These pieces have a lot of tendon tissue and are also conducive to slow-cooking. A popular option is to use it for a dish called Osso-Bucco. This is when the shank is cut into discs and slow cooked. You can either freeze the shank whole or cut it into discs before freezing.
The neck can also be a tough piece of meat. I’ve kept the neck whole with the bone in before and cooked it in the coals of a fire. Although, with CWD on the rise, this might not be something that appeals to you. Another option is to keep the neck whole, but trimmed away from the spine to be used as a pot roast. And, of course, the last option is to just throw the neck in with your grind pile and make it into burger.
Photo credit: Dan Wilde
Now, the hindquarters are my favorite part to butcher. These yield some of the most delicious and tender pieces for the grill. While the shank can be treated the same as on the front legs, the roasts above the knee should generally not be ground. Of course, it’s your animal and you get to choose what you do with it, depending on what you like best.
Butchering the hindquarters is actually really simple. Like drawing a picture by connecting the dots, you just have to follow the lines. What I mean is that the hindquarter is already broken into multiple muscle groups and is just attached by thin tissue. As a result, there are multiple seams that separate the different cuts. All you really have to do is cut along these seams and it just starts to naturally fall apart. Once you get started, you can actually do a lot of the work with your fingers just pulling the pieces apart. Then you just have to fillet those pieces off of the bone.
You should end up with three huge distinct chunks of meat. The sirloin is the one that Hank Shaw in his book Buck, Buck, Moose named the “football roast” for obvious reasons. I like to freeze this piece whole, but, again, you can cut it into steaks now if you want. The other two large pieces of meat are commonly referred to as the top round and the bottom round. I personally cut these into smaller sections that are an appropriate size for my family. Attached to one of those second roasts is a smaller piece that looks like a tenderloin and is appropriately referred to as the hidden-tenderloin.
Now that you’ve trimmed, cut and packaged all of your steaks and roasts, the remainder can be ground to be used for a limitless number of recipe applications.
Photo credit: @taylorgraywilde
I love coming away after the season with a solid amount of ground meat. There are countless applications and recipes that call for it so I enjoy being able to turn less-desirable pieces of meat into something delicious and extremely versatile.
For this part, you are obviously going to need a grinder or find a friend with one. If you are planning to butcher multiple animals every year, I’d recommend getting a more commercial grinder, which is going to save you immense amounts of time. But, if not, I used a $100 Cabela’s grinder for several years and it did just fine.
Now, you’ll have to decide whether or not you want to add beef or pork fat to your grind. A lot of people do this because they claim that it helps bind the meat together; however, I also know a lot of people who curse at the idea of mixing beef or pork with your organic wild game meat. If you do choose to add some, a popular standard is a ratio of around 10 to 20%.
Photo credit: Dan Wilde
You’re going to want to cut the meat into small cubes or strips that will easily fit down the throat of your grinder. Depending on your grinder, you might be able to keep chunks larger, but you will just have to experiment for what works best. You will want to clean up and trim away any remaining pieces of debris or silver skin. But, again, don’t go too crazy with this part. My grinder handles some tissue and silver skin without any problem so I just trim away anything that I wouldn’t want to eat.
Before grinding, it’s a good idea to try and keep everything as cold as possible. If your grinder gets too hot, it will start to clog up and not run as efficiently. I like to throw my meat in the freezer for a while along with the metal pieces of my grinder.
Photo credit: Dan Wilde
Then, when it’s actually time to grind, I run my meat and fat through a first grind with a 3/8” plate, followed by a 3/16” plate for a second finer grind. For packaging, I use premade wild game freezer bags that you can pick up at most outdoor stores, but you also can use a vacuum sealer with butcher paper to package your ground meat.
Photo credit: Brady Miller
While butchering your own meat takes time and effort, I think it is well worth the reward of being a part of every step of the process. As you continue to do it, you will get faster and more efficient, learning new tricks and what works best for you. I’m no expert butcher and I continue to learn every time I process an animal. I hope this basic guide is enough to give you the confidence to get started and give it a shot.