


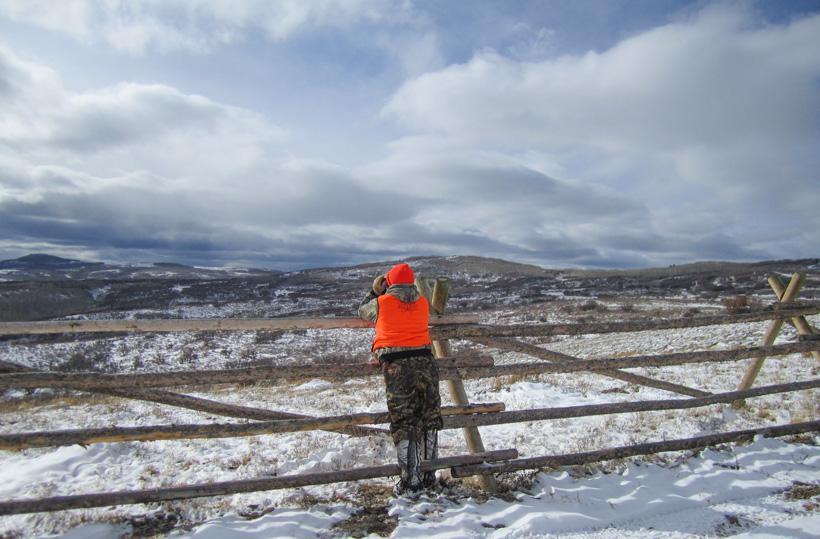
All other photo credits: Steve Barker
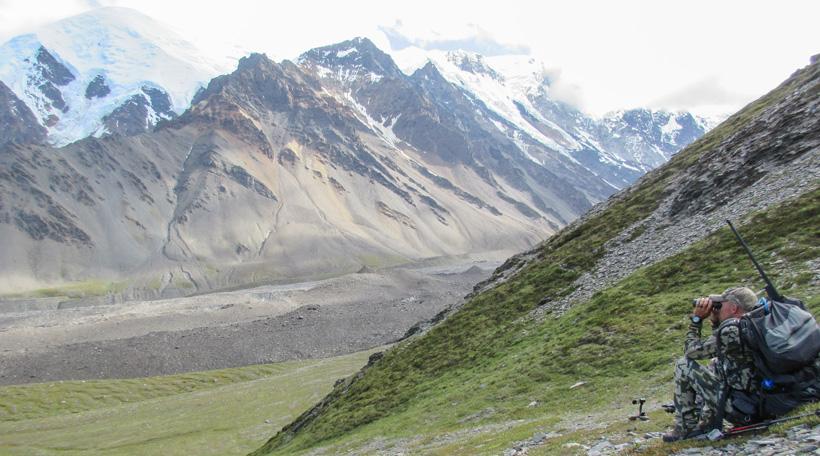
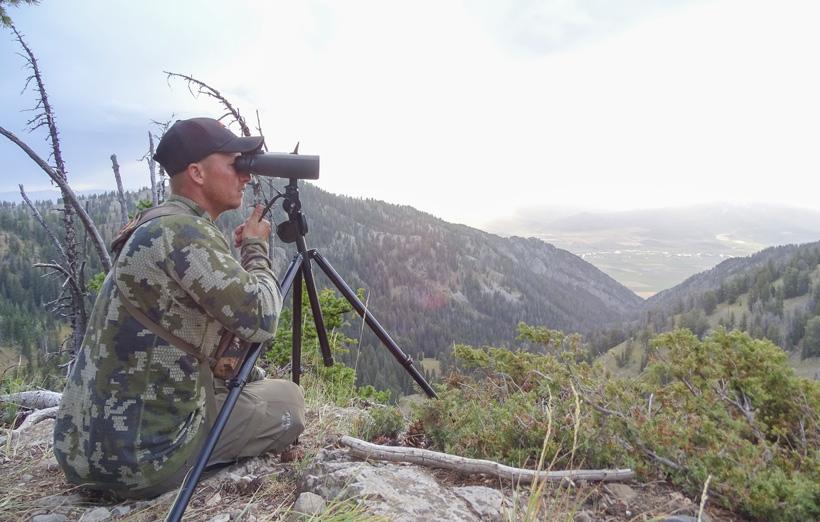

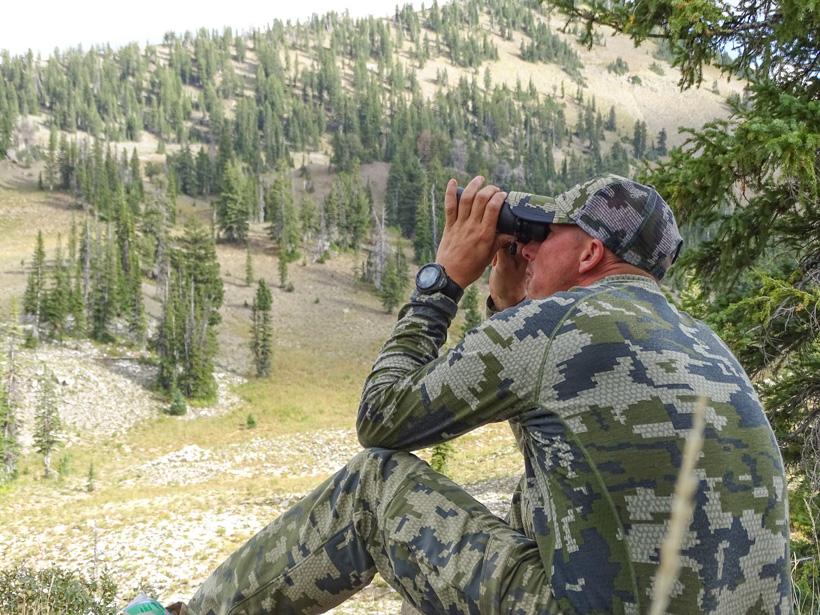
You might not be as steady, but glassing from your knees is a great way to quickly scan the area before moving to your tripod.
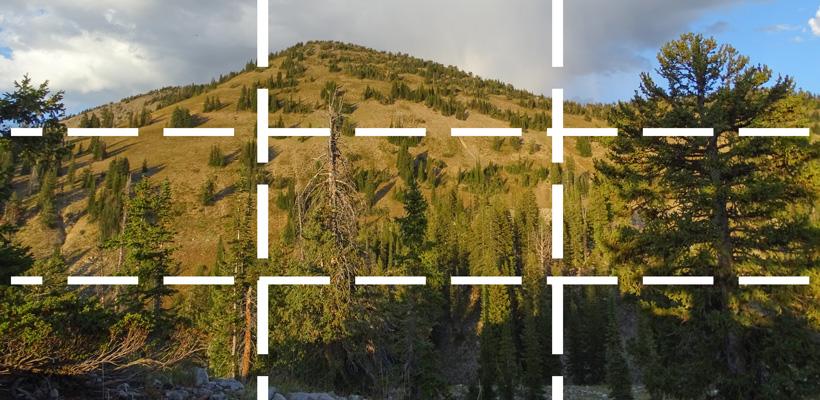
Typical mountain setting for rule of thirds glassing.
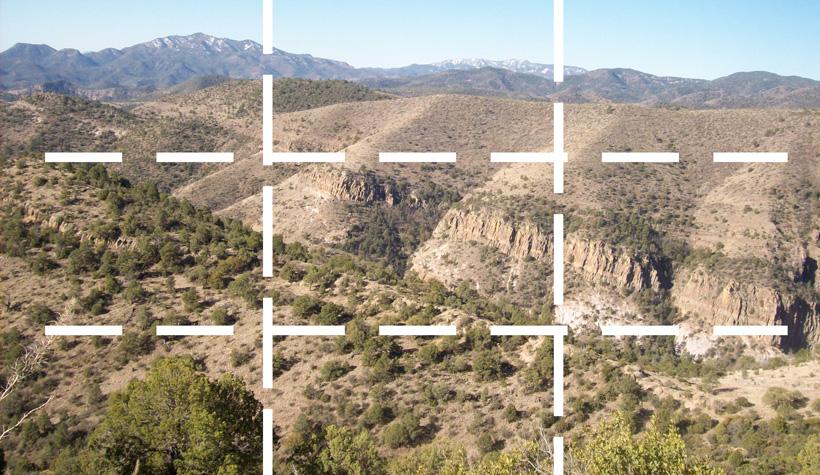
Rule of thirds gridline for glassing high mountain desert terrain.

Picking apart the six glassing sections with an 85mm Zeiss Diascope spotting scope. Photo credit: Brady Miller
When it comes to hunting, I grew up on an old school method of thought, “The harder you work and the farther you hike, the better the results you will have.” Although this method is not incorrect in certain areas of the country and times of the year, as I have gained more experience hunting using different methods I have found that this may not necessarily be the best option to increase success on my hunts.
Ten years ago, I was standing on the frozen ground of a Colorado ridge top in November looking through my binoculars trying to locate a mule deer buck. It was my first time hunting the aspen and sage covered slopes that blanket many of the units of the Centennial State. I was new to the game of glassing. I fought the conflicting thoughts that I was “just sitting there” looking for bucks when I could instead be out hiking around making something happen. But before long, I located a beautiful 4-point buck roughly a half mile away feeding on a bitter brush ridge. For an hour, I watched the buck with my spotting scope and admired him in his natural setting, thinking that it was too good to be true.
The next morning, after watching him until dark, a good friend, Garth, and I arrived on the same ridge I glassed from the night before. Sure enough the buck was not far from his position the night before. A plan was quickly formed and an hour later we were standing over an awesome Colorado mule deer. A year later, a nearly identical situation occurred for me and four of my friends. Slowly, but surely, this glassing game was starting to make sense and was quickly becoming my preferred method of hunting. Year after year, I’ve noticed an increased success in my hunts thanks to glassing.
Glassing is relatively simple but there are some methods to use that may increase your success in locating game whether you are scouting or hunting. Whether glassing for sheep, mule deer or elk in a high mountain basin or in search of an antelope in an arid sage covered flat, hopefully some of these methods will assist you in locating more game.
There are many tools available to help with glassing before you even leave your home. You can use topographic maps, talk with hunters that previously hunted the unit or biologists from the area and utilize computer animated tools on GOHUNT’s Insider. Google Earth has changed the scouting game and proper use of the software can also change the way you hunt and glass. Hours spent on the ground searching for miles for that perfect glassing spot can now be accomplished from the comforts of your own home. All of my hunting partners and I have spent hours scouring Google Earth for glassing areas and vantage points to locate game. We occasionally will take a screenshot or email an image of these areas to each other. This allows us to use them as a reference on our GPS or phone once we have reached our hunting area. Using these tools not only saves you time, but also fatigue on your legs caused from searching the area for the perfect glassing spot. Look for areas animals may use to bed, feed, water or for areas that may be transitional routes from these types of locations. Gaining this knowledge at home is not only easy, but can also quickly become very addictive. During most of the off season, I spend time on Google Earth looking over areas and units that I am interested in glassing and hunting.
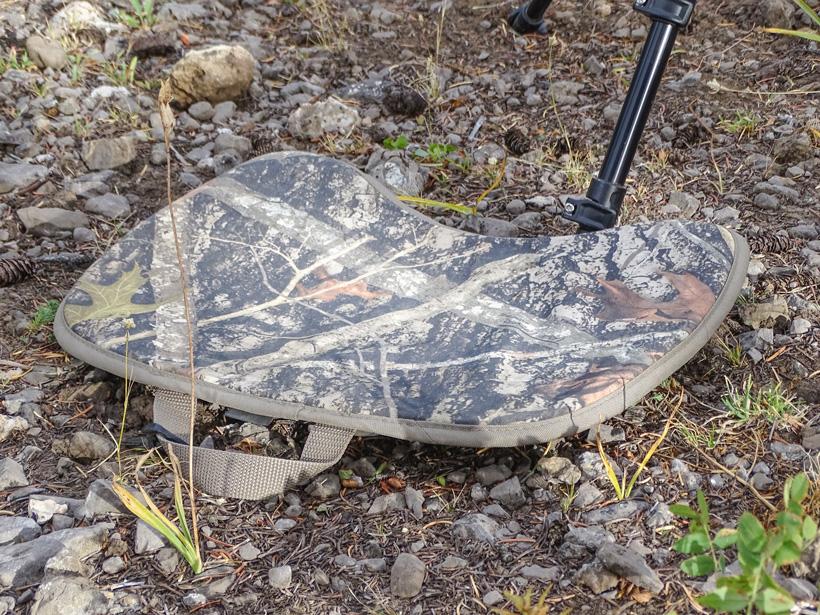
You have probably heard it before, but getting the best optics you can afford can help you locate more game, especially in the early morning and late evening hours when light is at a minimum. There are many good optic companies out there so get the best you can afford and get to glassing. I recently glassed using some Zeiss 15x56 binoculars on a Wyoming mule deer hunt and they are quickly becoming one of my favorites. A good quality tripod cannot be overlooked. Using a good tripod and fluid head combination will help when moving your glass and will keep you from getting a headache due to rapid or jittery movements. Two good tripod companies to check out are Outdoorsmans and Manfrotto. Glassing with binoculars attached to a tripod is a great way to improve your glassing skills. Purchasing a binocular attachment for your tripod is relatively cheap and is one of the most important if not most underutilized tools used for glassing.
Locate a place to glass from, preferably on an elevated position, and start to glass. Rule number one: always set up quietly and never, ever skyline yourself. Nothing will ruin your day more than walking over a ridge to see an animal on the run only to realize you were skylined and blew the animals out of the area. Try and utilize the terrain and vegetation to keep your silhouette off the skyline or get as low as possible as you cross to your glassing area. While setting up, do your best to break up your background by sitting in the shade and placing yourself with vegetation or terrain behind you.
After you have found “the spot” it is important to get comfortable. A few weeks ago, I was on an elk hunt with a friend and after glassing a shooter bull in the early morning I did not leave my glassing spot until dark. As silly as it may sound, packing in a “butt pad” of some sort can really help make a frozen piece of ground or a rocky slope much more comfortable. If possible, find something such as a rock or tree to lean back on or put a pack behind your back if you know you are going to be glassing from the same spot for a long period of time. Although this is not critical, it can really help with backaches. Do whatever you can to make yourself comfortable and your glassing sessions will be a lot more enjoyable. You will want to stay longer and will more than likely locate more animals. Listen to music on your headphones, take a quick nap, stretch out or move a short distance to get a slightly different view. Do whatever you can to stay longer. It is also a great idea to stand to stretch in the middle of the day. Numerous times I have seen game I had no clue was in the area four or five hours into a glassing session.
Over time and after many glassing sessions, hunters will learn the terrain that appeals to them for different types of game and observe habits particular to specific species. No matter what type of game you are glassing for, there are many different methods of glassing. Here is what I have found that works best for my glassing sessions.
After arriving at my spot, I complete a quick scan of the area. I like to start close and move away from where I am sitting. This quick scan can sometimes last for thirty seconds but depending on the country you are glassing can last quite a bit longer. Look quickly for any obvious game that may be out in the open feeding or moving to bedding areas.
After clearing all of the open areas and completing a quick scan, I shift to a slower pace of glassing. I like to use the photography “rule of thirds” and break up my glassing area into six sections. Breaking the glassing area up into these six boxes helps me keep track of the areas I have glassed and ensures that I am not missing any areas that a buck or bull may be hiding. I typically start in the lower left corner and I glass that area thoroughly with a set of binoculars on a tripod. After glassing this box completely, I move into the lower middle box and continue this cycle going counterclockwise until I complete my glassing of the six boxes. During my initial glassing, I am looking at smaller open areas and shadow-covered openings.
After completing all six sections, I move back to the first section and start a methodical search of tight spots where animals may be bedded or tucked away for longer periods of time. I focus on patches of trees, brush, rock outcroppings, cliff edges and anywhere an animal may bed. This portion of the glassing session can last for hours because I am looking for finer details such as a leg, an antler tip or the flick of a tail. Each section of the glassing area may take hours to clear. During this phase, I use both a set of binoculars attached to a tripod as well as a spotting scope to verify anything that may be an animal. This portion of glassing can be tough to do day after day, but it can bring great results.
Learn the game you are hunting. Year after year, game tend to be in the same terrain and areas. Take notes, pay attention to where animals like to bed, where they feed, water or how they transition from these areas at certain times of the year. While glassing for mule deer, for example, I like to put more focus on bitterbrush and oak covered ridges during the early spring and summer. As the bucks are in their bachelor herds with velvet-covered antlers, I focus on higher elevations on grassy slopes and shady timber patches. During the late season, I focus on quaking aspen patches and sagebrush flats. These deer may be located in different areas, but over time, and after learning certain habits, it is important to locate areas bucks like to be so that you can concentrate on that area. Stay flexible, utilize other animals and the way they act to locate other game. Numerous times we have used other hunters that are out pounding the hills to locate game. As they have pushed the ridges deer have slowly moved away undetected from them and bedded in a new location. Utilize whatever elements and situations you can to locate more game.
No matter what, finding a systematic approach to glassing is important. Get the best optics possible, a good tripod, a solid head, and find a method that works for you. Glass hard, save your energy and stay out longer than you thought, covering those “gamey” areas thoroughly and I guarantee you will find more game.