


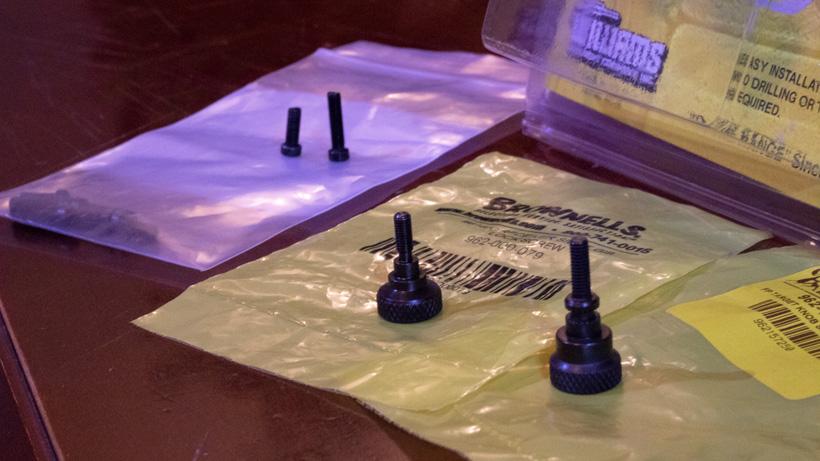
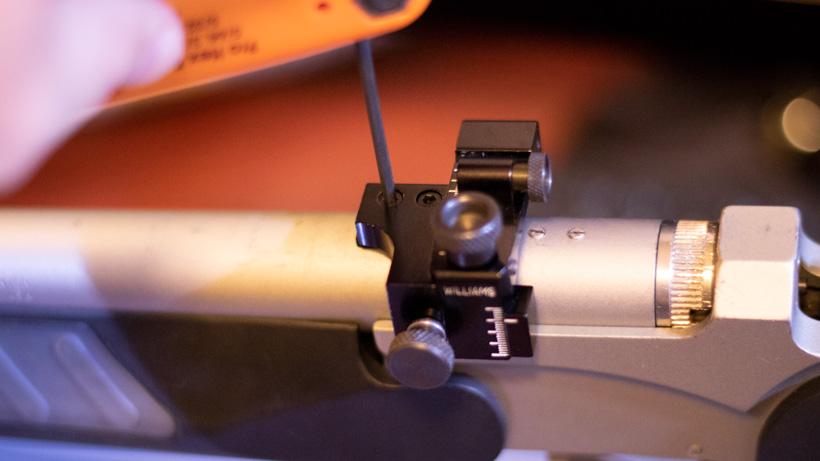
Elevation knobs.

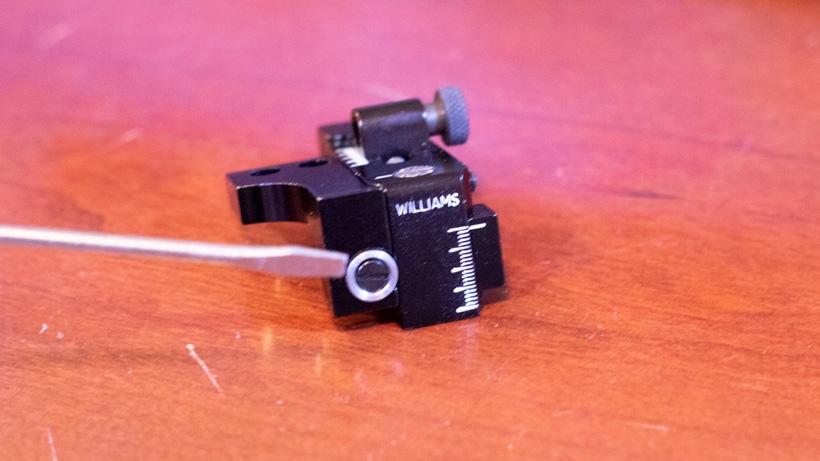
Williams FP style rear peep sight before adjustment knob was added.
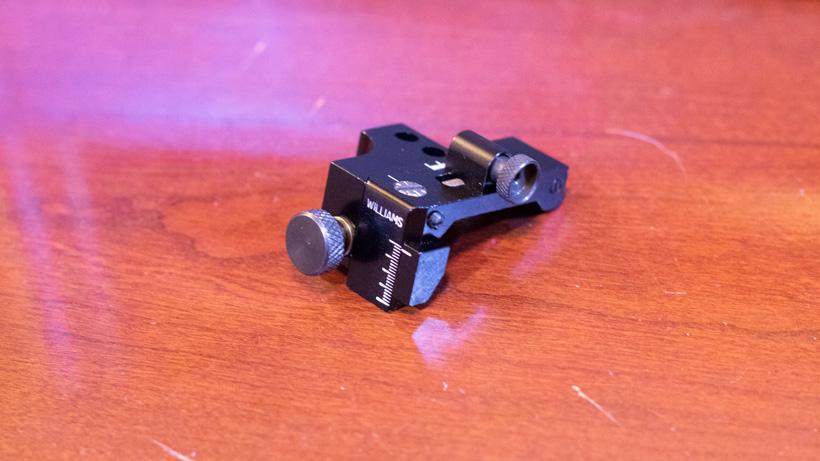
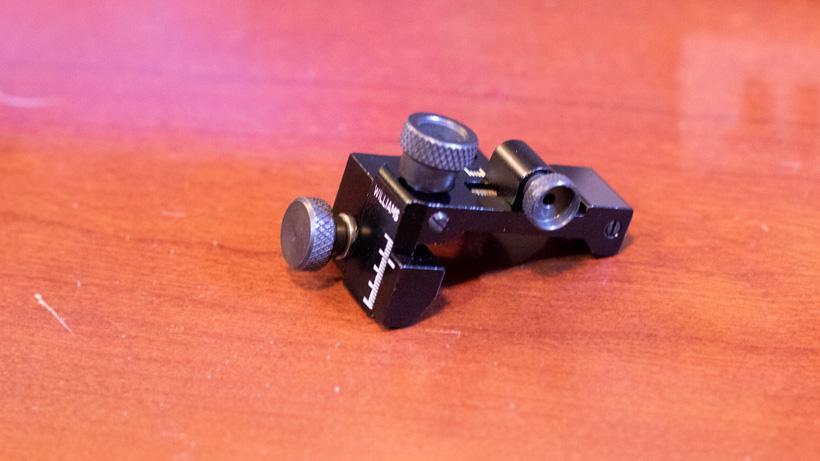
Finished installing the elevation lock and adjustment knob.
There are no questions about it: muzzleloaders are fun to shoot. There is just something about pouring black powder down the barrel, pushing a slug in, adding a cap and trying to look through all the smoke after the shot.
But hunting with a muzzleloader, well, that’s even better. For most states, muzzleloader season falls earlier in the year, which typically means more mild weather. You get to hunt bucks or bulls that haven’t seen a ton of pressure and, for the most part, tags are a little easier to draw.
So what’s the downside to muzzleloaders? Well, they aren’t known to be the most consistent or accurate firearms out there; however, there are a few things you can do to make them a bit more accurate. I wrote an article a few years back about one of the best modifications I think you can do to help with accuracy if you want to or are required to run an open sight. You can check out that article here. In that article, I explain the steps to adding a front globe sight and a rear peep sight. In this article, we’re going to be building on that same idea, but, instead, replacing the rear peep with an adjustable one.
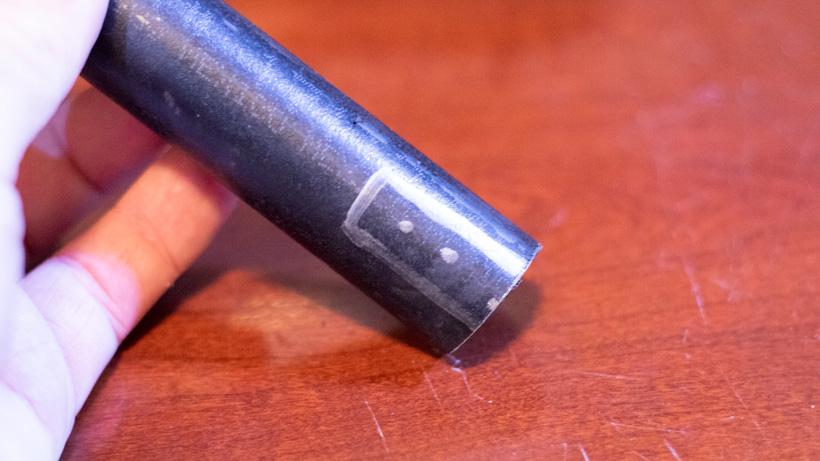
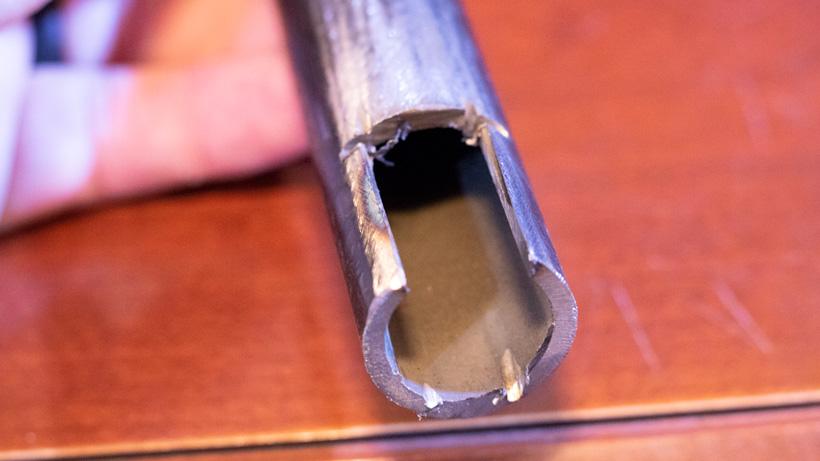
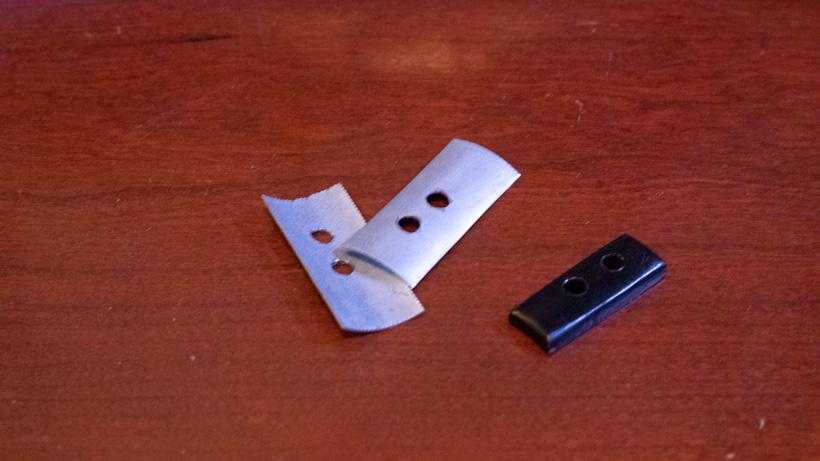
After I wrote the first article, there were some questions that came up after people started trying the process on many different types of rifles. The main one was that people need to shim the rear peep to get enough elevation adjustment. When you add the components together for the front glode, it gets pretty high off the barrel. I ended up using a few different things to build shims. You can use thin plastic cutting boards, different thickness of sheet metal or the best and easiest thing I’ve found is a pipe.
To make the shim out of a pipe, simply start with a piece that has the same contour as the barrel, trace and make the mounting holes.
Drill the holes first. Then, cut it out, file it smooth and polish it and you have a simple and strong spacer.
I built one for this new setup as I wanted to get the maximum elevation adjustment I could for the system.
You're probably wondering how we are extending our range by just adding a different rear sight. Like I mentioned in the first article, I come from the bowhunting world and the big thing there are slider sights. Being able to move your sights up or down to allow you to shoot some pretty far distances is key for practice and building confidence to make those closer shots that much easier. We can apply the same concept to muzzleloaders. The higher you raise the rear sight, the higher the point of impact, which compensates for bullet drop. It’s the same thing as an adjustable turret on a scope.
Now for the disclaimer: In no way am I suggesting that you make these modifications so you can go shoot animals at crazy distances. Know your limits and be ethical. However, it’s a great time to go ring steel at yardage with a muzzleloader while people shooting scoped centerfire rifles watch in disbelief.
For the parts, I’m using a Williams FP style rear peep. You can get them from various gun manufacturers at www.muzzle-loaders.com, www.midwayusa.com or www.brownells.com. Just make sure that you get the right one that fits your gun.
I’m also installing an elevation target knob and an elevation lock knob. Some sights will come with these installed already. These will allow me to make elevation adjustments without any tools.
I also had to get a little longer mounting screws because of the spacer or shim that I made. I’m lucky and have a store here in my hometown that has bulk gun screws in stock.
The first step after building the shims mentioned above is installing the elevation lock and adjusting knob.
It’s pretty simple: just remove the screws with a screwdriver and replace it with the new ones.
Now you will want to remove the old rear sight.
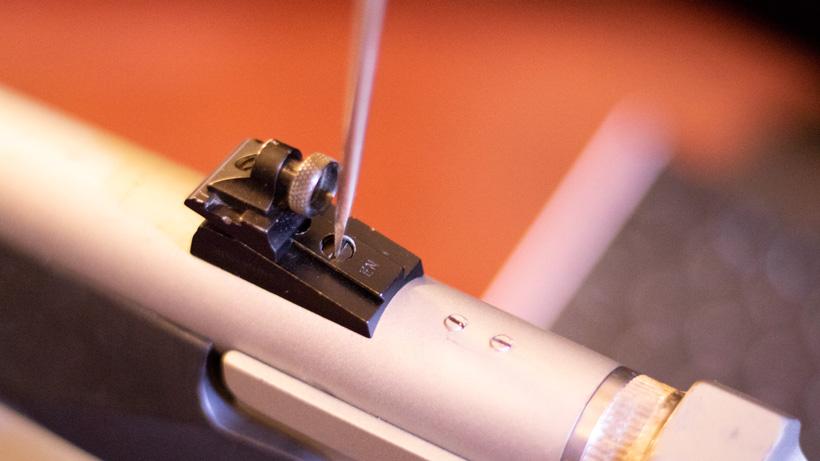
Next, install the new Williams FP style rear peep sight.
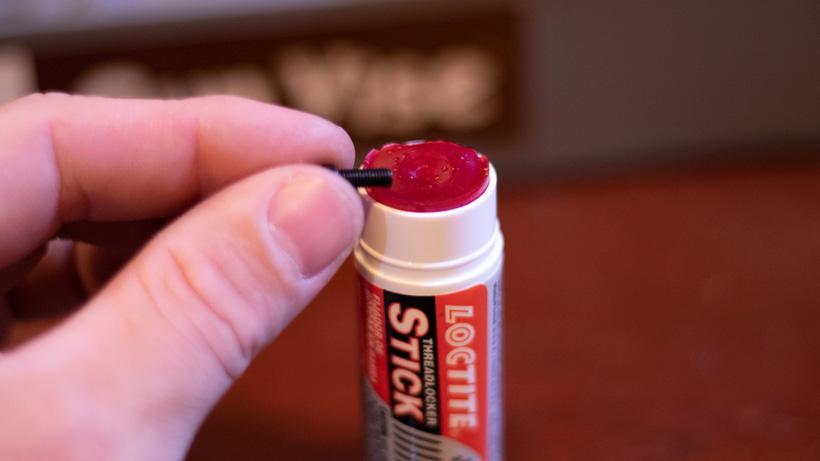
I add a little Loctite to the mounting screws just for added security. These are small screws so make sure that you don’t over tighten and strip them out; it’s not like these are holding the whole gun together.
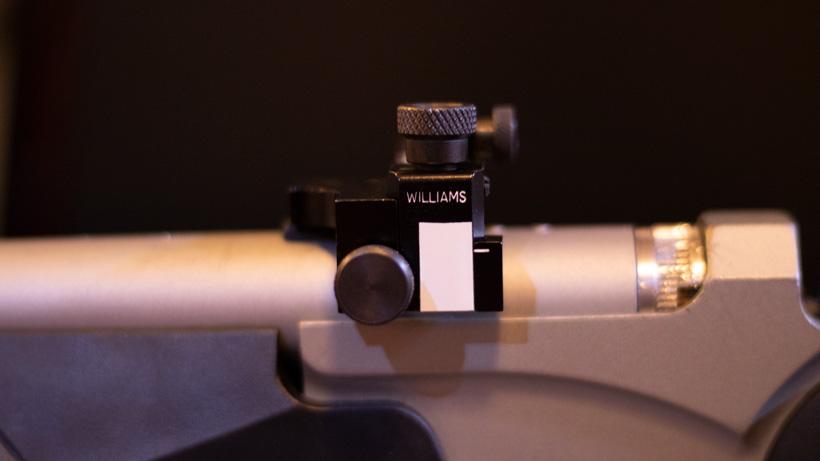
I added a piece of waterproof paper to the side of the sight. I used archery sight tape material that I had laying around. This is used to mark the different yardages that you’ll sight it in for.
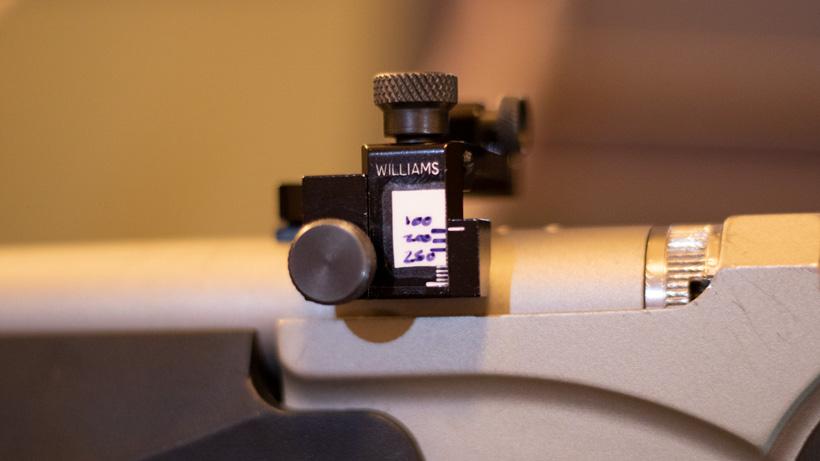
Here is the finished adjustable muzzleloader rear sight peep with yardage marks.
Range time! Get it sighted in. I used a ballistics calculator to show me how many inches high it would hit at 100 yards if I was zeroed at the longer distance. I then verified those and make adjustments if needed.
The final step that I did once I had all the final marks was place a piece of thick clear packing tape over the paper. I thought this might protect it just in case it gets a little wet.
There you have it—a slider sight for a muzzleloader. This was a fun modification that allowed me to push the muzzleloader a little bit. Muzzleloaders are fun, and there are a lot of variables that go into making them consistent and accurate. I hope you enjoyed the article. If you have any comments, tips or advice, leave them in the comments below. Good luck in your muzzleloading adventures!