



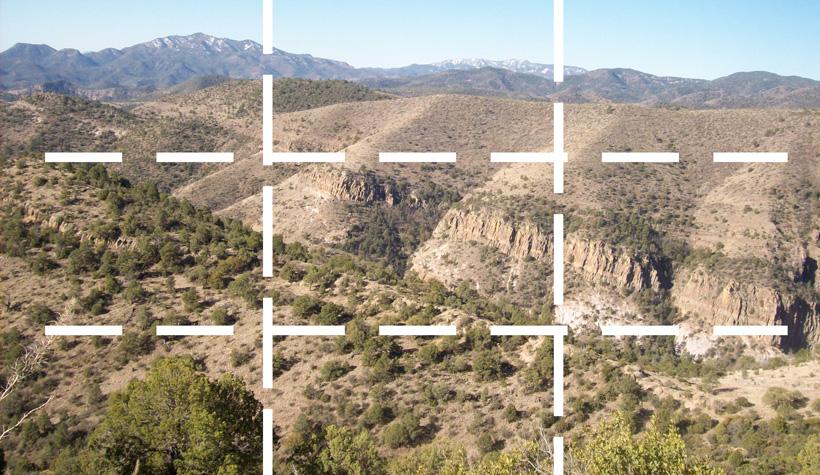
Example of a rule of thirds grid.
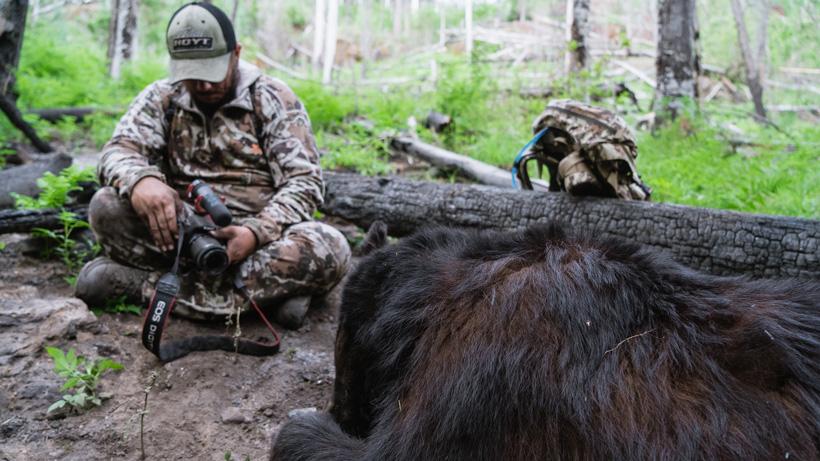
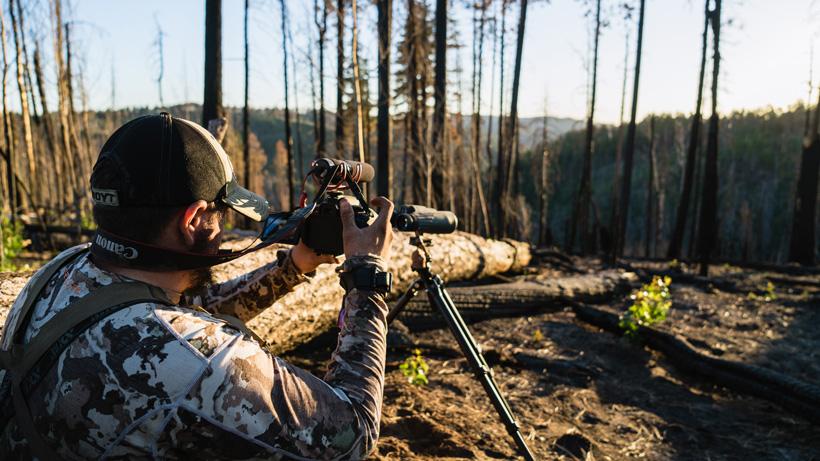

Before hunting, I wasn't the biggest fan of photography. I acknowledged the art behind it, but never really wanted to take part in it. As fate would have it, that all changed when I met my wife and she started heading outside with me. You see, she is actually a professional wedding photographer, which means that I almost didn't have a choice to take more of an interest in the subject. The more time I spent with her outdoors and the more I saw the images she would bring home, I soon began snapping photos of my own. We see some amazing things out on these hunts and, now, it almost doesn't make sense to me to not photograph it and photograph it well. I remember looking back on old hunting photos and thinking, "Man, these look like crud!" We get one chance to capture these memories, which means that it's important to make sure they look halfway decent.
The first thing we have to do should be a no brainer; however, there are many people who don't take the time to actually learn how to use their camera. They turn it on, put it on the automatic setting and start snapping pics. This is fine for quick photos on the go; however, if you want to really up your game, take the time to understand your camera. My wife highly encouraged me to learn how to operate my camera in manual mode. In the beginning, it was much more frustrating trying to remember what everything did. Afterwards, though, I felt so much more confident in creating a quality image. The three settings that you should focus on is the aperture, shutter speed, and ISO. You should know how to manipulate an image using those settings because they will let you have full control over how your picture turns out in any given situation. Do you want everything to be sharp and in focus? Is it low light? Maybe you want that "bokeh" look we are all so naturally drawn to? I'm not telling you that you have to have a degree in photography, but, by learning these basics, your images will be much better as well as your personal satisfaction.
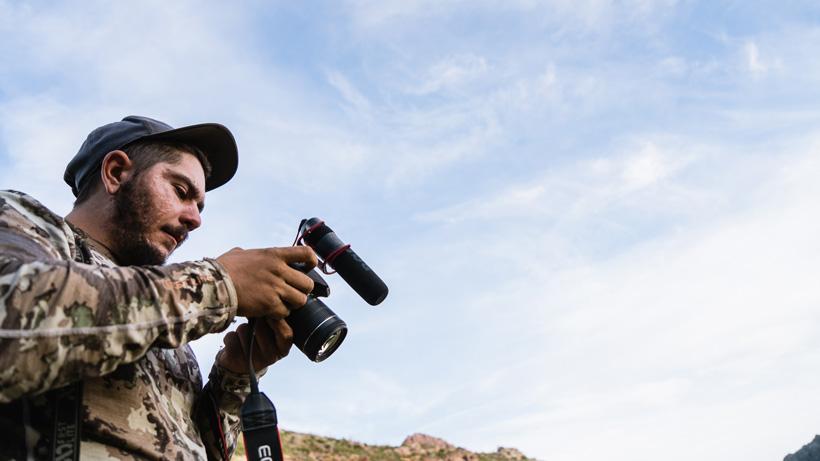
I will admit that when I first started carrying a camera around, it was where it shouldn't be: it was inside of my backpack. Kind of hard to take photos there. During those early days of photography, I missed out on so many cool opportunities to take photos; it kind of makes me cringe a little. When I was out and about, I'd see something and think to myself, "Man, that would make a cool photo." Did I stop to take off my pack and get my camera out though? No. I had things to do and places to be out there. So I started carrying a small mirrorless camera in the waist pouch of my backpack. This gave me easy access to it without having to take off my pack. My SD cards soon started filling up once I decided to carry it this way. After that, I purchased a super cool little clip from Peak Design. The clip attaches to the shoulder strap of my pack and my camera clips right onto it and locks in place. Now I have my camera out at all times and I can also shoot my bow with the camera attached. If it is going to rain, then I will just put the camera in my pack within a Ziploc bag.
Paying attention to composition in the field is really what is going to let you create a great photo. It's not about having the best camera or lens—it's about you and your creativity. Of course, a great camera setup helps, but it is not the end all be all. Please don't think that you have to go and spend $5,000 on gear in order to capture good images because that's just not the case. There are a few basic things to keep in mind when composing a shot. These all lend to what is visually pleasing to us as viewers. The more you exercise these techniques, the stronger your photography game is going to become. They are as follows:
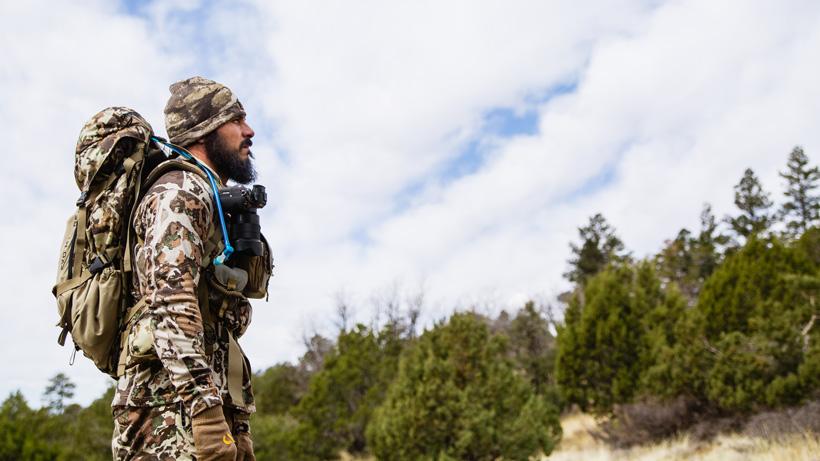
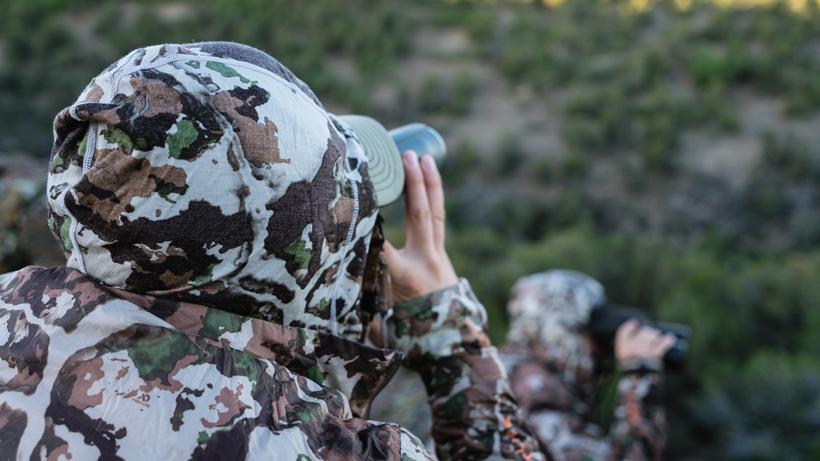
Line of sight is a big one for me personally. This focuses on our sight lines. Say that I am taking a photo of someone glassing from left to right. I would position that person on the left side of my photo because their line of sight is going from left to right. By doing this, the viewer almost feels like they are right there with the hunter as they look off into the distance with them. In general, it wouldn't make sense to put the hunter on the right side of the photo because then the photo would stop abruptly and interrupt the line of sight.
Example of a rule of thirds grid.
You may or may not have heard this term before. This is a sort of guideline, or guidelines really, to composing and balancing an image. If you've ever seen the little grid that pops up on your LCD screen for your camera, that is what it is for. By aligning your subject with these lines and intersection points, you will create a much more visually pleasing image rather than just centering everything you photograph. Rules are also made to be broken so once you do your research and learn more about this don't be afraid to bend the rules in the name of creativity.
This can make a huge difference in how a photo turns out. By simply laying down on the ground for a shot—or even climbing a tree—you are spicing up a photo with a different perspective. Don't be afraid to get dirty.
Something that I've heard my wife say a great deal is "make the ordinary extraordinary." After much frustration about not knowing what to take photos of when I was actually in the field, this little saying clicked in my head. You don't have to have something extraordinary or striking in front of you to give you the OK to get your camera out. The land that we hunt is absolutely filled with opportunities for photography. A simple photo of a cactus or bark on a tree can make an excellent picture, and not just that, but help tells a story. Out on our adventures, there are always stories to be told and capturing the little moments with your camera is huge. These are the photos that I have actually grown to love the most. Grip and grins are cool and all, but snagging a moment when your hunting partner was either down and out or just smiling and enjoying what was in front of him or her, tells a story. Don't forget to stop and smell the roses.