


Measuring tape |
Saw (hand saw or Sawzall) |
Vice (recommended) |
Sander, Dremel or file |
Phillips screwdriver |
Electric drill |
3/16" drill bit |
|
|
Measuring tape | Saw (hand saw or Sawzall) | Vice (recommended) |
Sander, Dremel or file | Phillips screwdriver | Electric drill |
3/16" drill bit |
|
|
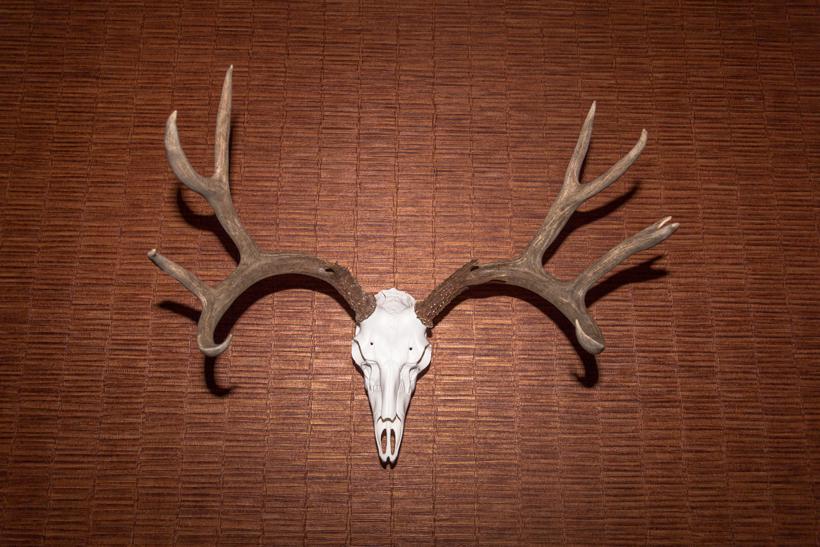
If you are like us, sometimes it is hard to decide what to do with an animal after the harvest. Once you have decided you are not going to have a shoulder mount done, most hunters either keep the skull for a European mount or cut the skull cap off. We all have great intentions of finishing up a mount, but life gets busy and sometimes we leave the rack in a garage or basement and never do anything with it.
Once we get home, we may have even regret cutting the skull plate, since we now can’t do a European mount. It is impossible to add the original skull back on the animal, and in years past we would be stuck with a cut skull plate.
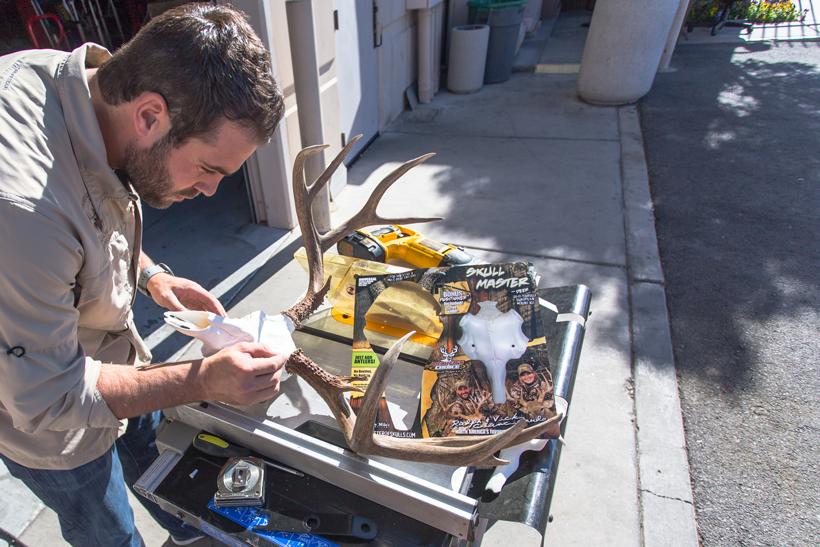
We now have an option to re-create that appealing European skull mount with a kit made by Mountain Mikes.
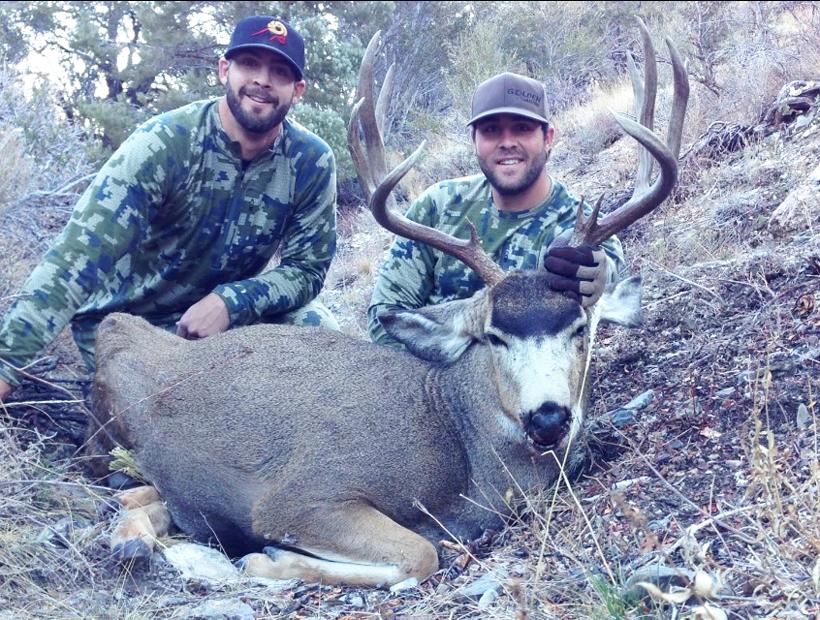
We decided to try this out on a buck harvested by Lorenzo Sartini.
If you remove the antlers from the skull you cannot enter it in record books (they have a specific mount made for that)
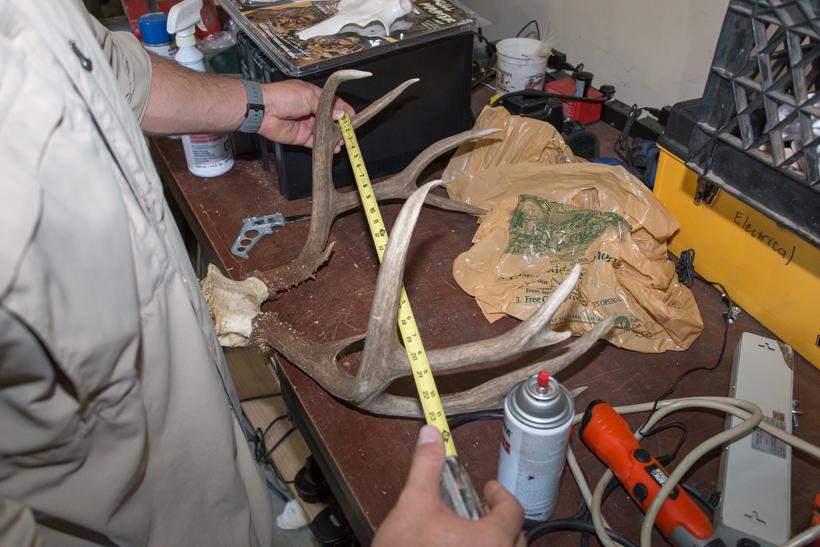
Measure the spread of your antlers before removing them from the skull.
This step is very important in order to keep the spread accurate after the process is complete.
The kit comes with two differently sized top sections, medium and large. You will need to measure the circumference of the antlers just above the burr.
If the antlers measure under 4 7/8” you will use the Medium top section. If they measure over 5” then you will use the Large top section.
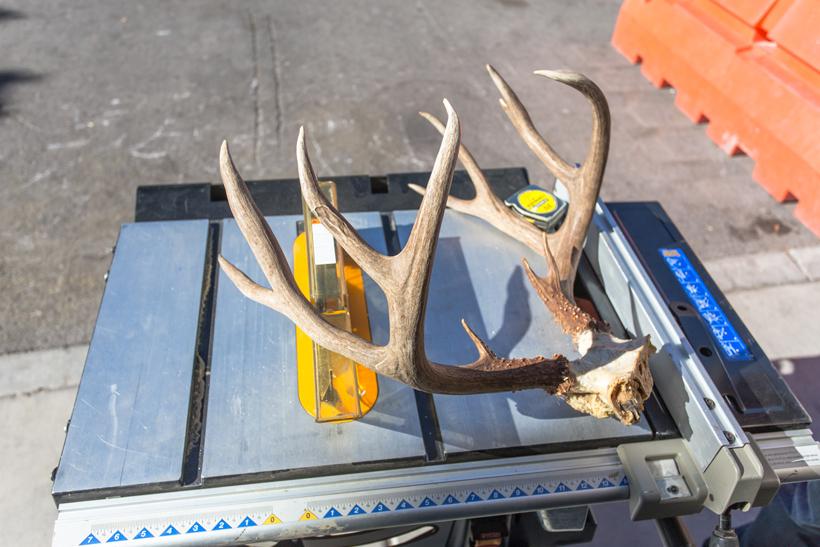
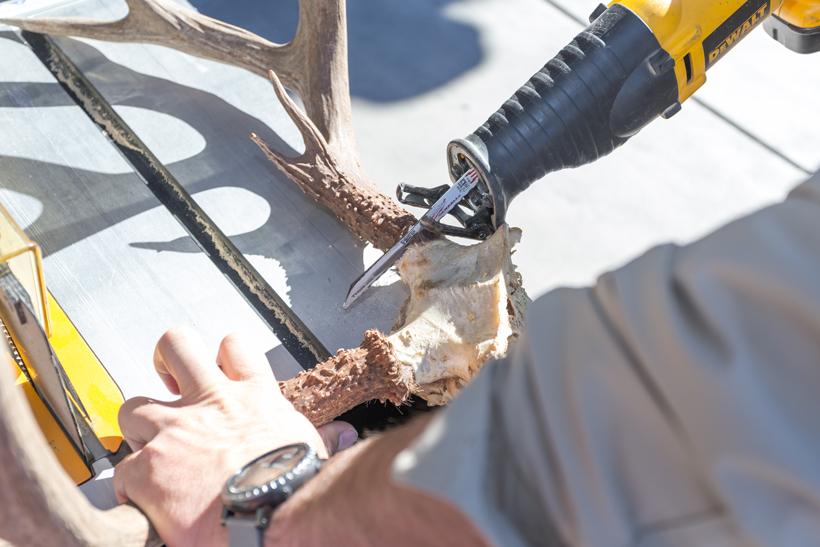
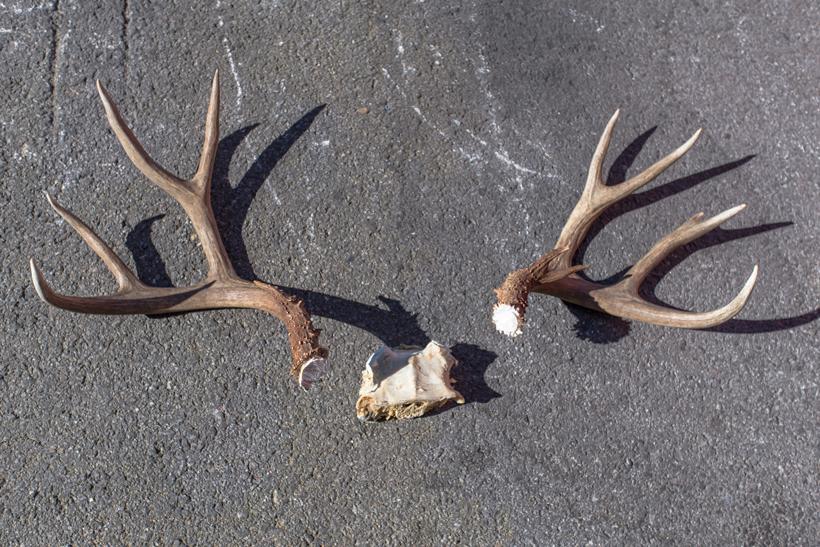
Cut off each antler as close to the burr as you can.
Something we didn't do, but highly recommend, is placing the skull plate in a table vice to help secure them. To make future steps easier, take your time to make a clean cut and keep it close to the burr to make sanding it smooth a quicker process.
Tip: We found it was easiest to use a Sawzall to cut the antlers off the skull plate.
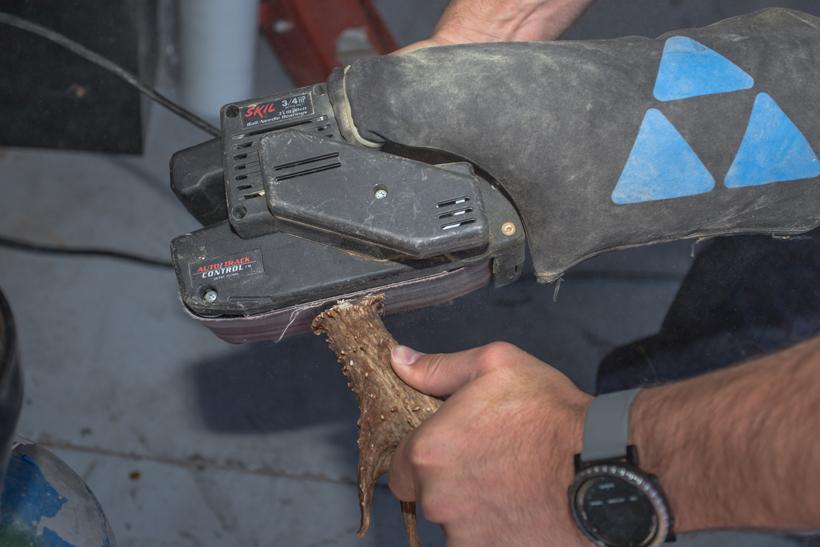
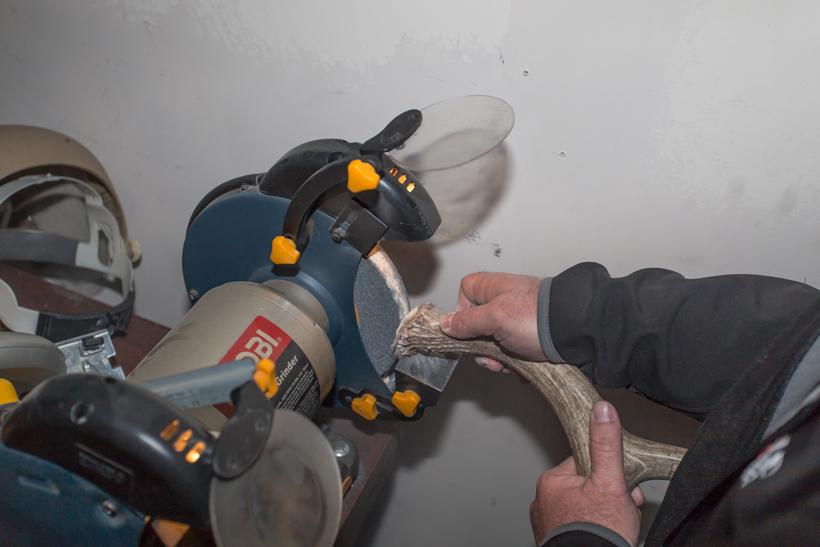
Now is the time to take a sander, grinder or Dremel to the antler bases to remove all the extra bone material.
The goal is to make the base as smooth and flat as possible. This will make the antlers sit flush on the top plate of the Mountain Mike’s skull.
We started with a sander and finished with a grinder to fully smooth out the bases.
Test the angle that the antler lay on the pedicles. This is the part where you will adjust the pedicles to match the width you measured in step 1. If you need to make the antlers wider, take a Dremel tool (a sander or file could work for fine adjustments) and slowly grind away material from both sides until your spread matches.
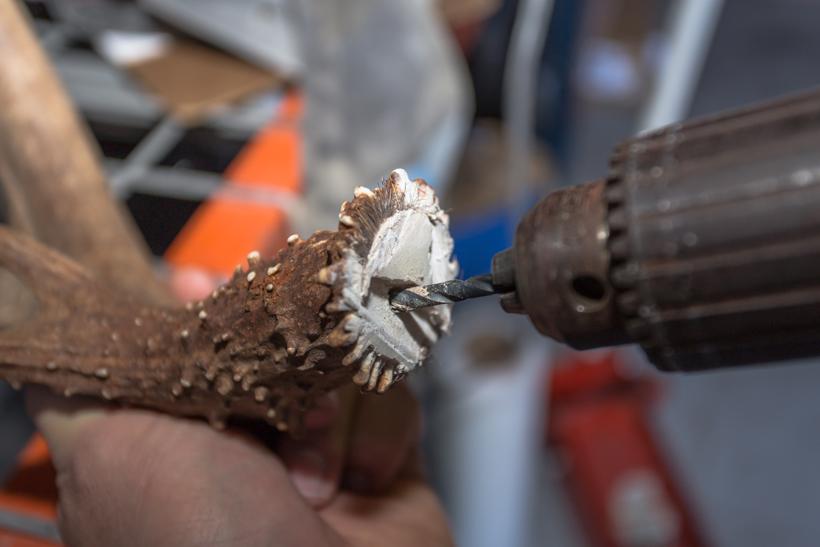
Now you will center the antler over the correct pedicle of the top section of the skull plate form (make sure you are drilling the correct antler side) and drill a 3/16” hole roughly 1 ¾” deep into the base of the antler.
We found it was best to start the hole through the top section and then drill the antler separately.
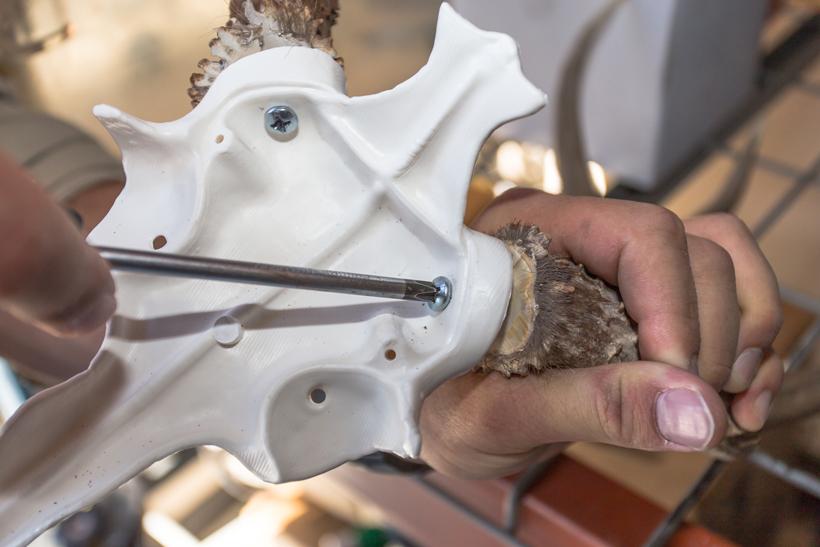
Insert the screw through the top plate and into the correct antler. Keep the screw slightly loose so you can rotate the antlers for correct position.
Repeat the other side. Some cases you may need to drill a hole a little larger if you are having trouble screwing the top plate onto the antler.
After you have rotated the antlers into the right position you will tighten the screws at the base of the antler. Do not over-tighten.
Next attach the bottom skull to the top section using the supplied screws.
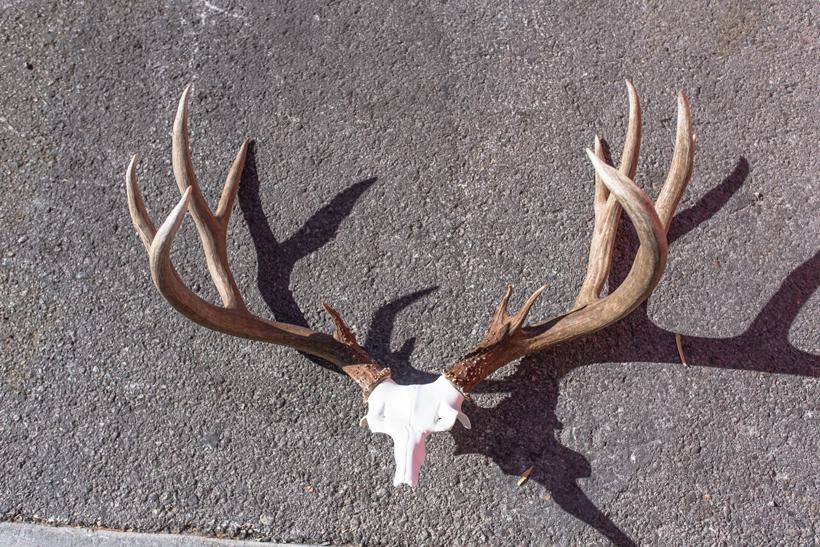
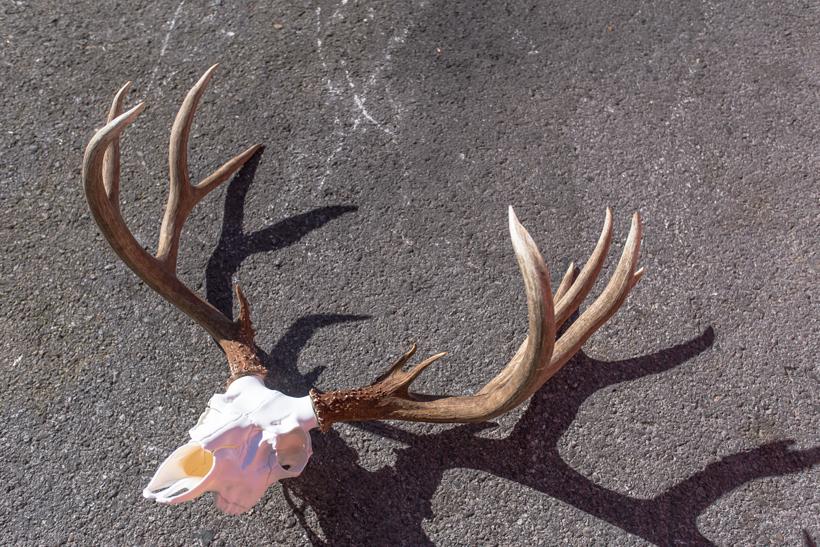
Install on the wall using the supplied mounting bracket. You should now have a finished DIY European skull replacement that is worthy for hanging on the wall in your house, all for less than $50. If you have any questions, please let us know.
You can re-create a full European skull mount in less than 45 minutes
Looks like the real skull (we were a little skeptical at first, but the finished mount looks great)
Can do any deer and elk (grandparent's old buck, relative's bull, antlers sitting in the garage, etc.)
Less than $50 and you have a great-looking European skull mount
Measure width of skull before you begin
Do not cut antlers off in an enclosed place because of the bone smell
Hold antlers in vice to make things easier
Take your time to ensure the base of the antler is smooth and flat
Part one: DIY Taxidermy: European Skull Mount
Part three: DIY Taxidermy: Classic Antler Plaque