


Hand saw |
Screwdriver |
Hammer |
Tape measure |
Marker |
Knife (for foam modification) |
Hand saw | Screwdriver | Hammer |
Tape measure | Marker | Knife (for foam modification) |
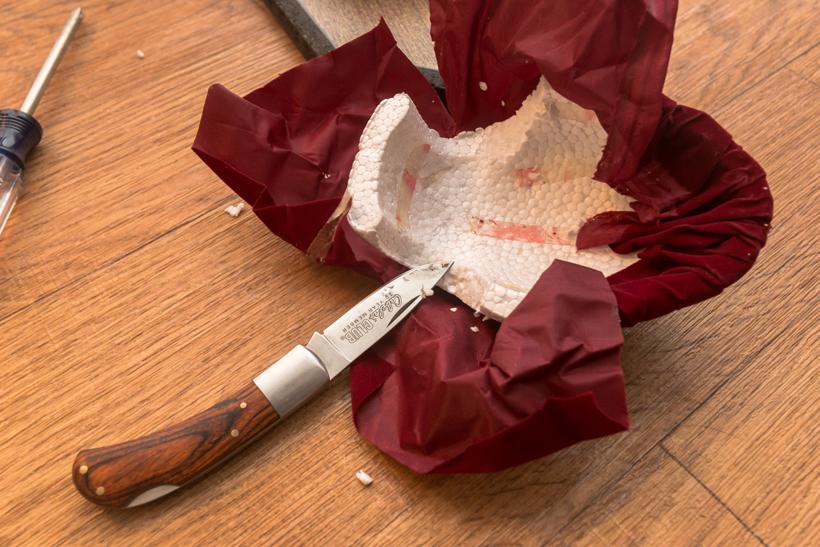
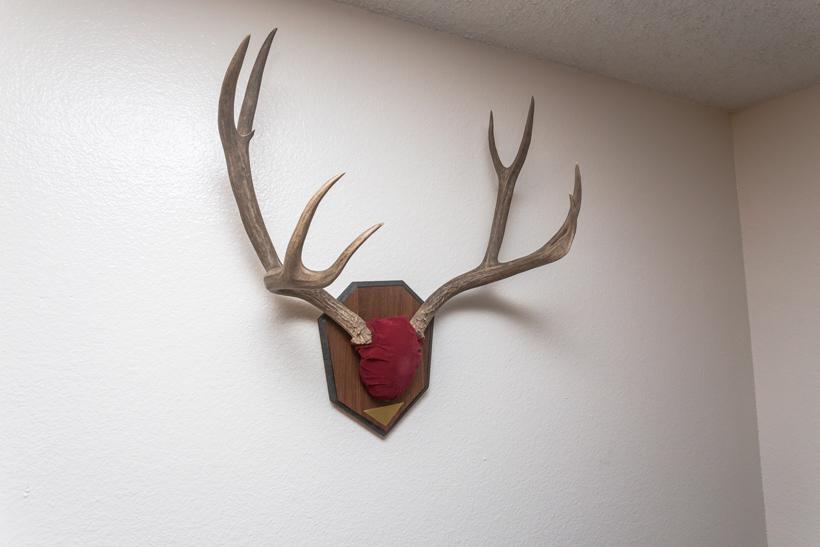
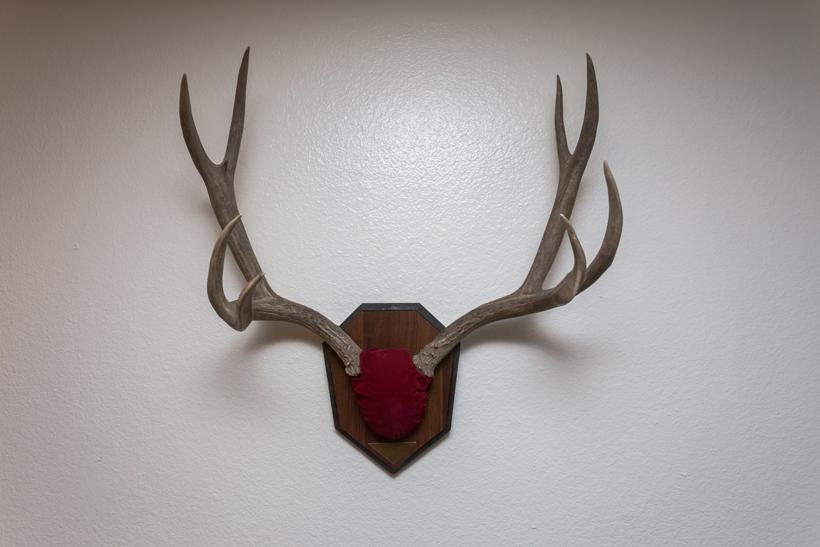
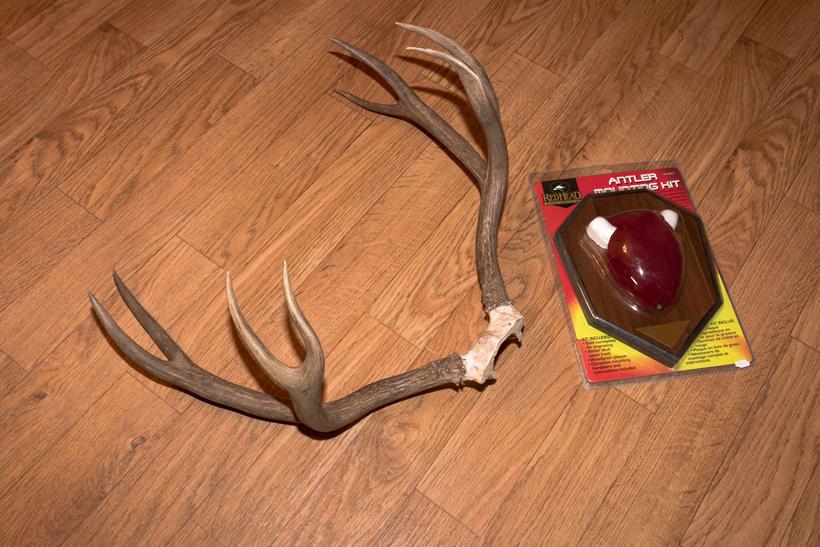
Everyone loves shoulder mounts, but for the times when you are looking for a slightly easier and cost-effective option, doing it yourself with a plaque mounting kit is a great alternative. This mount has a classic look that can complement the rest of your mounted trophies, and will look good in any room of the house. The best part about choosing to mount your own buck on a plaque is that it requires the least amount of tools, time and effort. These mounting kits can be purchased at most outdoor stores and come in a variety of different styles. If you are looking for more of a challange, you can custom build the plaque and use leather for the skull cover. We used the antlers from Chris Porter's firt ever deer for this mount.
Pros:
Cons:
Remove all the hide and carefully scrape away the remaining material from the skull plate with a thick-bladed knife. Boiling is not needed for this process because there will be minimal material to remove.
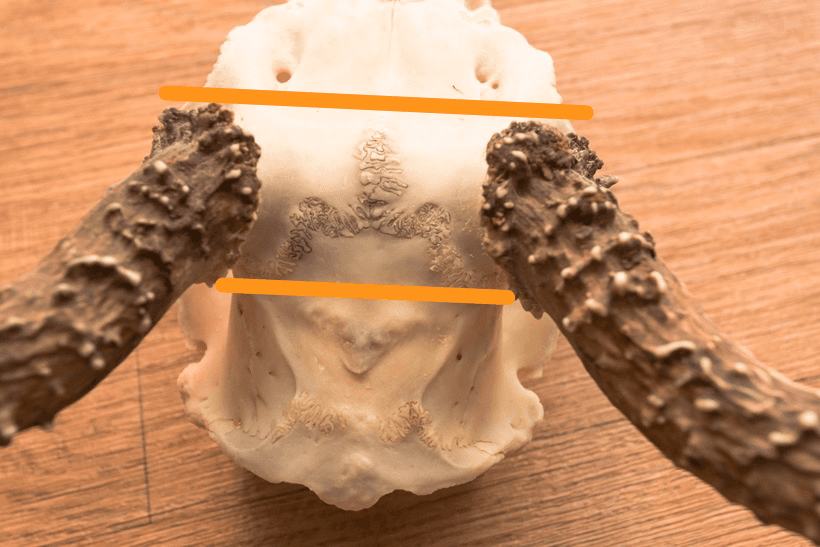
Make a cut parallel to the back and front of the antler bases, keeping it as close to the antlers as possible (extra trimming can be done later). See colored line in photo for cut location.
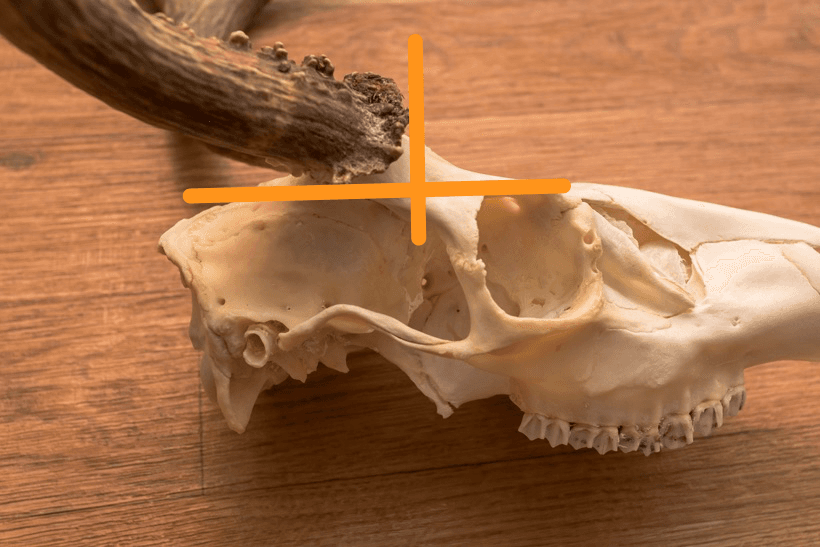
Make another saw cut at a right angle to the first cut at the antler bases. Once again, stay close to the antler bases to ensure a proper foam fit.
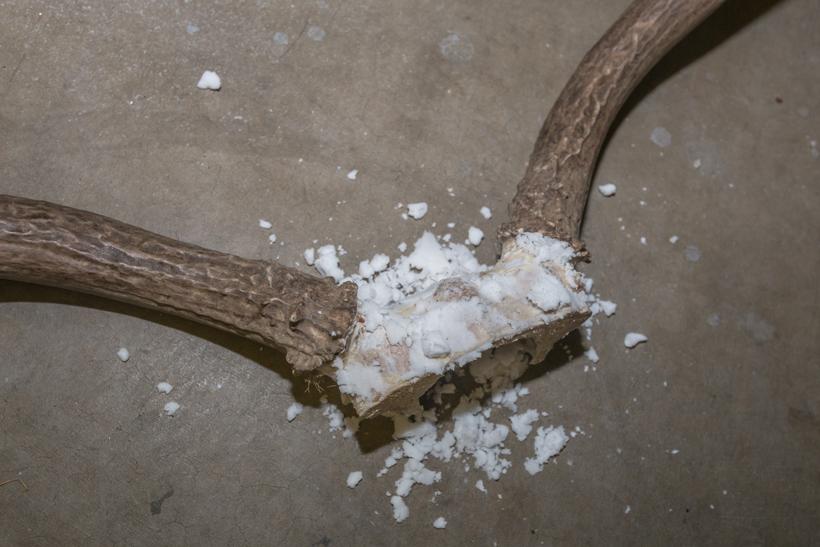
Salt, Borax or Baking Soda (used to dry out the material on the skull) can be used to cover the skull plate after you remove the material. Let the drying agent sit on the skull for one hour.
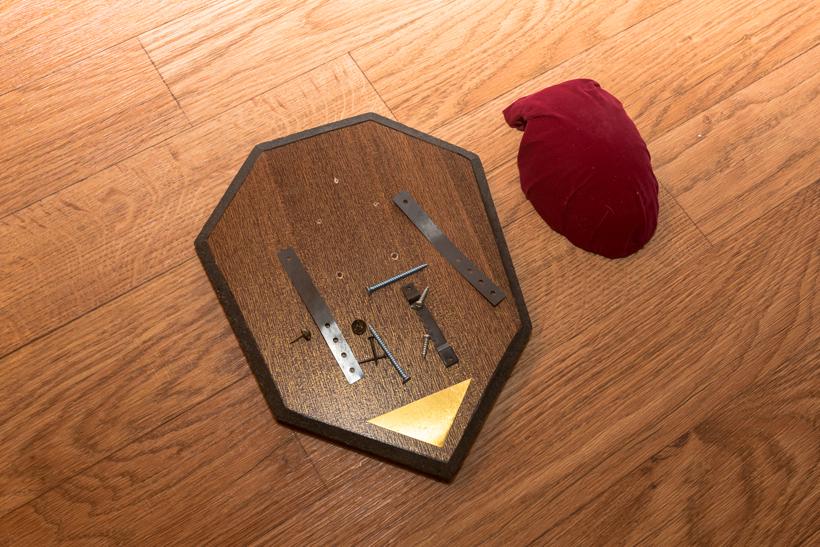
Locate the two metal straps and two small screws.
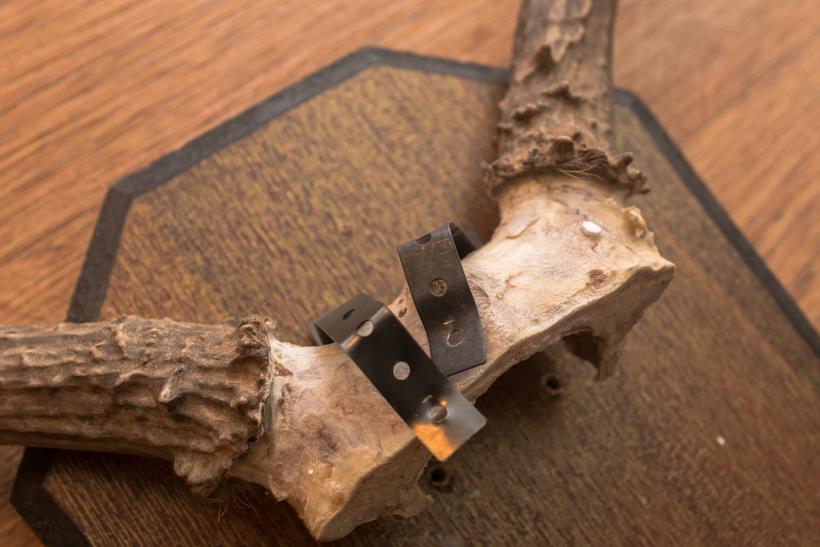
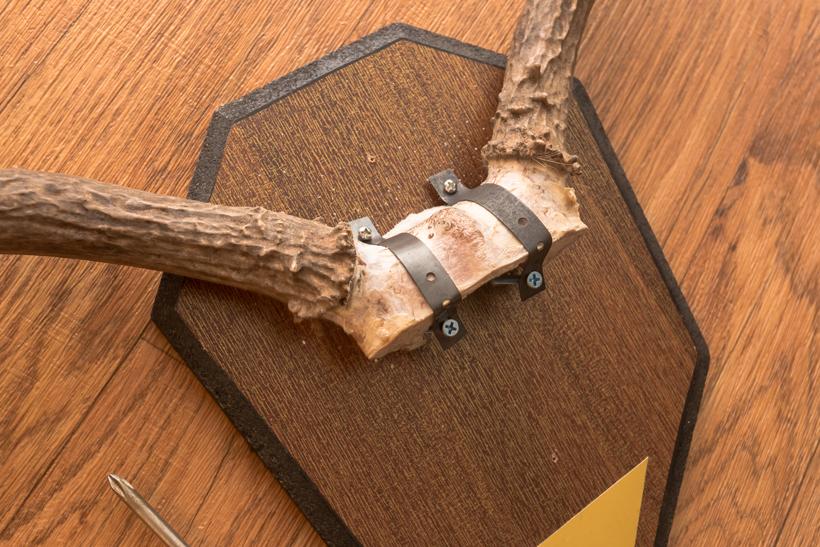
On the front of the plaque, align each strap at the top starter holes on the plaque and use the small screws to secure it. Position the antlers below these straps and bend the straps around the skull plate.
Insert the two long screws through the bottom holes from the backside of the plaque, or through the top depending on how your skull fits. Align the hole of the metal strap with the screw and start to tighten down. Before firmly tightening down the screw, make sure the antlers are level on the plaque.
Tip: When you are using skull plates that are a little thicker like mule deer, it is best to take the screw and go from the top of the skull.
Position the skull cover over the center of the skull plate to test the fit. If there is difficulty in fitting the cover to the antlers, the foam skull cover will need to be trimmed. To trim the foam, remove part of the felt cover and carefully take a sharp knife to the foam until the skull cover fits around the skull plate.
Adjust the material so it lays flat on the skull cover and firmly press the supplied pins in place on the board. You may need to use a smaller hammer to get the pins to press into the board. Last, but not least, hang your DIY mount on the wall, and you are finished.
Cost-effective way to mount your buck
Ability to mount your buck the same day you harvest
Easy-to-follow steps
Classic look that works well with whitetail and mule deer
Sometimes it can be hard to fit larger-skulled bucks
Multiple cuts will need to made in the skull to find correct fit
Some store-bought plaques can look cheap (so be sure to find the right one)
Take the time to cut the skull correctly the first time
Customize the foam to fit the skull cap